Polyester PANEL 9MM
POLYESTER PANEL 12MM
MDF 8MM - 12MM
acrylic 6MM - 12MM
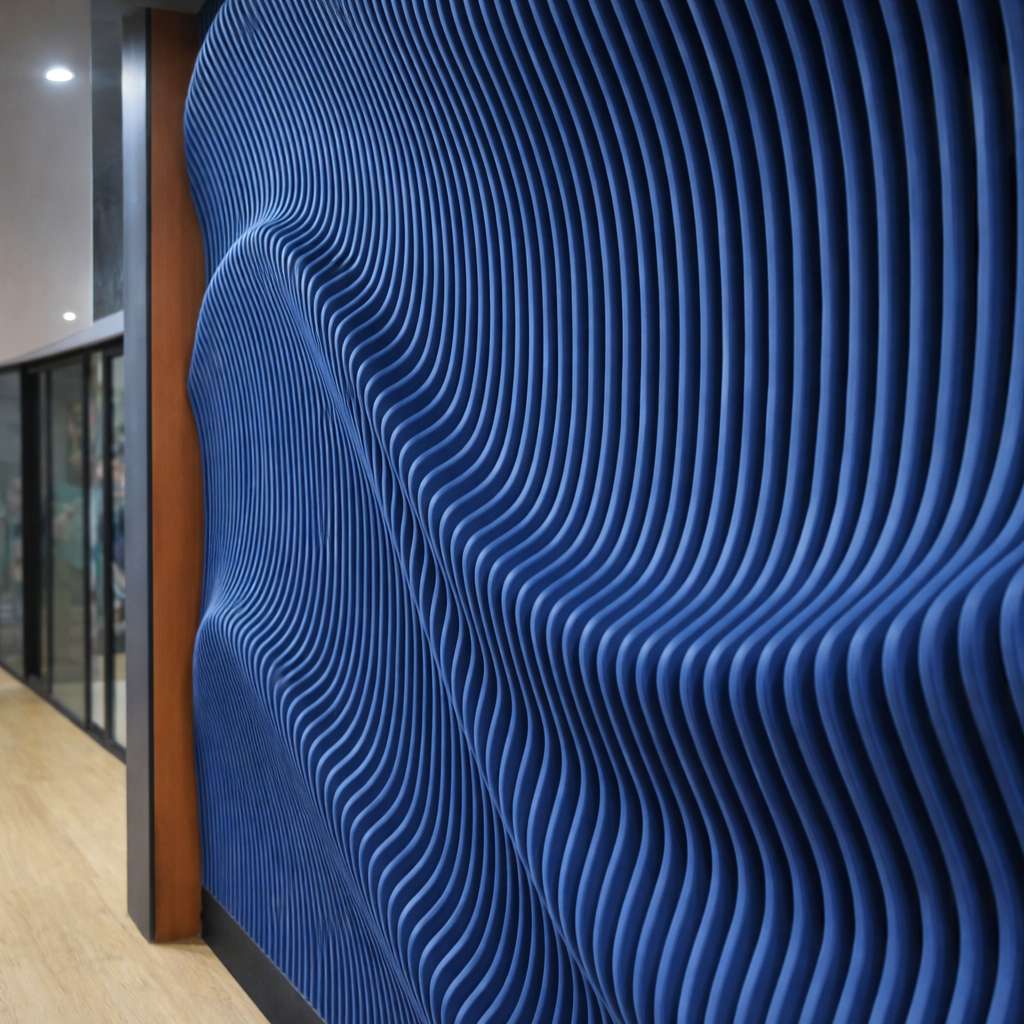
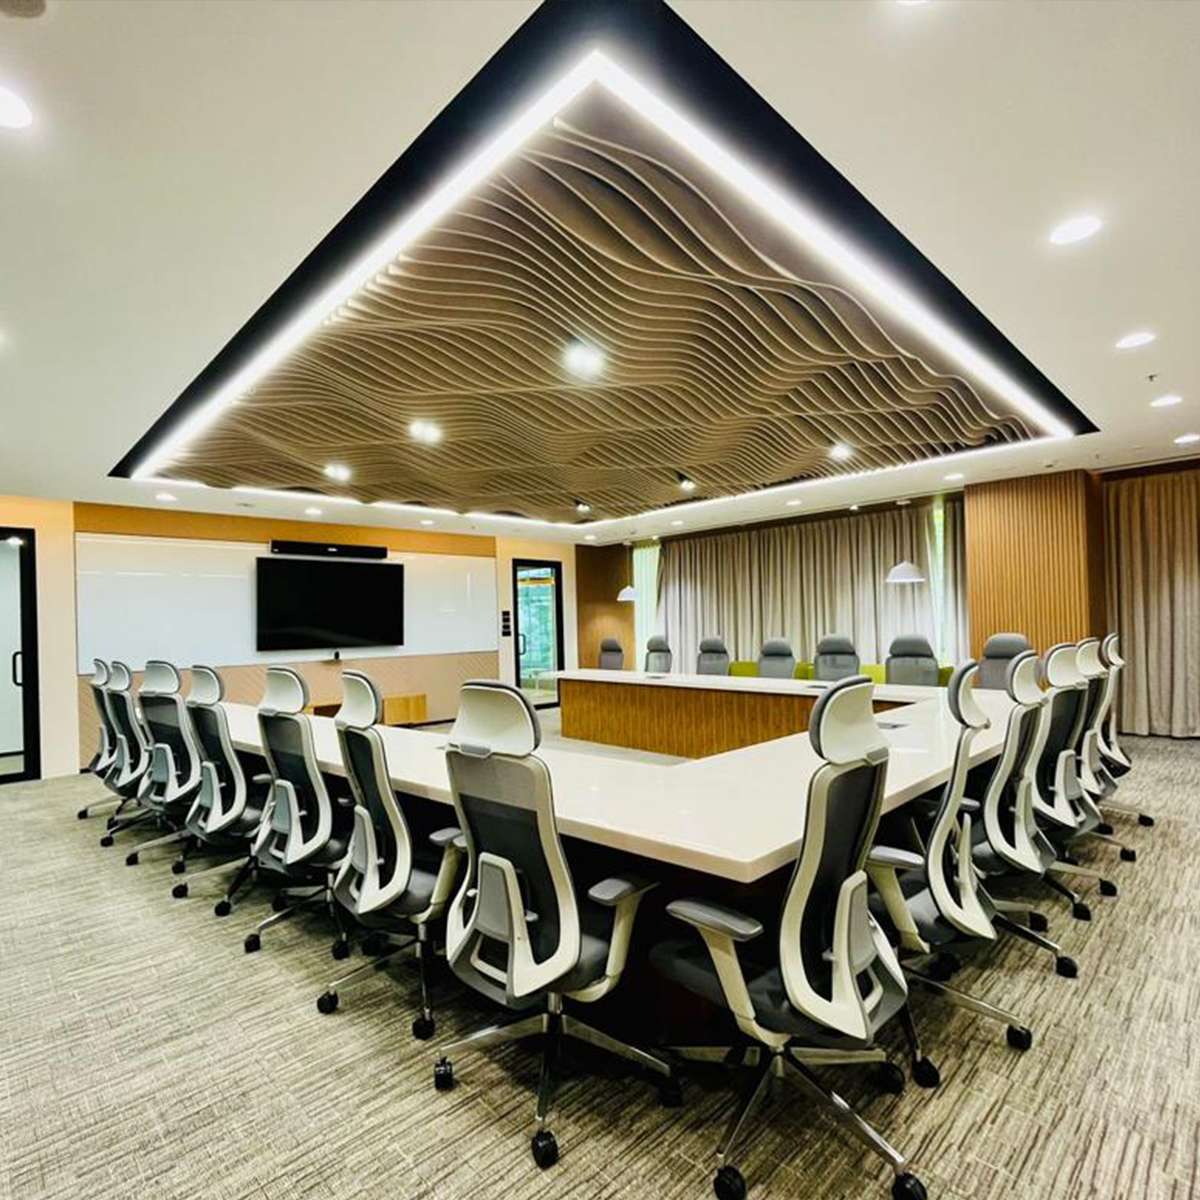
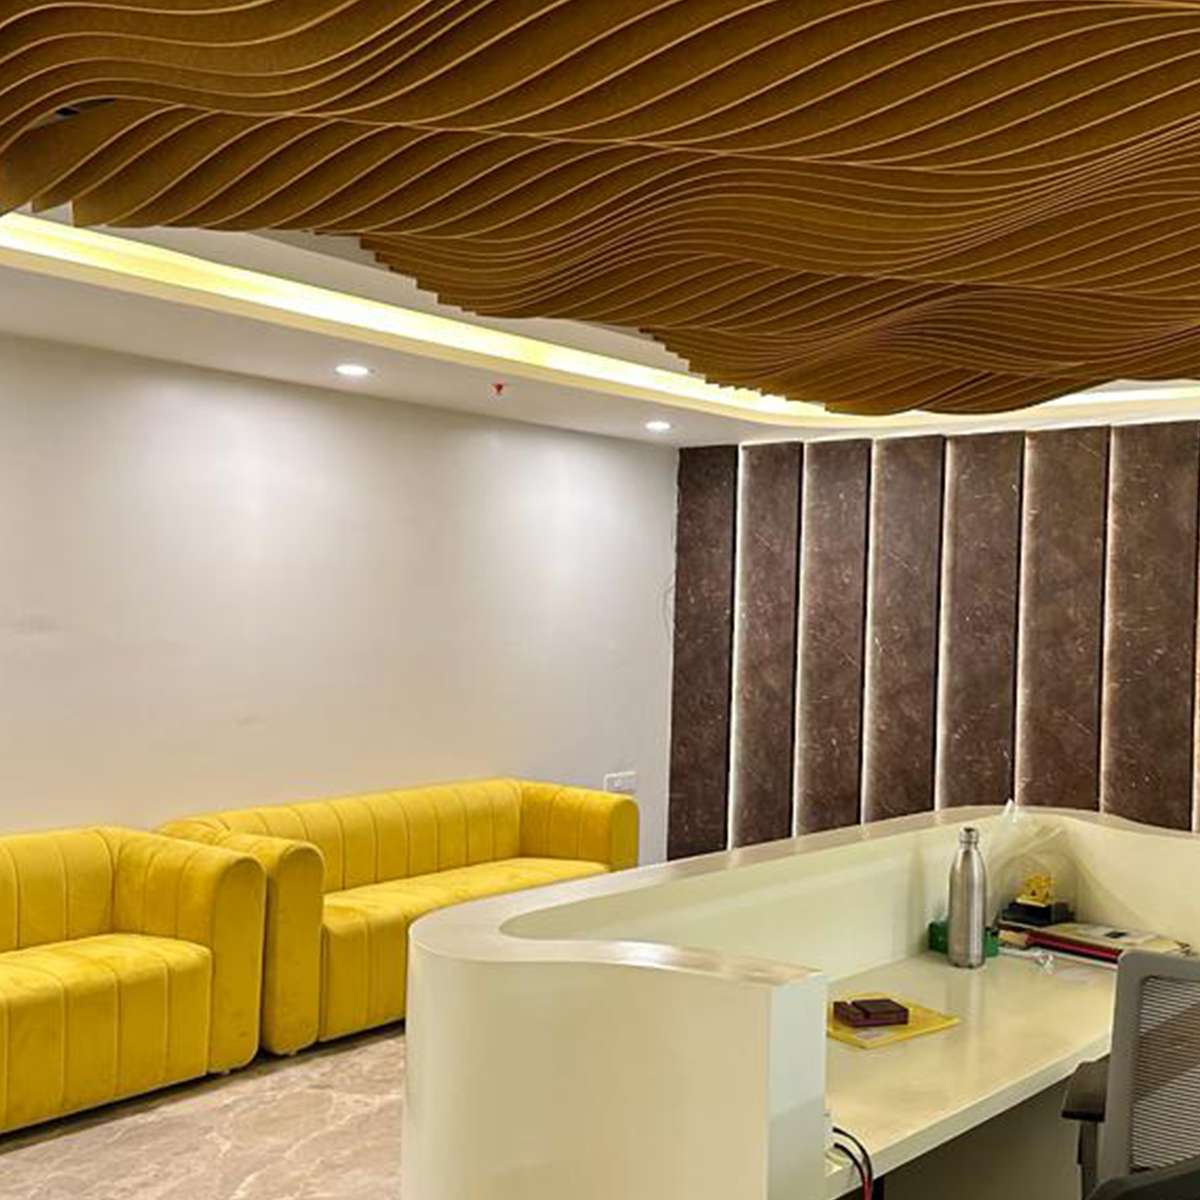
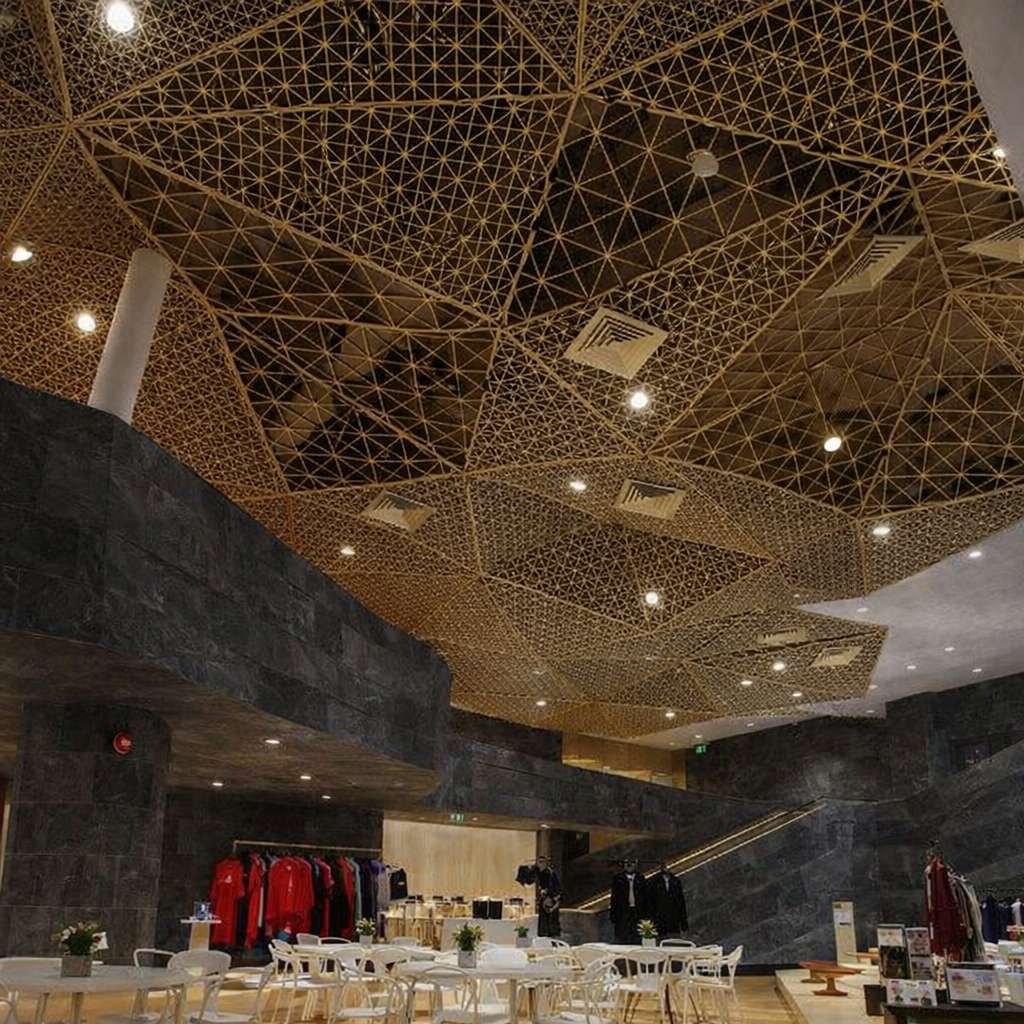
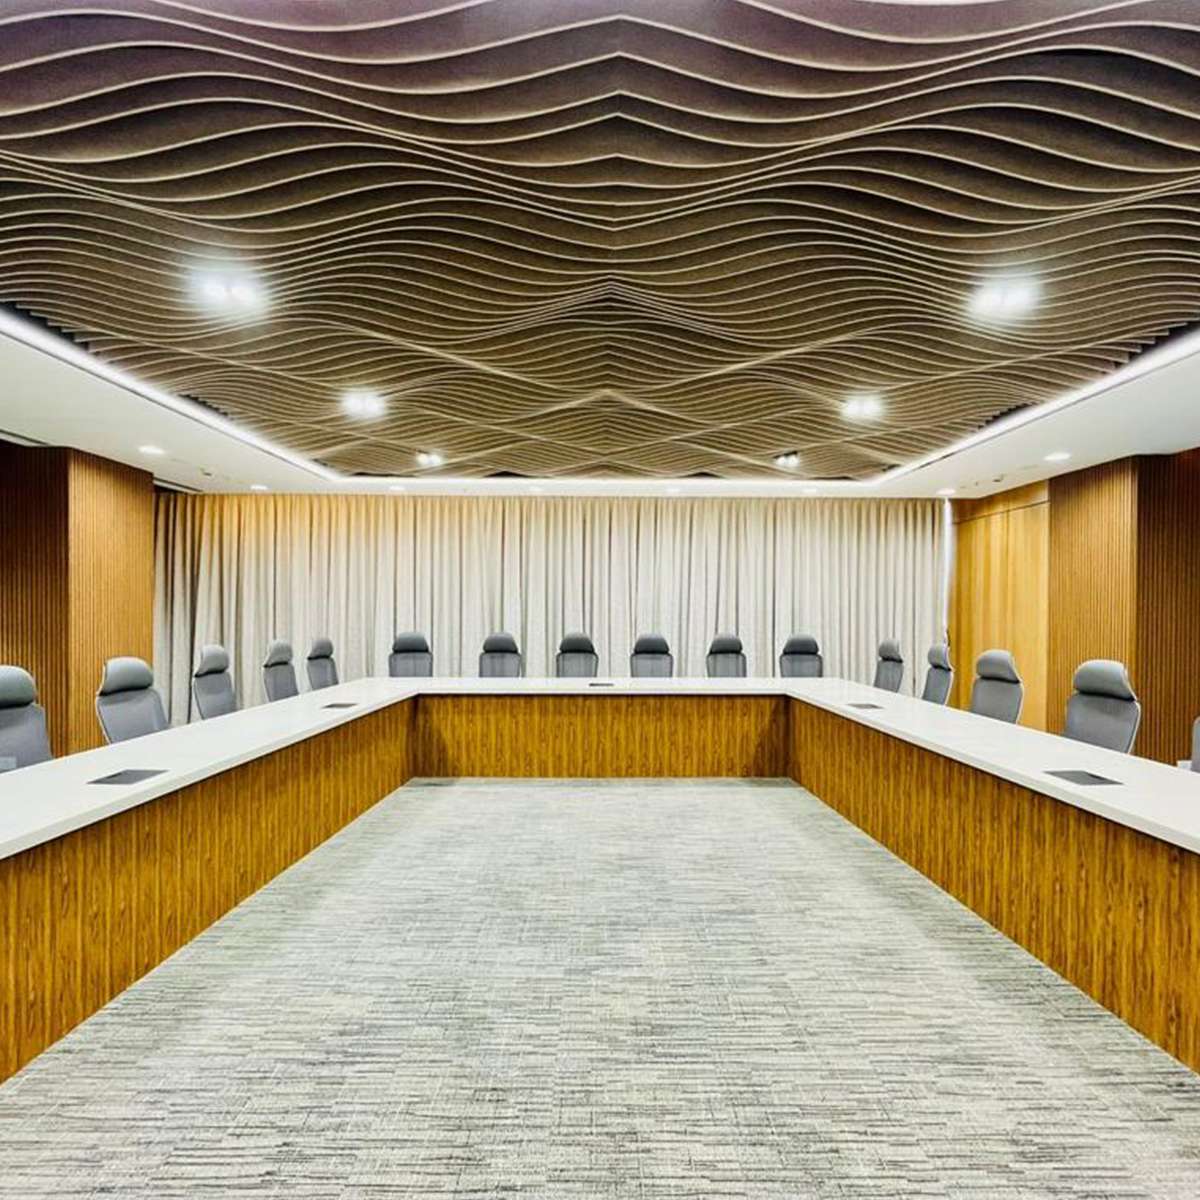
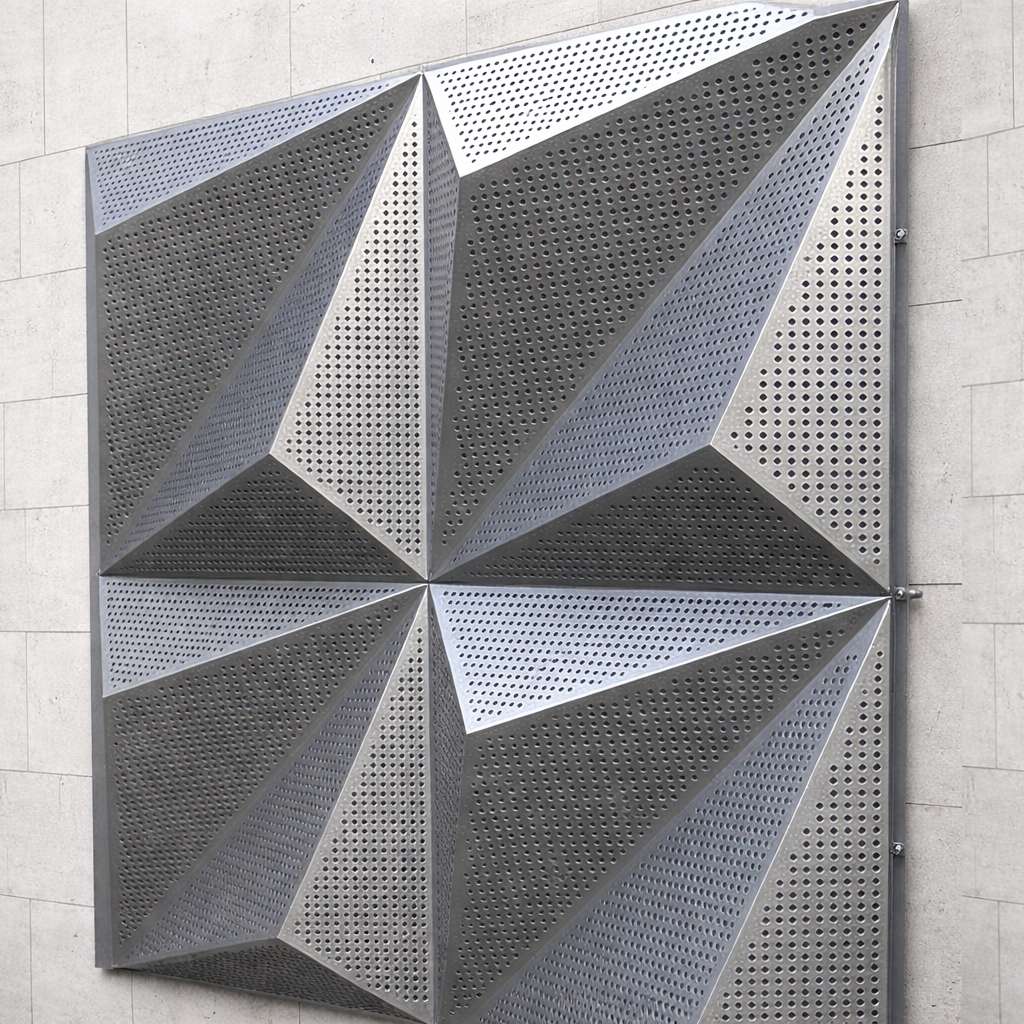
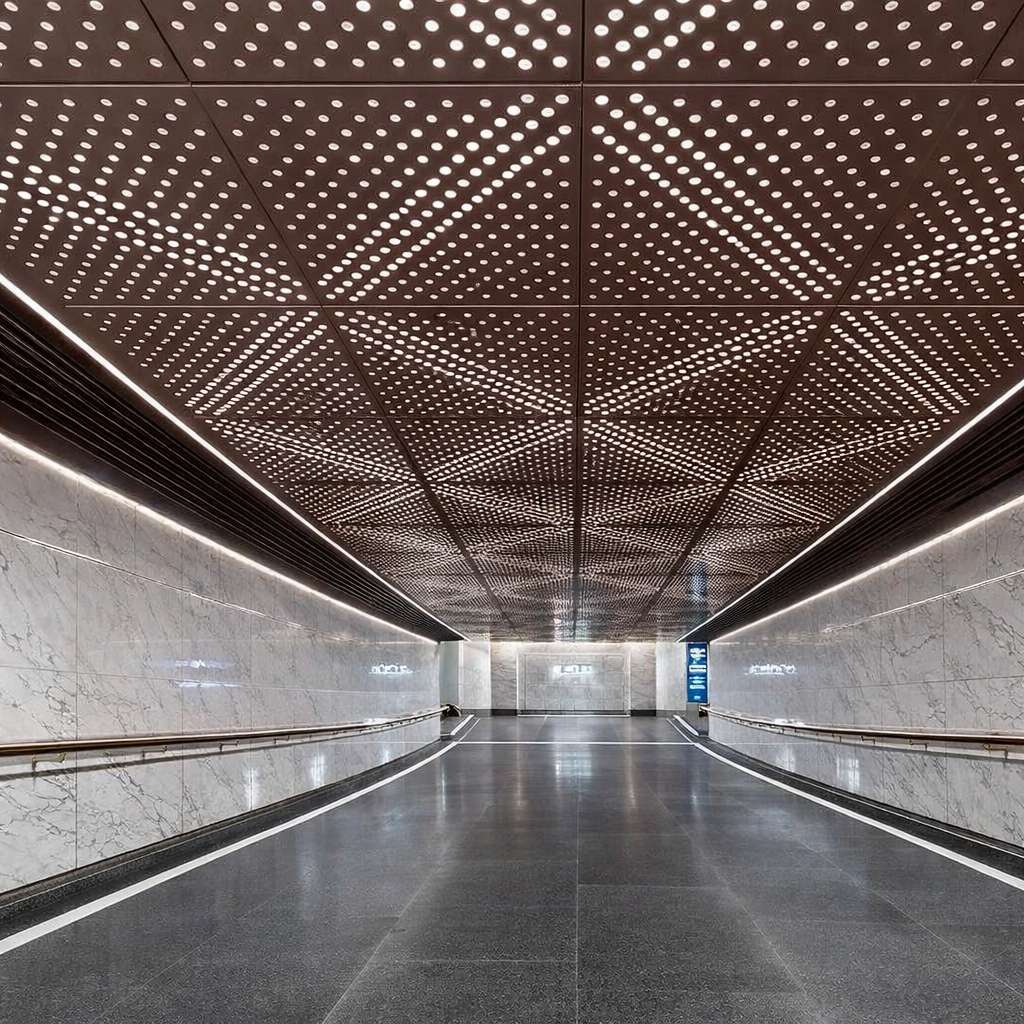
Parametric Design
Parametric design is a process-driven methodology, fundamental to creating products like Parametric Design Acoustic Panels, where designs are defined by parameters (variables), rules, and algorithms rather than fixed geometry. This approach is perfect for developing a wide range of Parametric Acoustic Panels, from complex Geometric Acoustic Panels to an immersive 3d Parametric Acoustic Wall. When parameters change, the entire model for products like Parametric Wall Panels Acoustic or Parametric Ceiling Acoustic Panels updates automatically. This flexibility enables rapid exploration of variations, optimization, and the customization needed to produce unique Cnc Acoustic Panels and other Custom Parametric Acoustic Solutions.
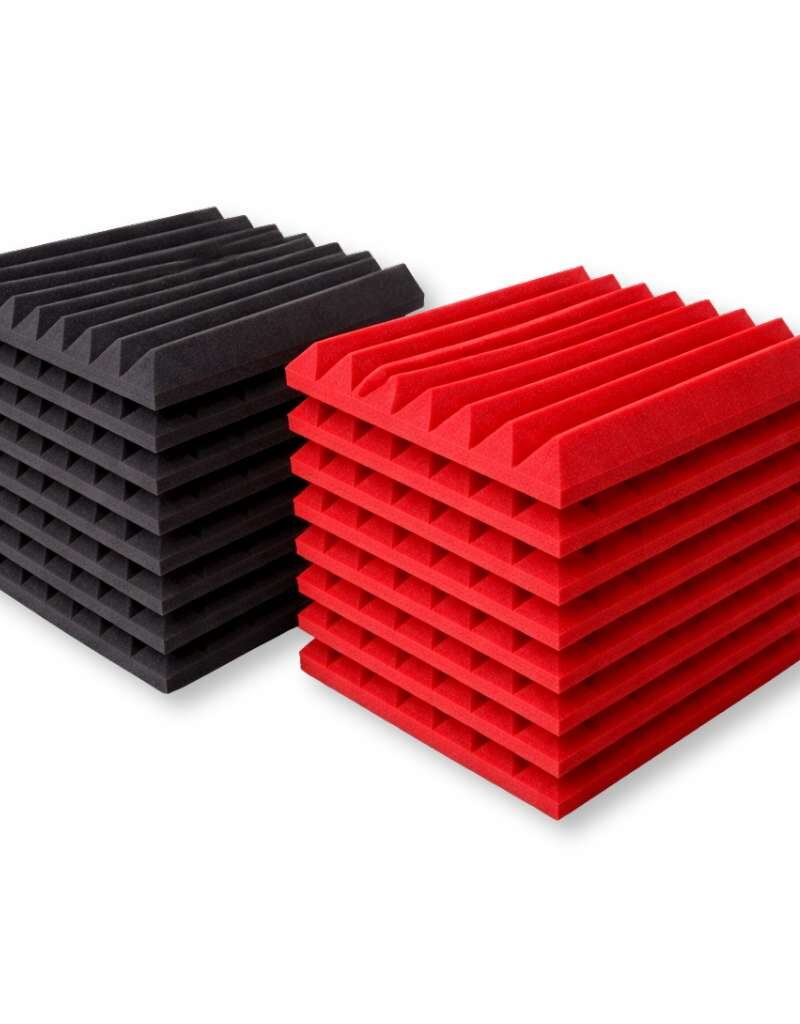
KEY FEATURES
High sound absorption (effective echo & reverberation control)
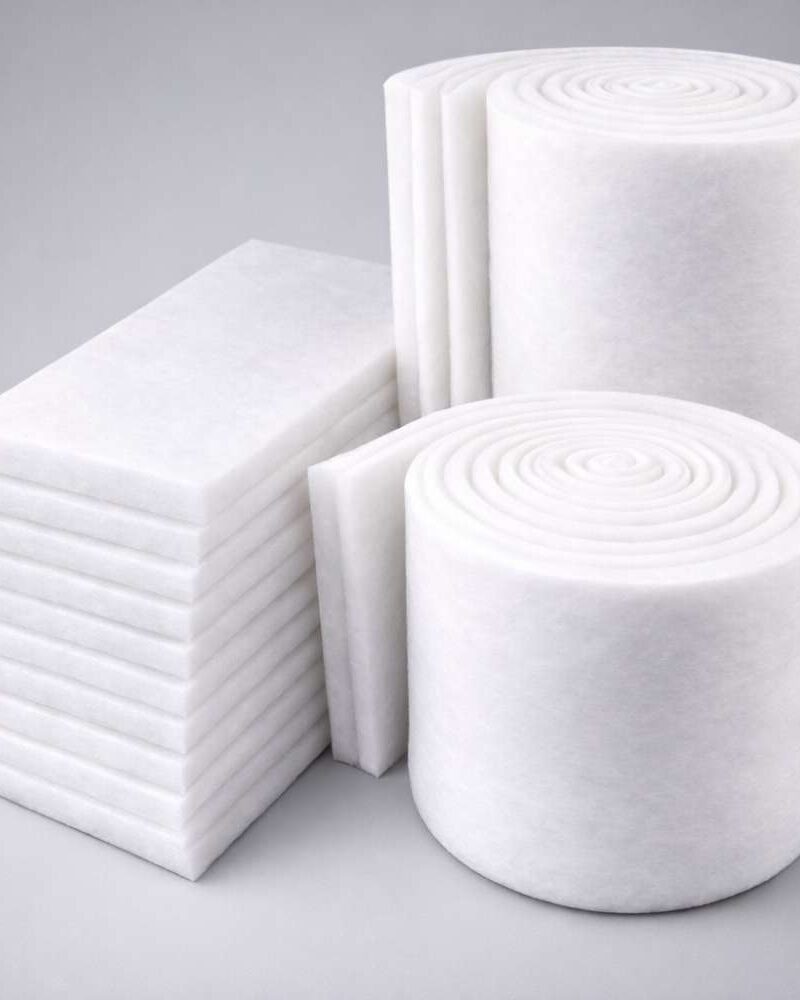
Made from high-density PET polyester fiber
Lightweight and easy to install (wall-mounted or ceiling-suspended)
Eco-friendly and recyclable material
Durable, moisture-resistant, and non-toxic
Available in various thicknesses, colors, and designs
Low maintenance and long service life
NRC rating upto 0.85
Installation Method for Wall
Surface Preparation
- Ensure the wall surface is clean, dry, dust-free, and level.
- Remove loose paint or debris.
- Mark reference lines as per approved layout.
Adhesive Application (Synthetic rubber adhesives)
- Apply Synthetic rubber adhesives evenly on the back side of the polyester panel in bead or dot pattern (approximately 25–30 mm spacing).
- For better bonding, apply additional adhesive along panel edges.
Fixing the Panel
- Position the panel as per marking and press firmly against the wall.
- Apply uniform pressure to ensure proper contact.
- Use temporary masking tape or support if required until adhesive sets.
Alignment & Finishing
- Check panel alignment and joints.
- Clean any excess adhesive immediately.
Installation Method for Ceiling
Marking & Layout
- Mark ceiling grid layout as per approved drawing.
- Maintain required spacing (generally 1200 mm c/c or as per design).
Fixing Fasteners
- Drill holes in RCC slab.
- Fix anchor fasteners securely into slab.
Installing Threaded Rod
- Fix 6–8 mm GI threaded rods (3 mtr or as required) into anchor fasteners.
- Adjust level using GI nuts.
Fixing Carrier
- Attach 8’ GI carrier to threaded rods using hanger and nut system.
- Ensure carriers are properly aligned and leveled.
Installing Clips & Panels
- Fix suspension clips to carrier.
- Secure acoustic polyester panels into clips/hanger system.
- Check alignment and uniform spacing.
Final Check
- Ensure proper leveling.
- Tighten all nuts and fasteners.
- Verify stability and finishing.