Technical Specification
Micro-Perforated Panel
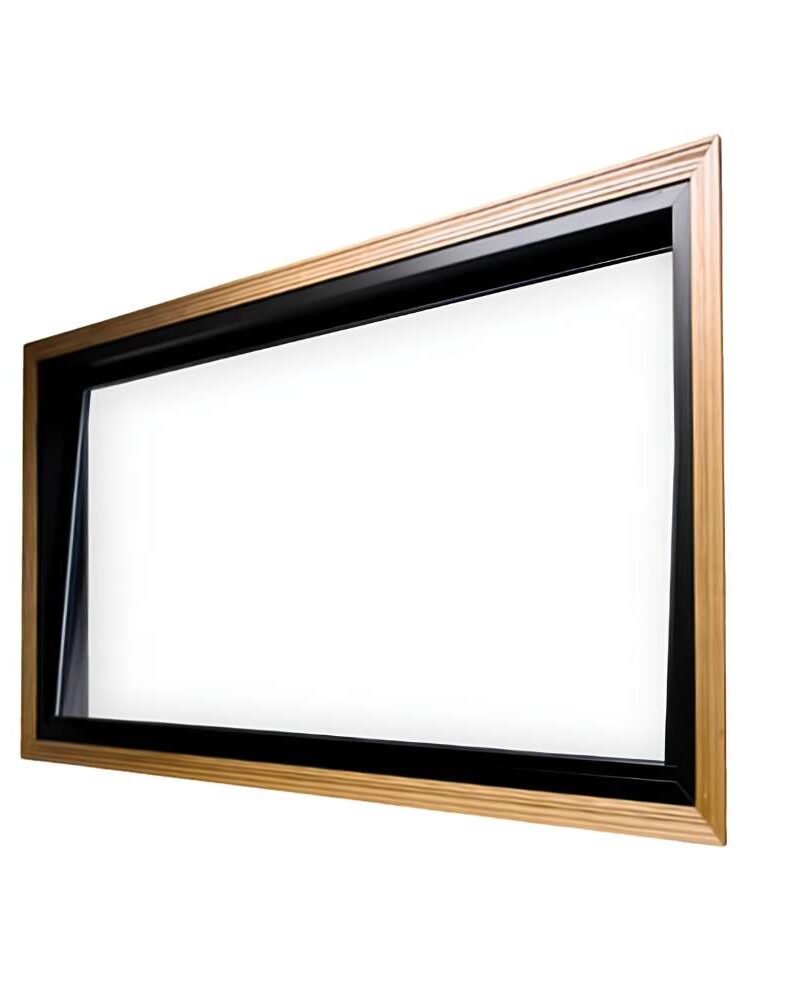
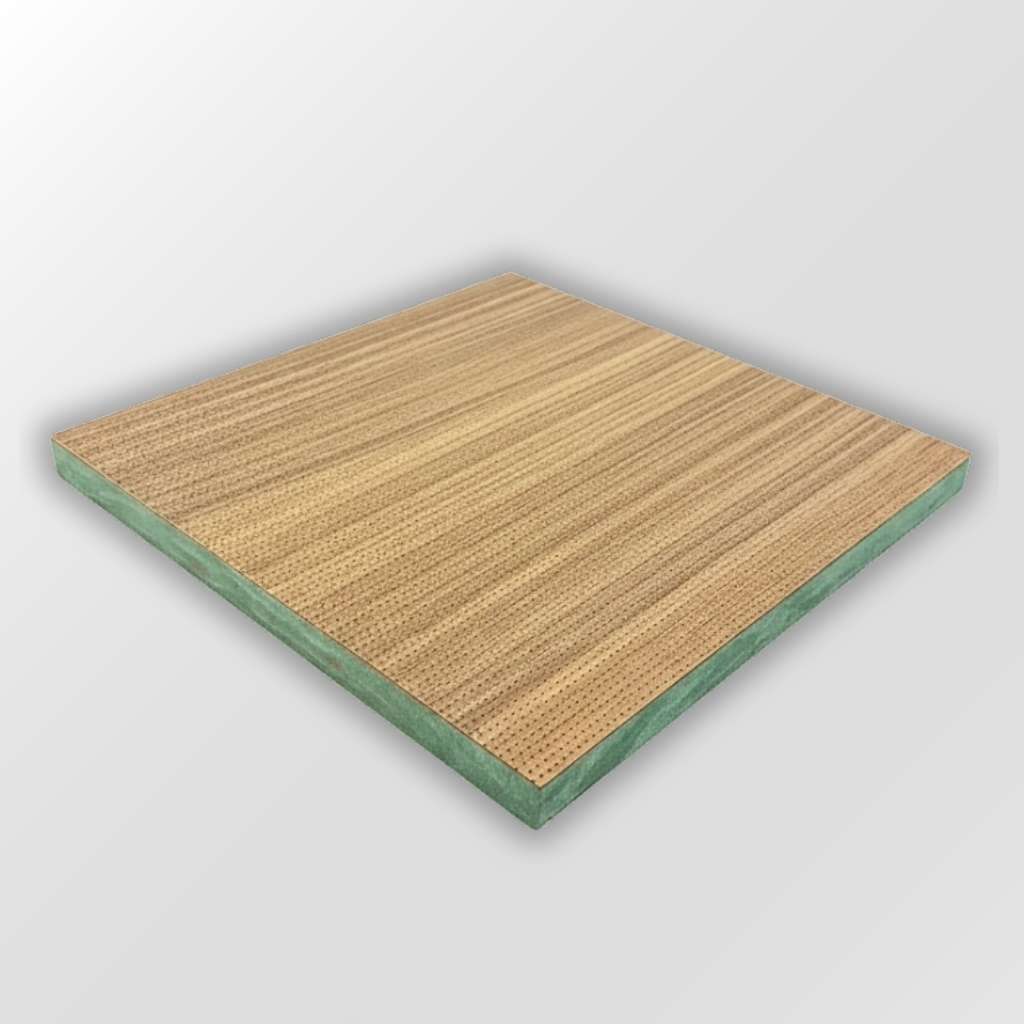
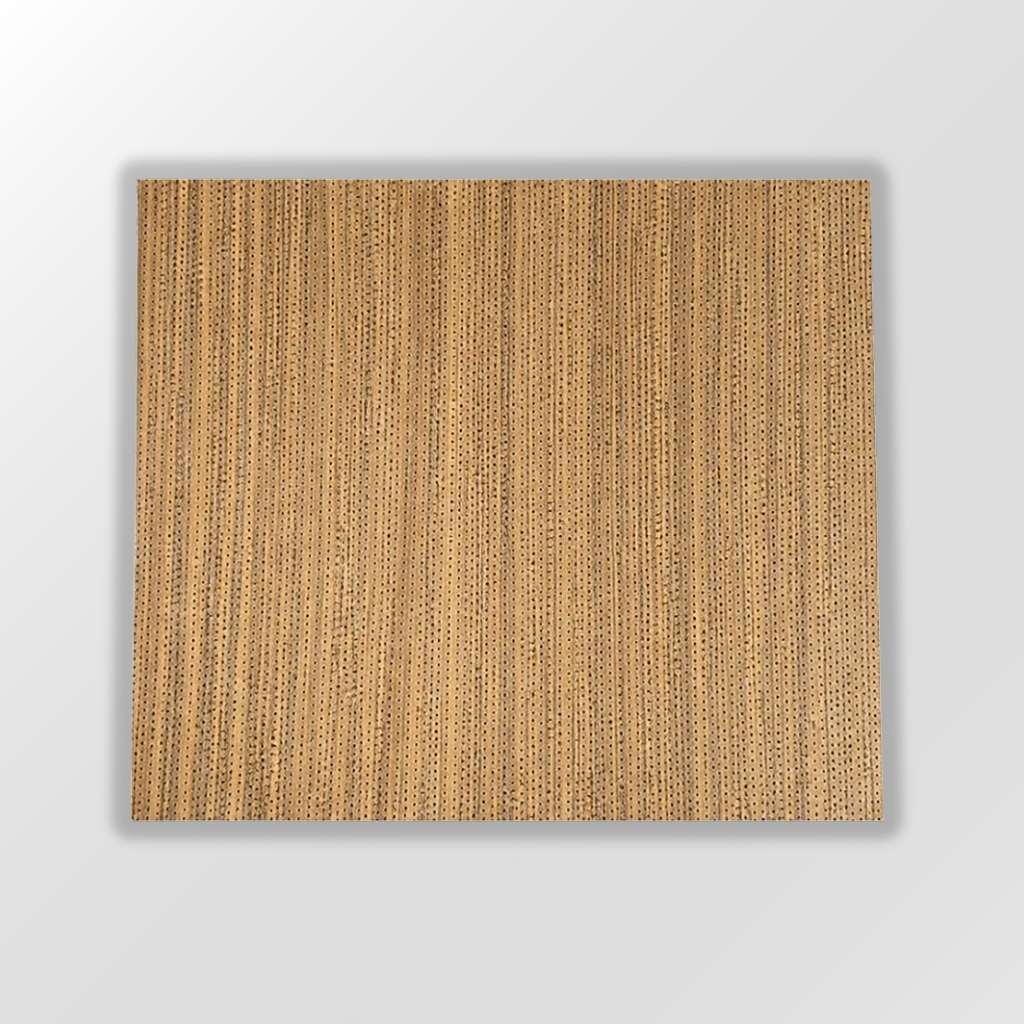
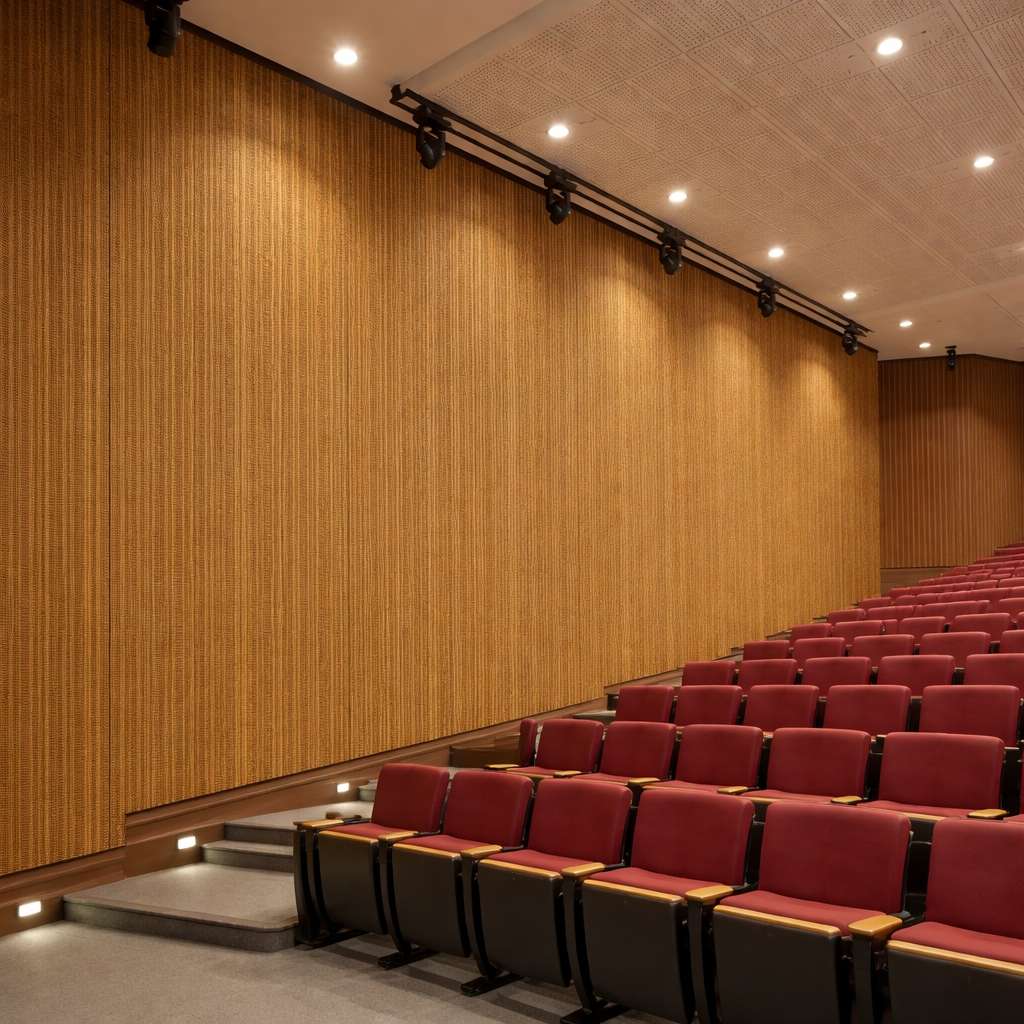
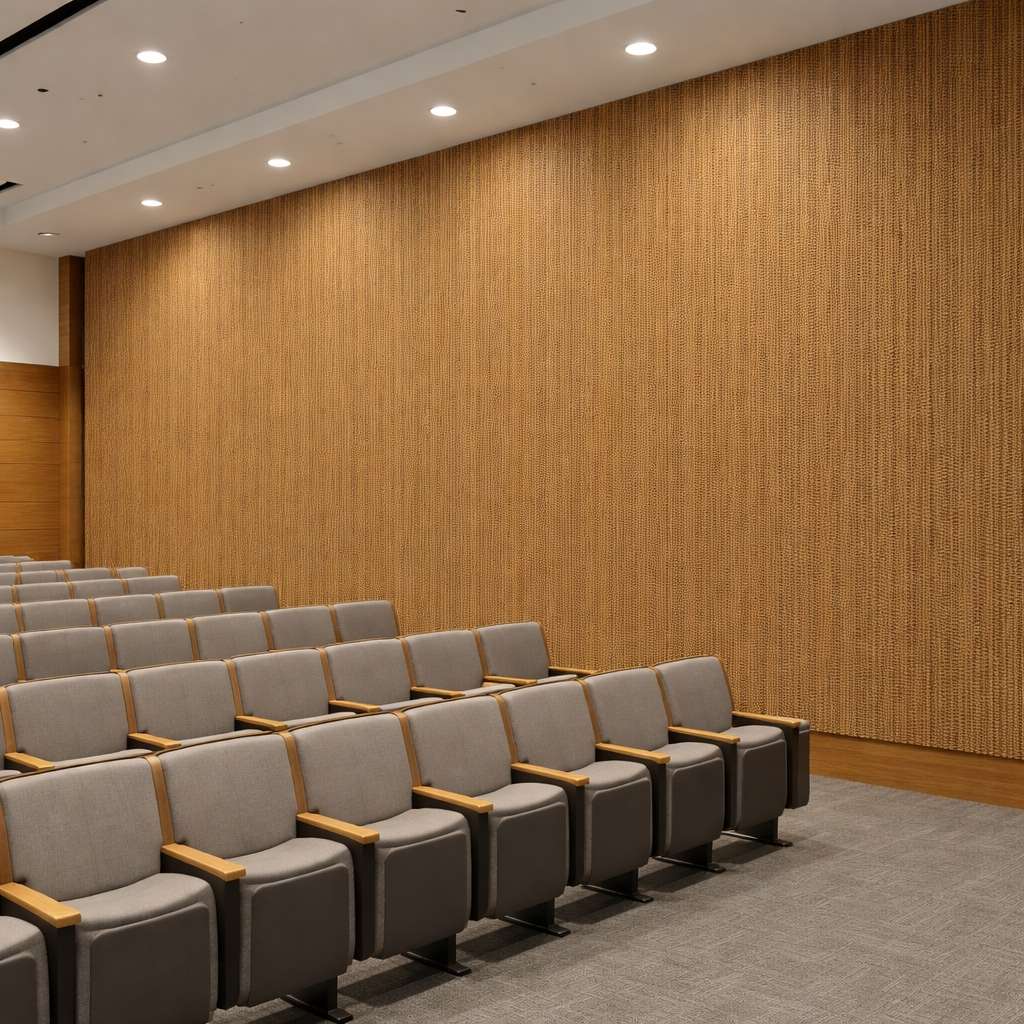
The Micro-perforated Panel is a high-performance architectural surface solution engineered to combine advanced acoustic control with refined interior aesthetics. As a leading choice among Micro Perforated Acoustic Panels, this Microperforated Acoustic Panel is designed for modern commercial and residential spaces, effectively managing sound while delivering a clean, elegant wood-inspired finish. Ideal as Micro Perforated Ceiling Panels, it provides overhead acoustic absorption without compromising design. Available as Micro Perforated Wooden Panels or Micro Perforated Metal Panels Acoustic for varied aesthetic needs, it also functions perfectly as Micro Perforated Wall Panels and versatile Micro Perforated Acoustic Cladding. Crafted using a high-density MDF core or an eco-friendly polyester acoustic core, and finished with a premium decorative paper veneer, this panel offers durability, dimensional stability, and superior sound absorption performance.
KEY FEATURES
Precision micro perforation for effective sound absorption
Improves speech clarity and reduces echo
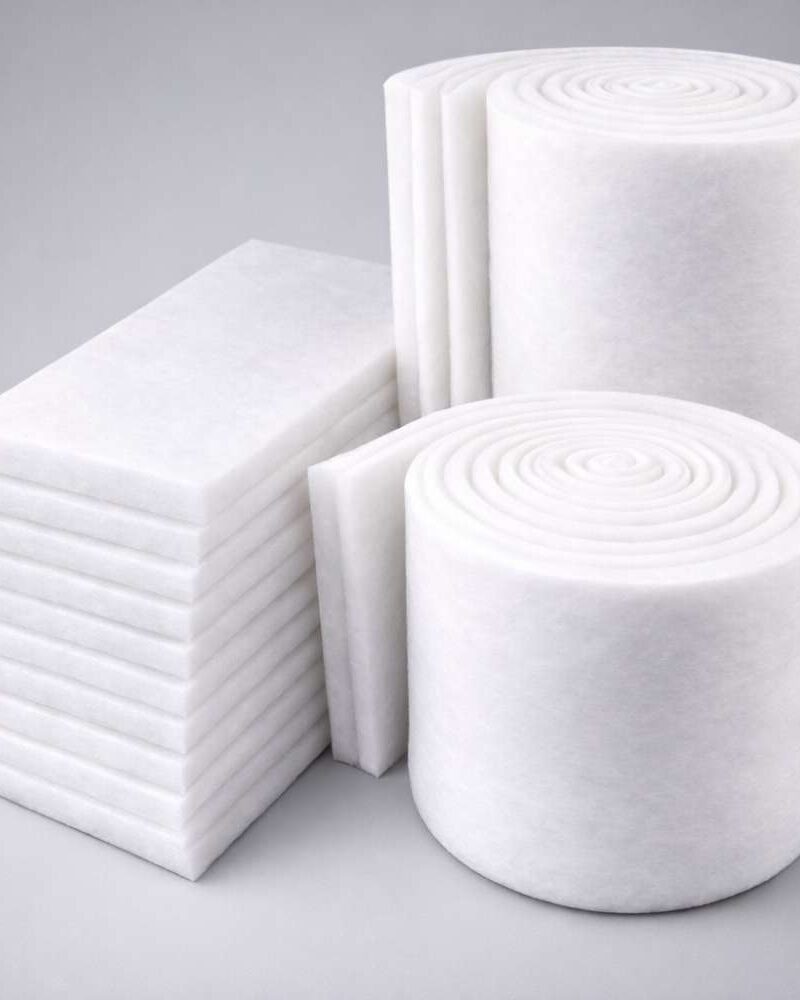
Available in MDF or lightweight polyester acoustic core
Decorative paper veneer with natural wood appearance
Durable and dimensionally stable construction
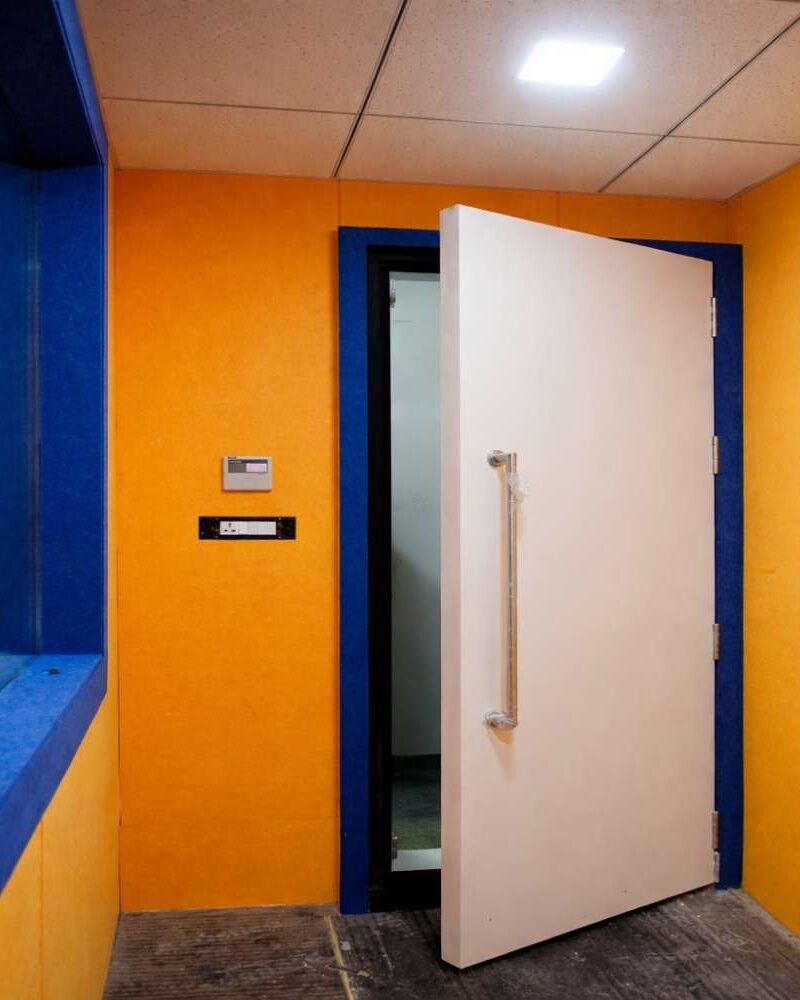
Suitable for wall and ceiling applications
Customizable thickness and perforation pattern
Easy installation and low maintenance
Eco-friendly polyester core option available
Ideal balance of acoustic performance and aesthetics
Installation Method
Prepare the Surface
- Ensure the wall or ceiling surface is clean, dry, and level.
- Mark reference lines using a level or laser level.
Cut Panels to Size
- Measure the installation area carefully.
- Cut the MDF panels using a circular saw.
- Seal cut edges with matching paint or edge banding.
Fix the Panels
Option A: Screw Fixing (Most Common)
- Pre-drill holes in non-perforated edge areas.
- Fix panels to the frame using self-tapping screws.
- Maintain consistent spacing between panels (2–3 mm expansion gap).
Option B: Clip/Concealed System
- Install mounting clips on the frame.
- Snap panels into place for a clean, screw-free finish.
Align & Space Properly
- Ensure perforation patterns align correctly.
- Keep uniform gaps for expansion and aesthetic consistency.
Finishing
- Cover screw heads with matching caps if visible.
- Clean panel surface gently to remove dust.
- Apply final touch-ups if required.