
TECHNICAL SPECIFICATION
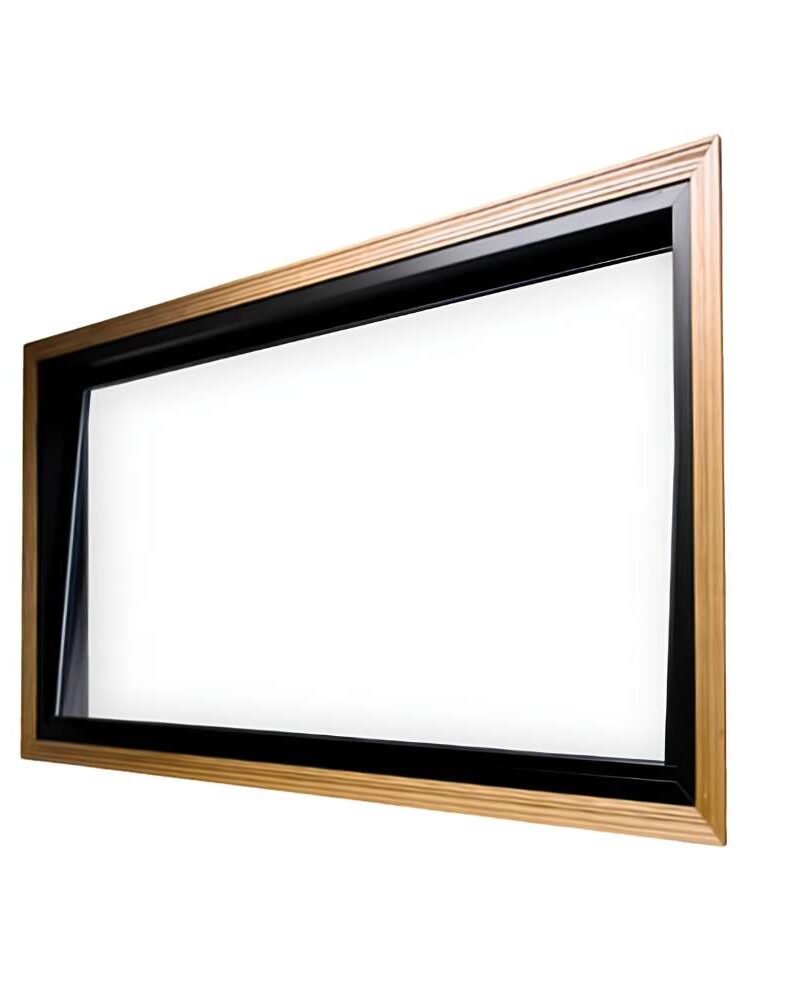
Acoustic Wooden Panel
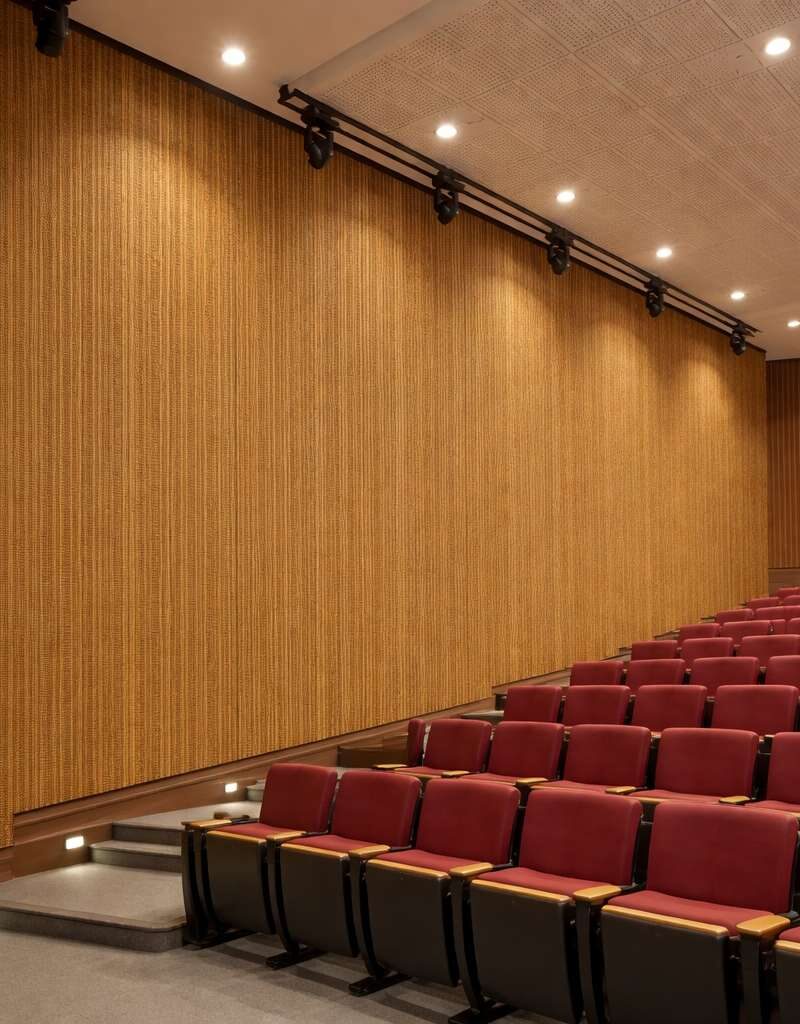
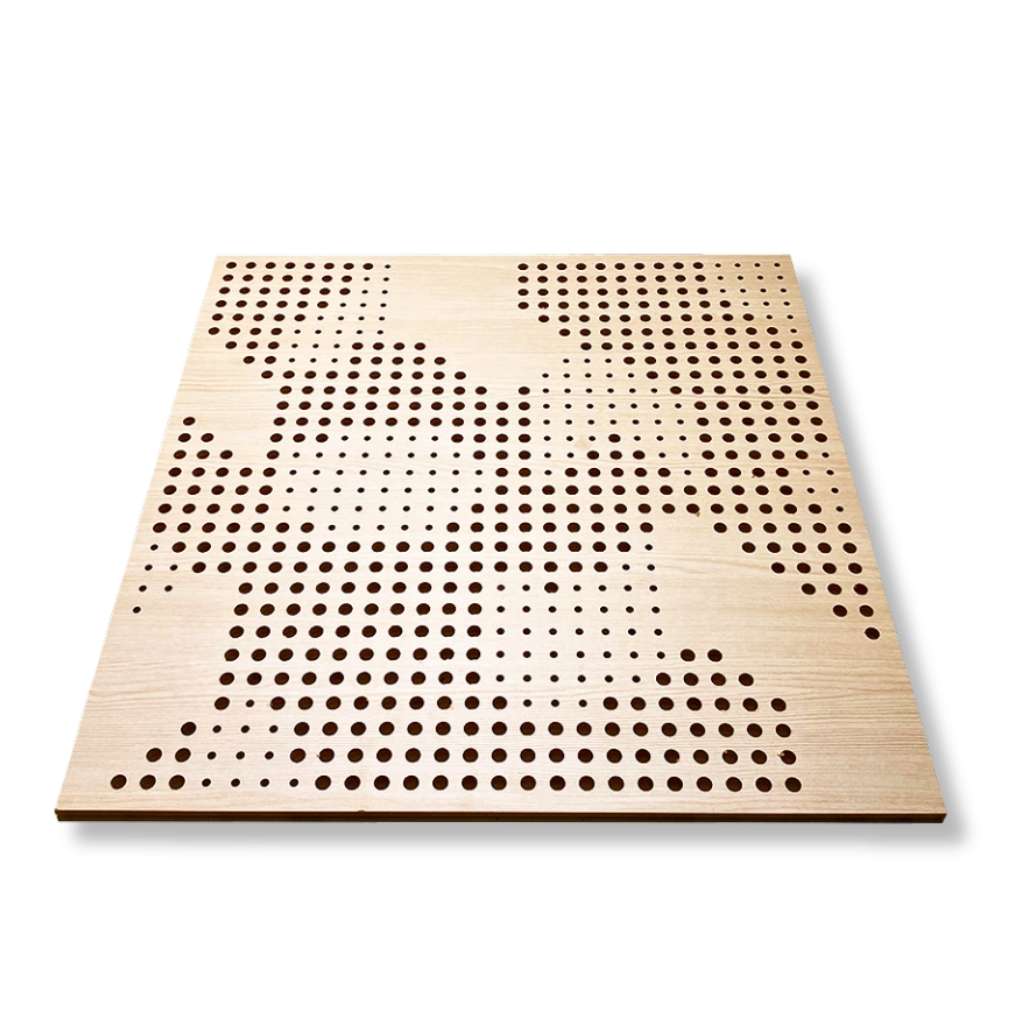
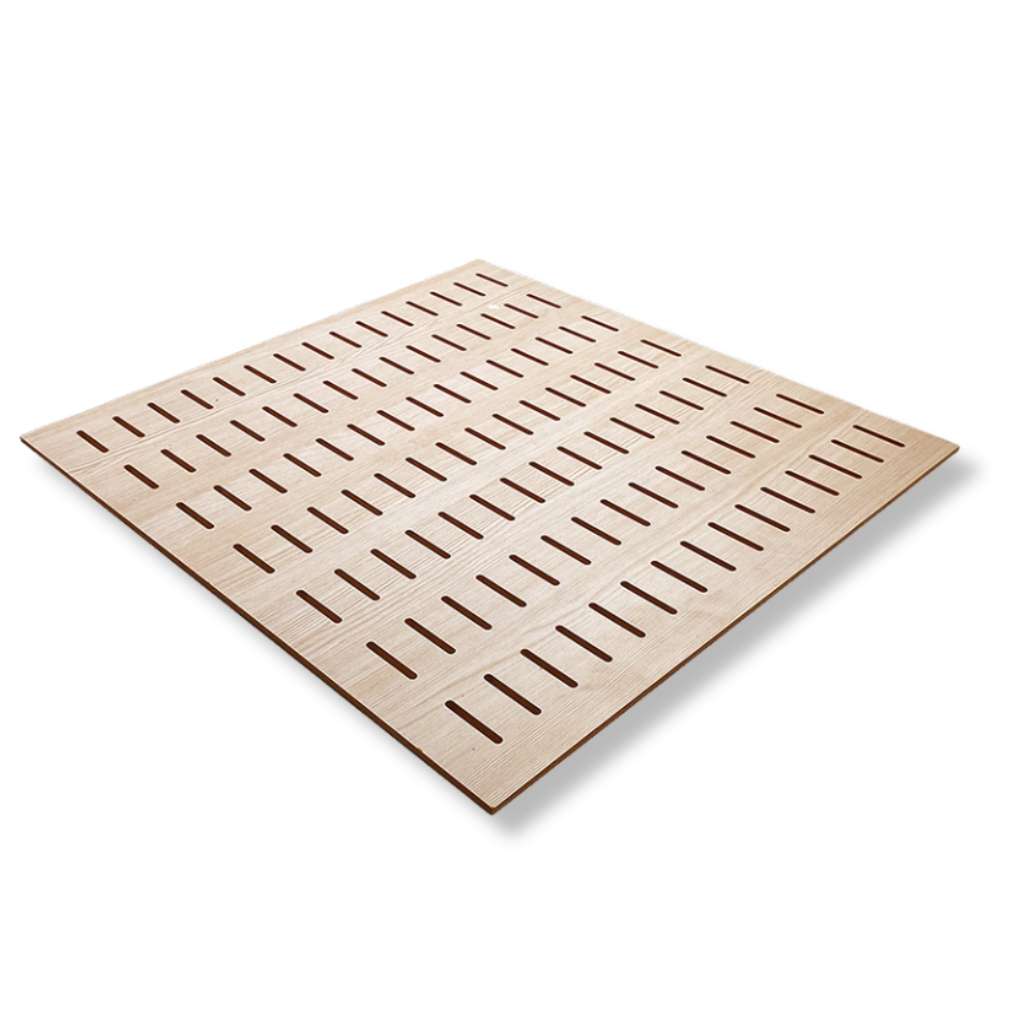
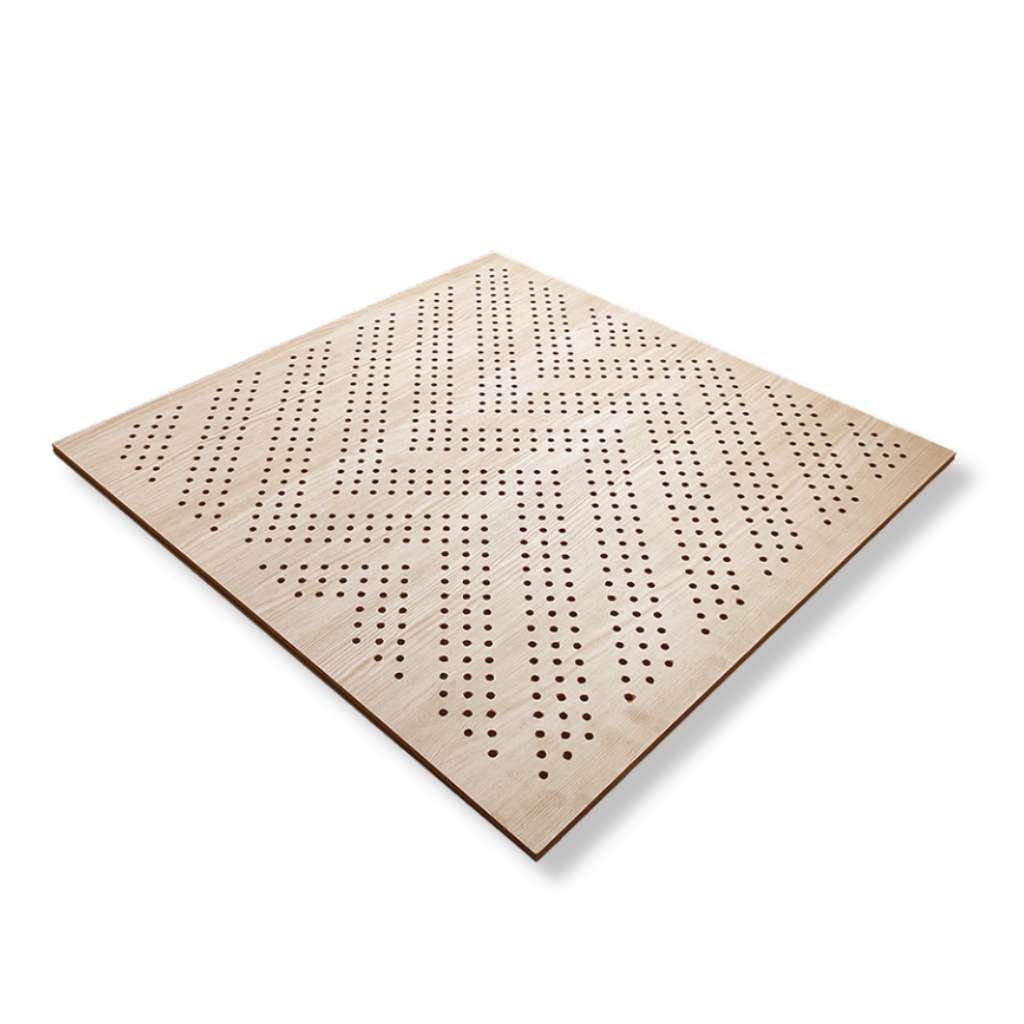
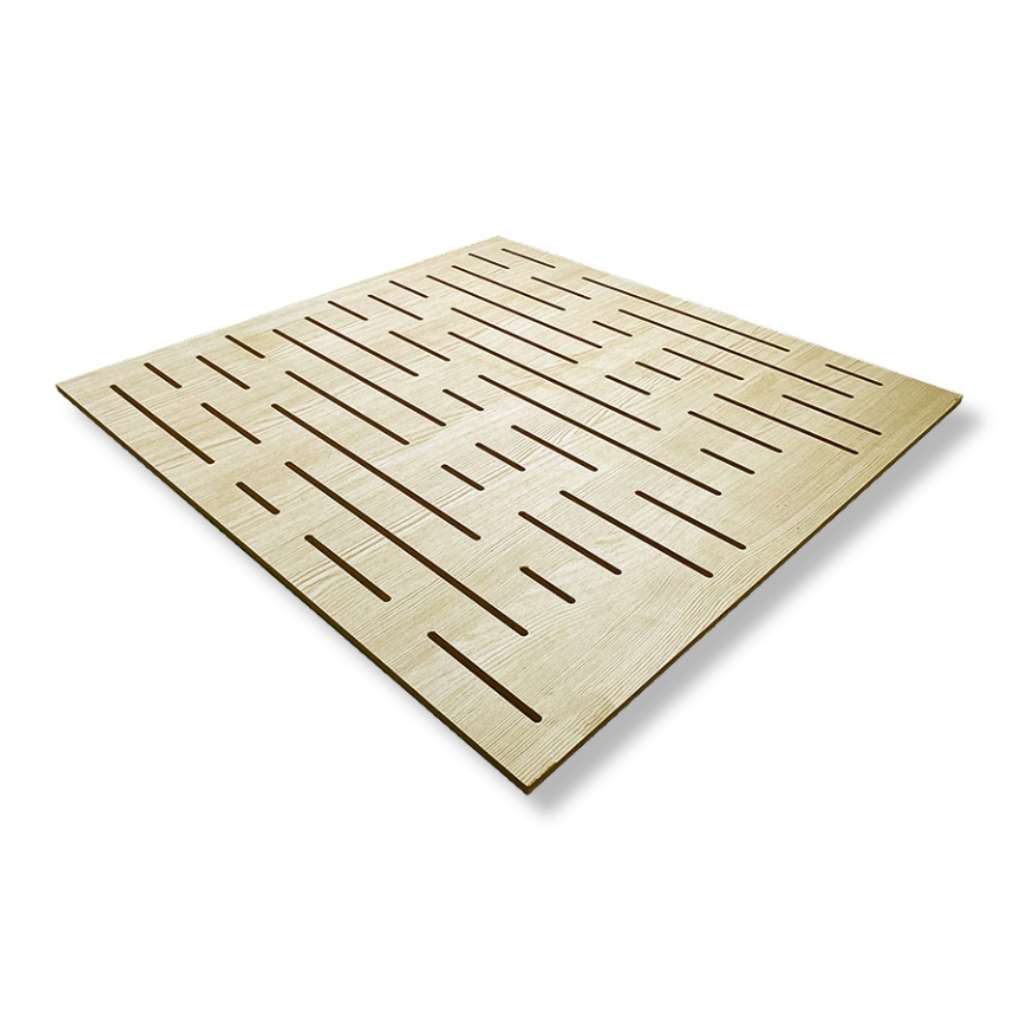
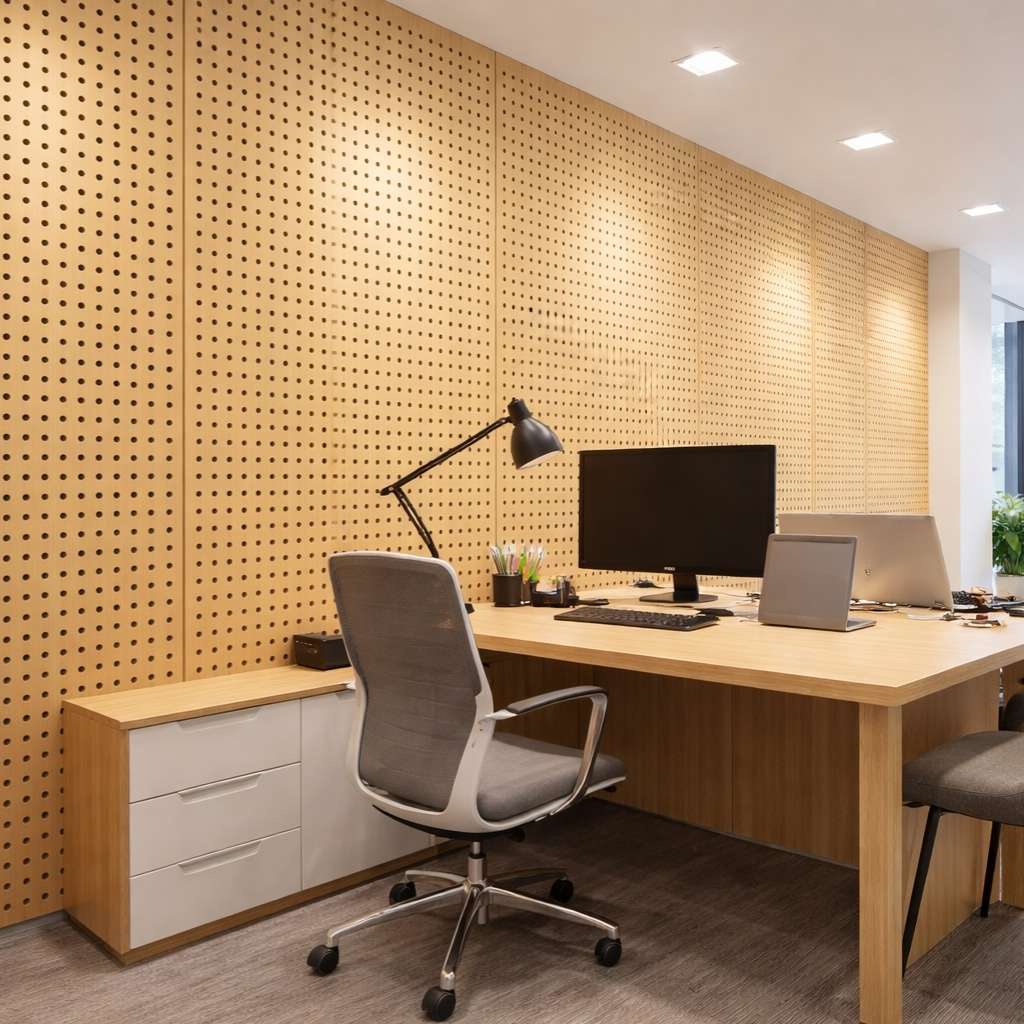
Elevate your space with the dual benefit of sophisticated aesthetics and superior sound control using our Silence Acoustic Wooden Panel collection. These Premiun Wooden Acoustic Panels are engineered to transform any room’s acoustics while adding the timeless warmth of wood. Our range includes high-performance Perforated Wooden Acoustic Panels that are expertly designed to absorb unwanted echo and reverberation. Whether you’re creating a feature wall with our stylish Wood Acoustic Wall Panels, a seamless and continuous Acoustic Wood Wall Cladding, or a stunning overhead design with our Wood Acoustic Ceiling Panels, these products offer a flawless integration of function and style. They are the ultimate choice for anyone seeking Decorative Wooden Acoustic Panels that perform as beautifully as they look.
KEY FEATURES
Dual Functionality: Our Decorative Wooden Acoustic Panels provide both a high-end architectural finish and professional-grade sound absorption in a single solution.
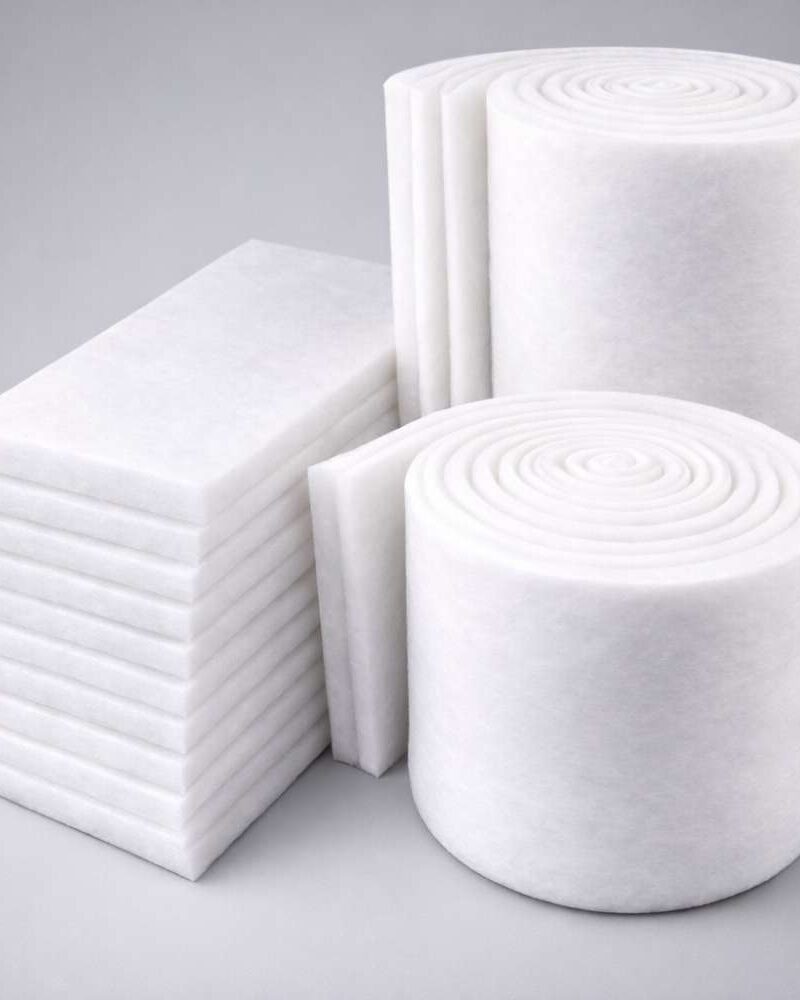
Advanced Acoustic Core: Available in multiple styles, including Perforated Wooden Acoustic Panels that use micro-perforations to trap and dissipate sound waves for superior acoustic clarity.
Versatile Application: Perfectly suited for use as elegant Wood Acoustic Wall Panels or as sophisticated Wood Acoustic Ceiling Panels to treat a room from multiple surfaces.
Seamless Architectural Integration: Ideal for creating a continuous and modern feature wall with our Acoustic Wood Wall Cladding system, blending perfectly into your design.
Premium Materials: Each Acoustic Wooden Panel is crafted from high-quality, real-wood veneers and durable acoustic substrates for a long-lasting and luxurious finish.
Wide Range of Styles: With various wood types, finishes, and perforation patterns available, our Wooden Acoustic Panels can be customized to match any interior design scheme.
Installation Method
Prepare the Wall
- Clean the wall – remove dust, grease, or loose paint.
- Locate studs with a stud finder for secure nailing, especially for heavier panels.
- Mark placement lines with a pencil and level. Decide orientation (vertical or horizontal) and spacing (1–3 cm is typical).
Cut and Sand Panels
- Measure each panel to fit your wall.
- Trim with a saw if necessary.
- Sand edges smooth for a clean finish.
Position the Panel
- Hold the panel against the wall, aligned with your pencil lines.
- Use a level to ensure it’s straight.
- Place spacers between panels for consistent gaps.
Nail the Panel
- Start at one end of the panel.
- Hammer nails through the panel into wall studs (or anchors if needed).
- Space nails evenly along the panel (typically every 40–50 cm).
- Repeat for all panels, checking level and alignment as you go.
Finishing Touches
- Fill visible nail heads with wood filler if desired.
- Sand any rough spots.
- Optionally apply stain, varnish, or oil for a polished look.
- Inspect for level and consistent spacing.