TECHNICAL SPECIFICATION
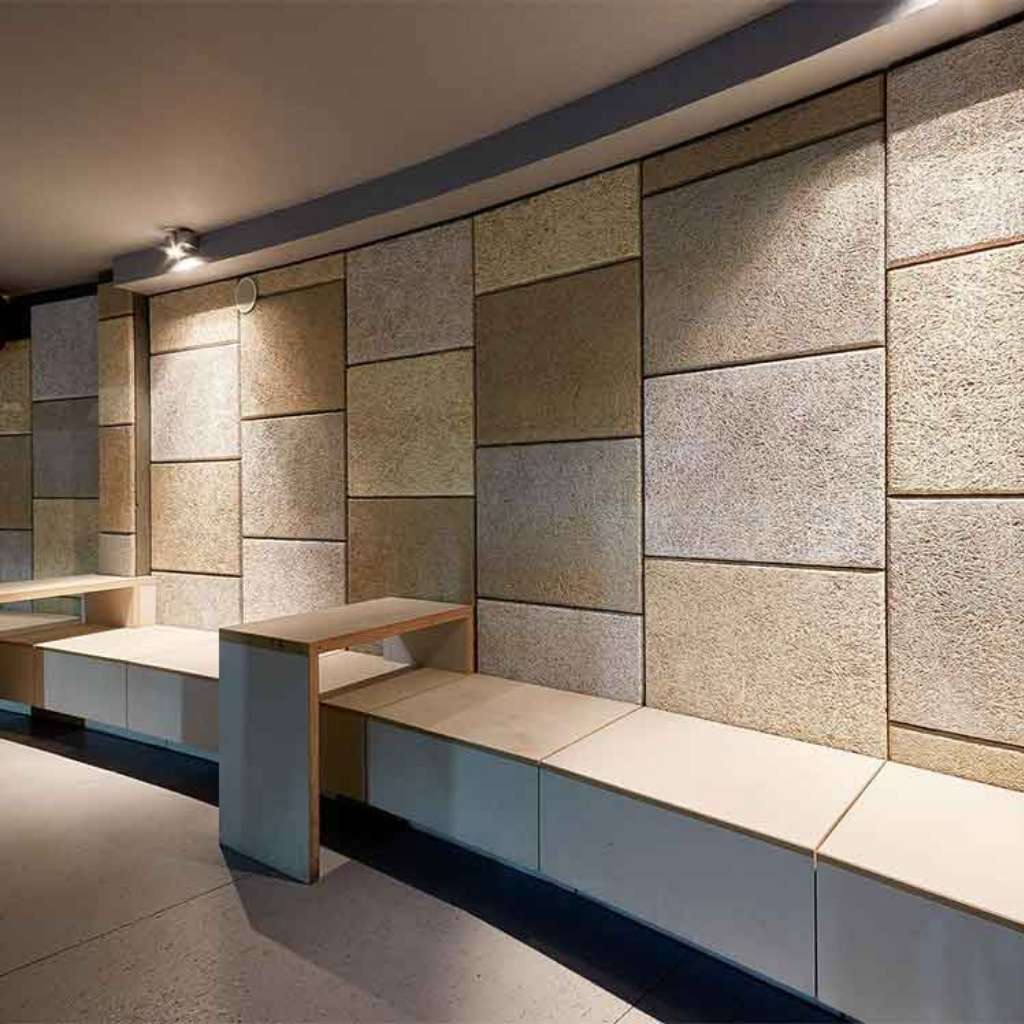
Acoustic Wood Wool Panel
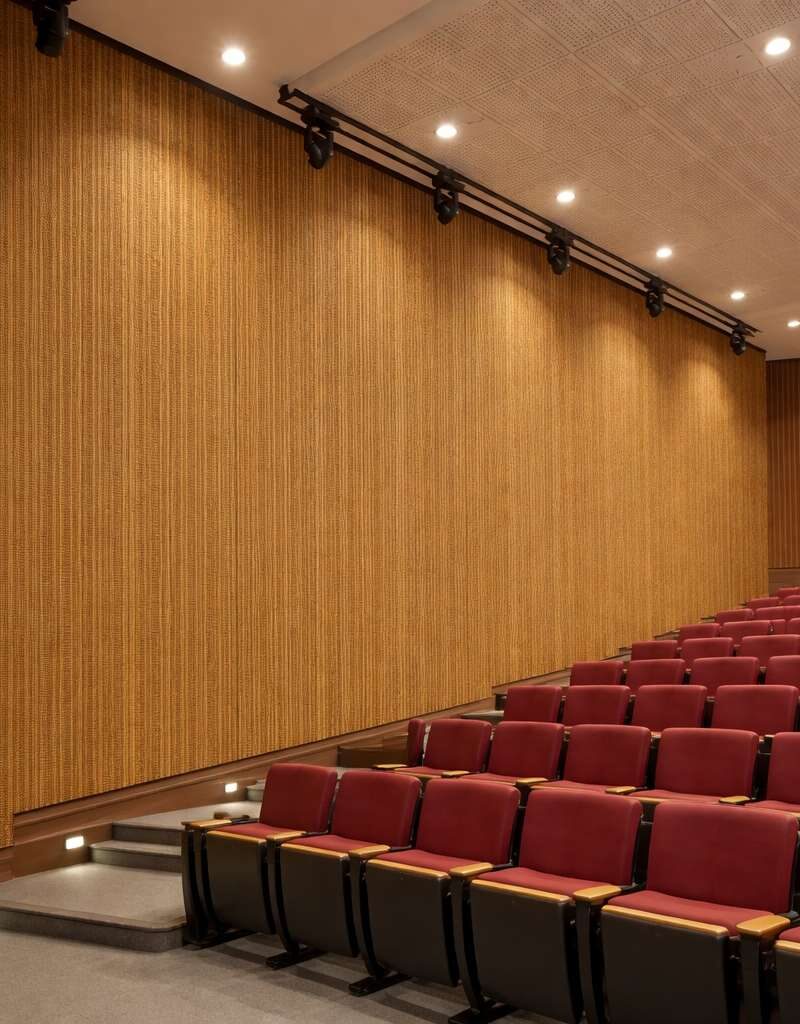
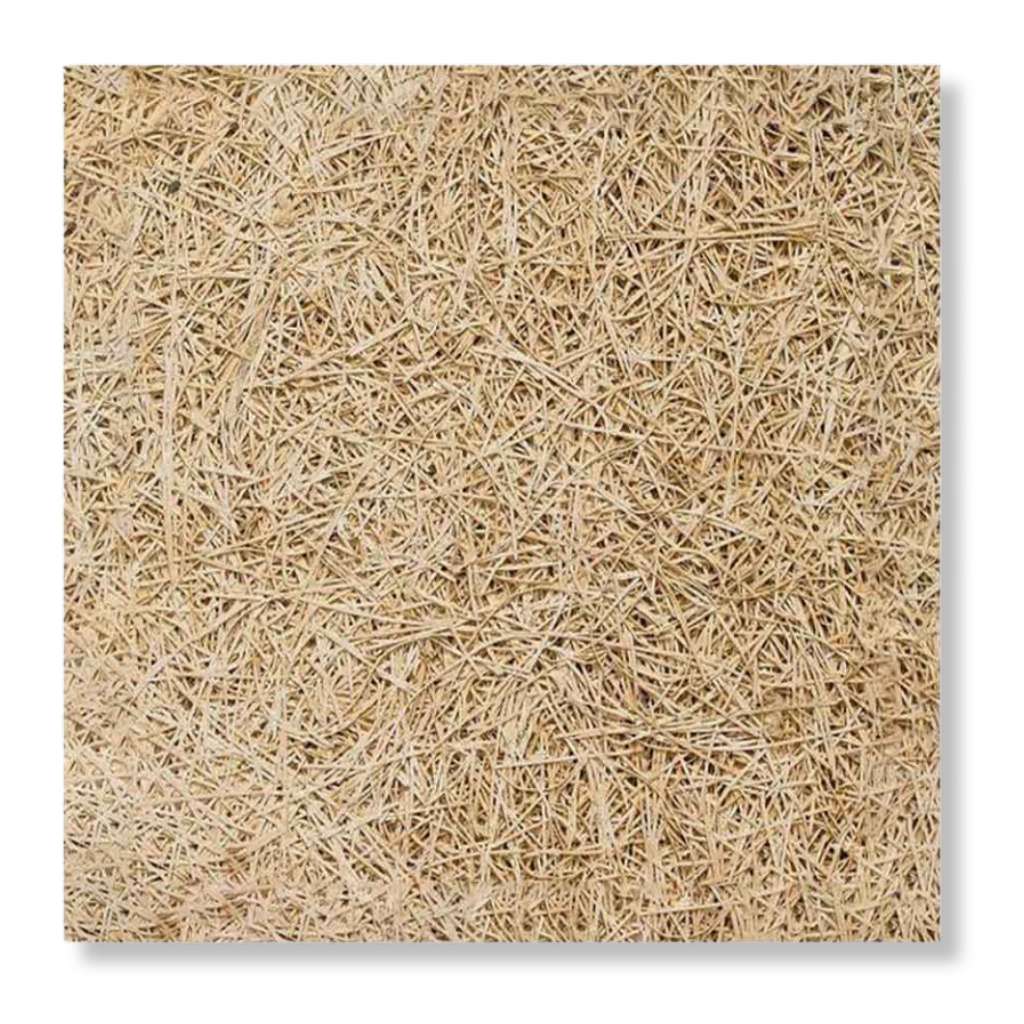
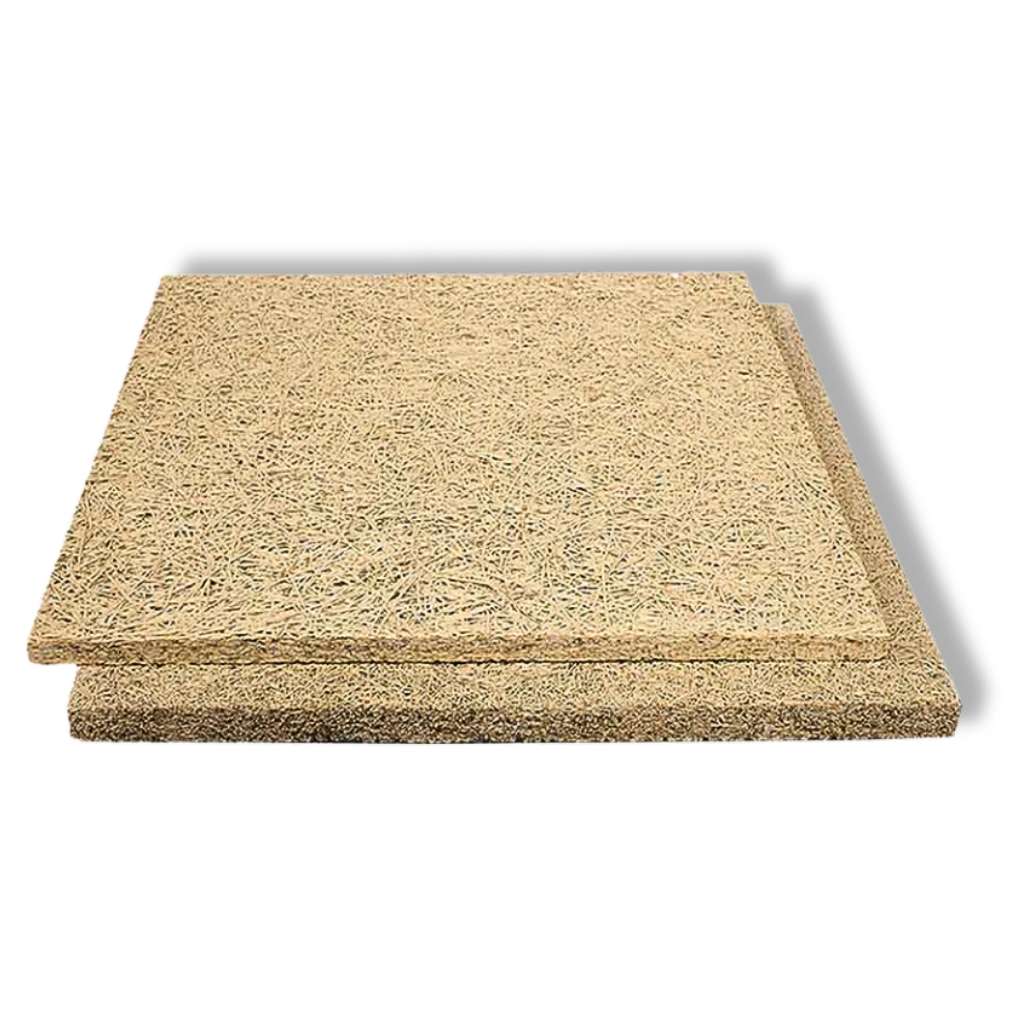
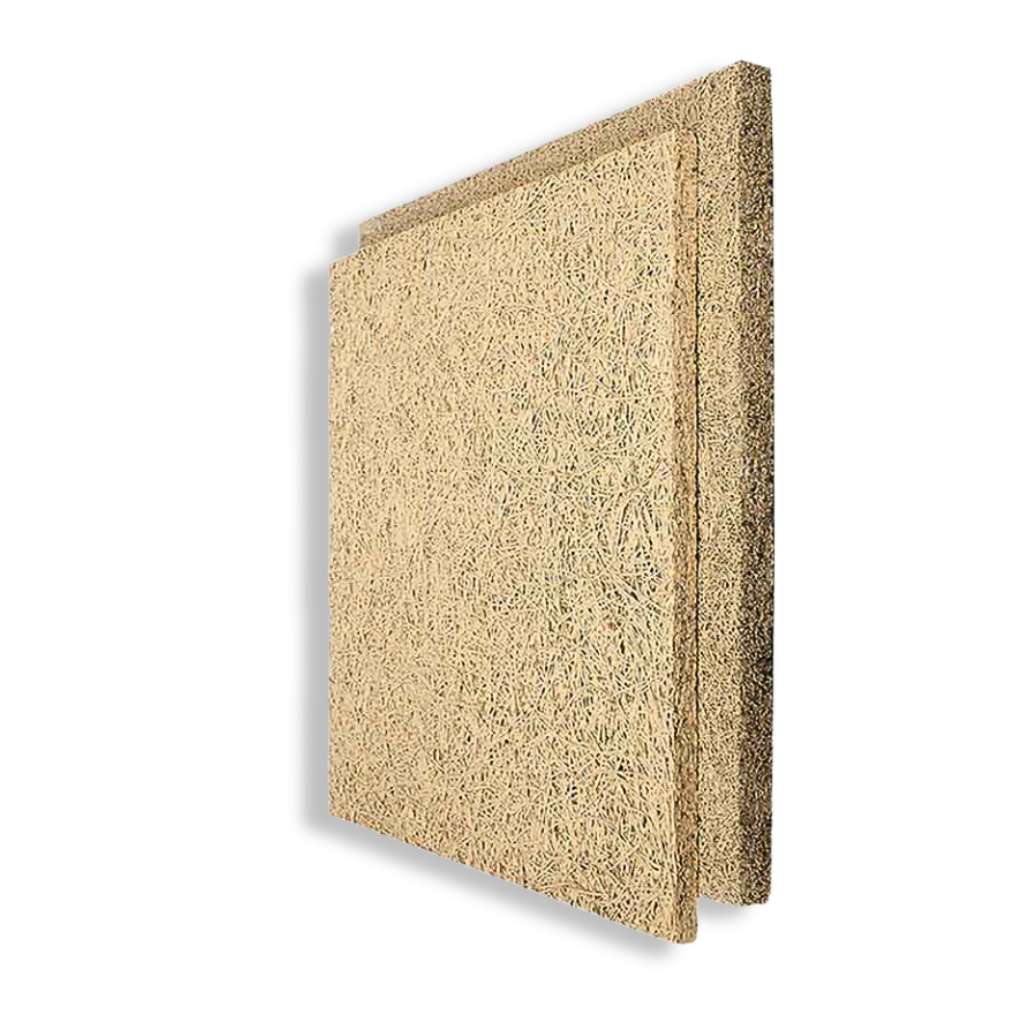
Discover the natural beauty and superior performance of our Silence Acoustic Wood Wool Panel collection. These exceptional Wood Wool Acoustic Panels are crafted from compressed wood fibers and cement, creating a highly effective Wood Wool Cement Board Acoustic solution. Celebrated as one of the best Eco Acoustic Wood Wool Panels, they bring sustainable style to any project. Perfect for use as both Wood Wool Ceiling Panels and Wood Wool Wall Panels, each Wood Wool Acoustic Board offers excellent sound absorption while adding unique texture. Embrace the raw, organic aesthetic of Natural Acoustic Panels Wood Wool for an environment that is both acoustically balanced and visually stunning.
KEY FEATURES
Eco-Friendly Material: Our Eco Acoustic Wood Wool Panels are made from renewable wood and cement, making them a top choice for sustainable and green building projects.
Superior Acoustic Performance: Each Wood Wool Acoustic Board is engineered to provide excellent sound absorption, reducing echo and improving speech intelligibility.
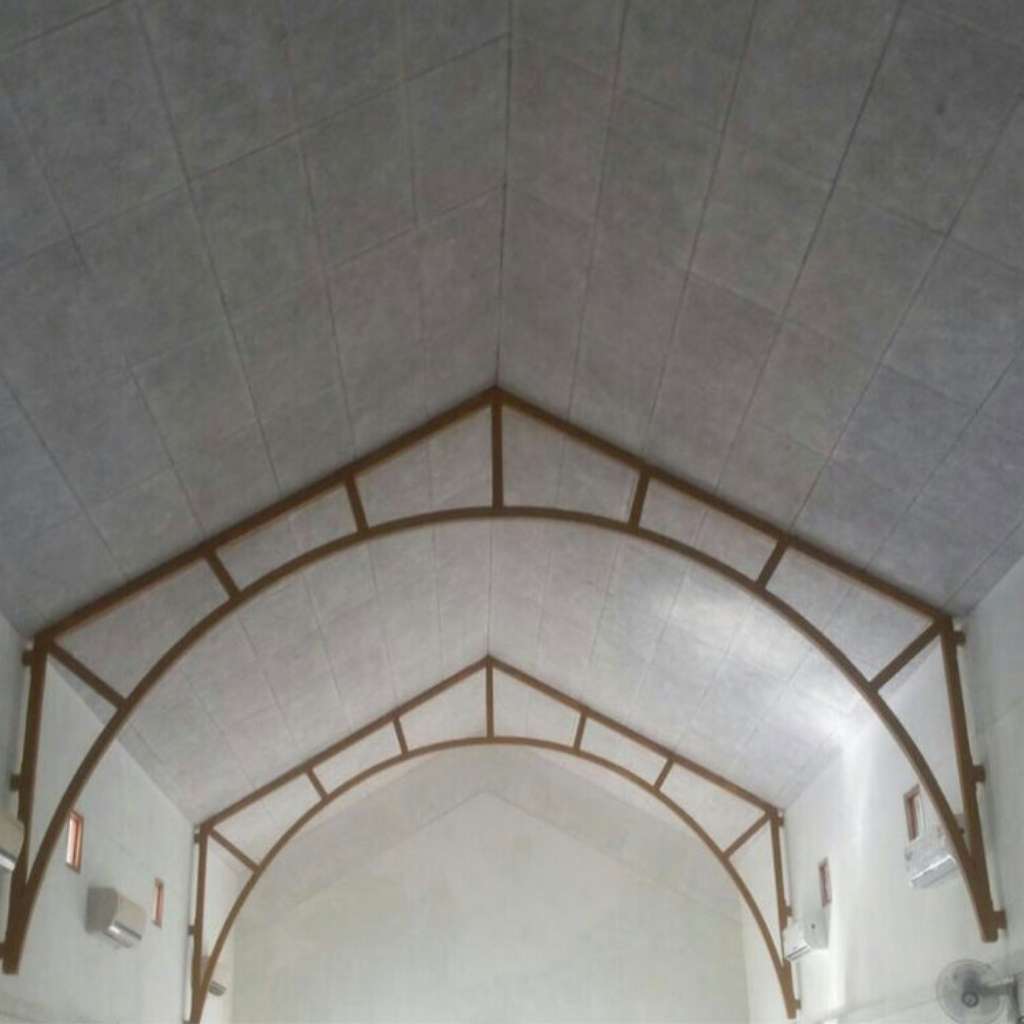
Versatile Application: Perfectly suited for use as both Wood Wool Ceiling Panels and decorative Wood Wool Wall Panels in commercial and residential spaces.
Durable & Safe: The unique Wood Wool Cement Board Acoustic composition offers high durability, impact resistance, and natural fire-retardant properties.
Natural Aesthetic: The beautiful, raw texture of Natural Acoustic Panels Wood Wool provides a warm and organic finish that complements a variety of design styles.
Multi-Functional Panel: A single Acoustic Wood Wool Panel provides an all-in-one solution for acoustics, thermal insulation, and a decorative finish.
Wall Installation
Step 1: Surface Preparation
- Ensure wall surface is clean, dry, and level.
- Mark panel layout as per approved drawing.
Step 2: Mark & Drill
- Mark fixing points on panel (generally 4–6 points per panel).
- Drill holes in wall using appropriate drill bit.
Step 3: Fix with Screws & Fasteners
- Use anchor fasteners with screws and washers.
- Fix panel firmly to wall through pre-drilled holes.
- Ensure panels are aligned properly.
Step 4: Joint Alignment
- Maintain uniform gap or tight joints as per design.
- Check vertical and horizontal alignment.
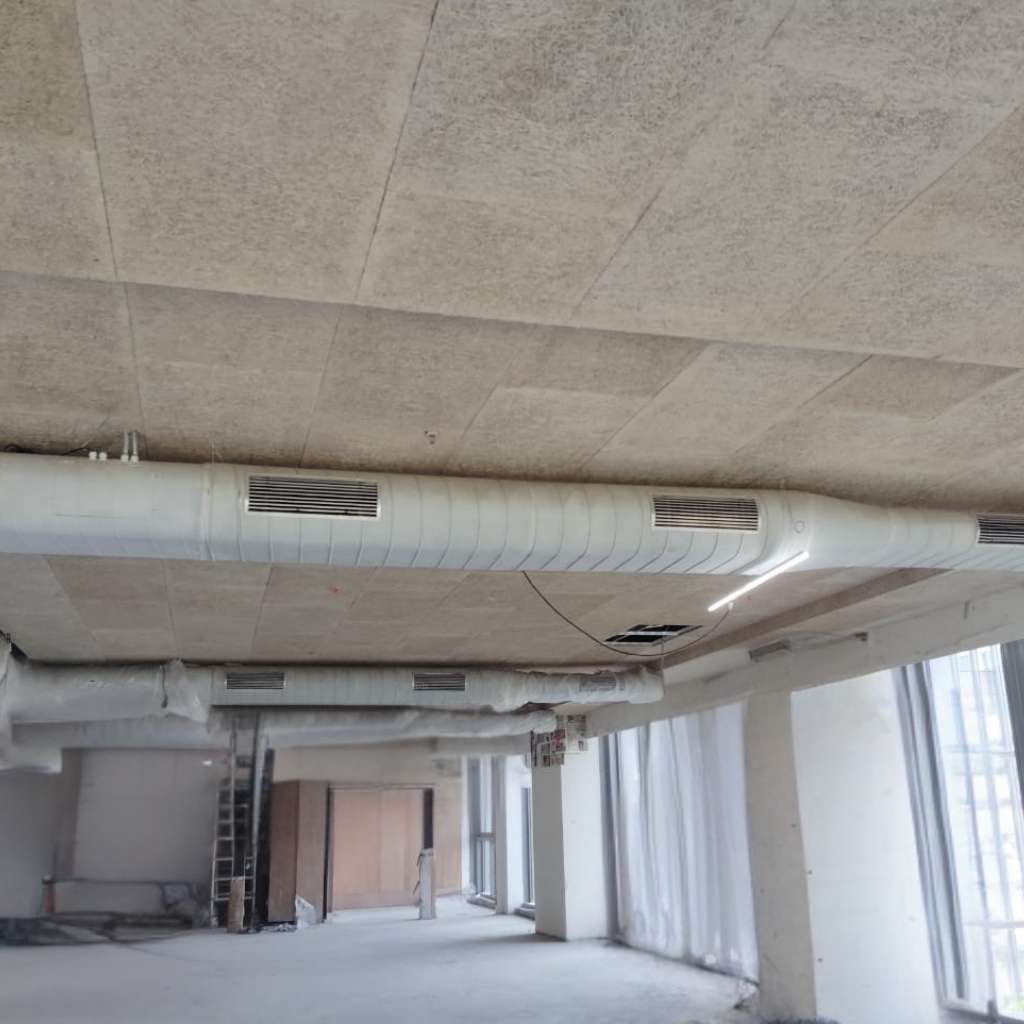
Ceiling Installation
Step 1: Install Suspension System
- Fix anchor fasteners into RCC slab.
- Install threaded rods and GI carrier/channel framework.
Step 2: Fix Panels to Framework
- Secure panels to GI framework using screws with washers.
- Ensure proper support and load distribution.
Step 3: Level & Tighten
- Adjust rods for proper leveling.
- Tighten all connections securely.
Adhesive Fixing (Lightweight Panels Only)
- Apply construction adhesive evenly on the back of the panel.
- Press firmly against wall surface.
- Provide temporary support until adhesive sets.