

TECHNICAL SPECIFICATION
Density:
750 Kg/m³
Thickness:
15mm
NRC:
upto 0.85
Fire Class:
1 & P
Material:
MDF / HDF
Weight:
12 Kg /cm
Size:
2420mm X 128mm
Edge:
Tongue & Groove
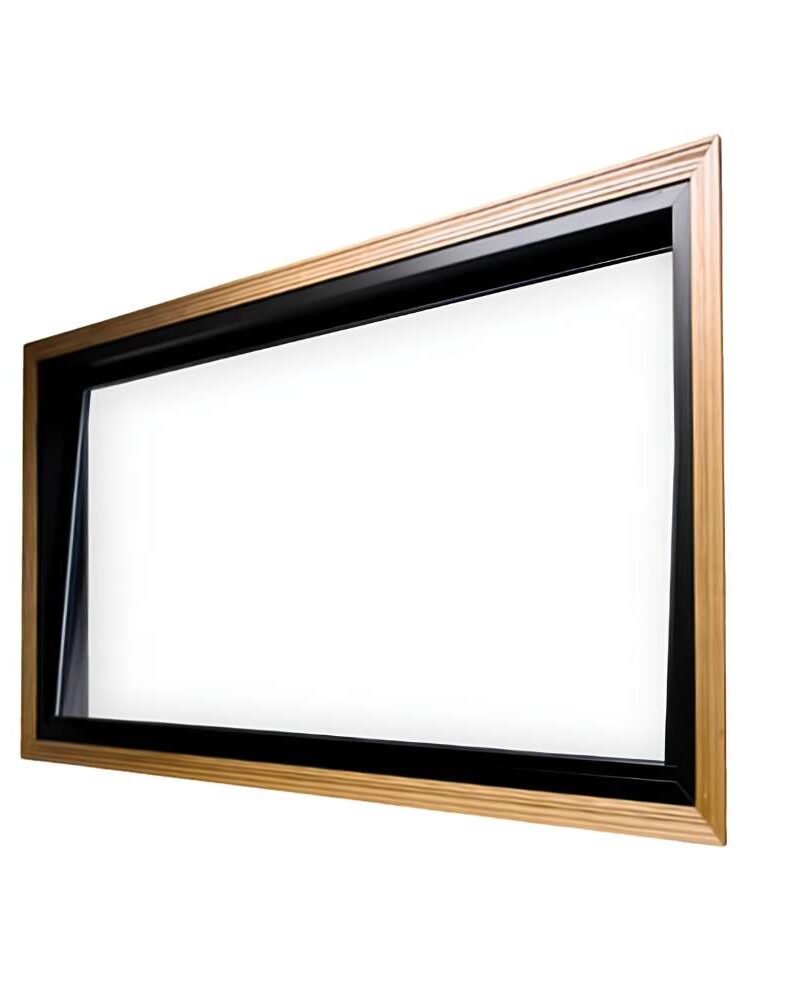
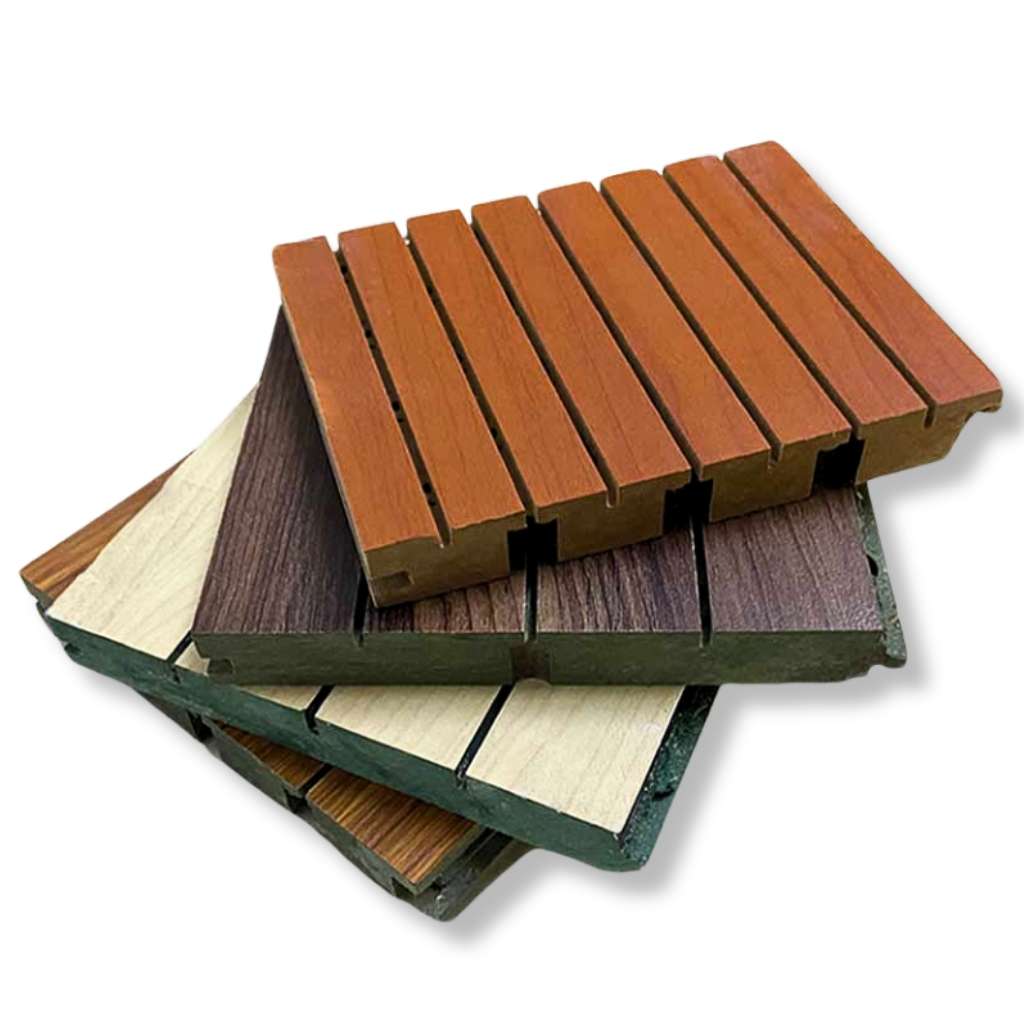
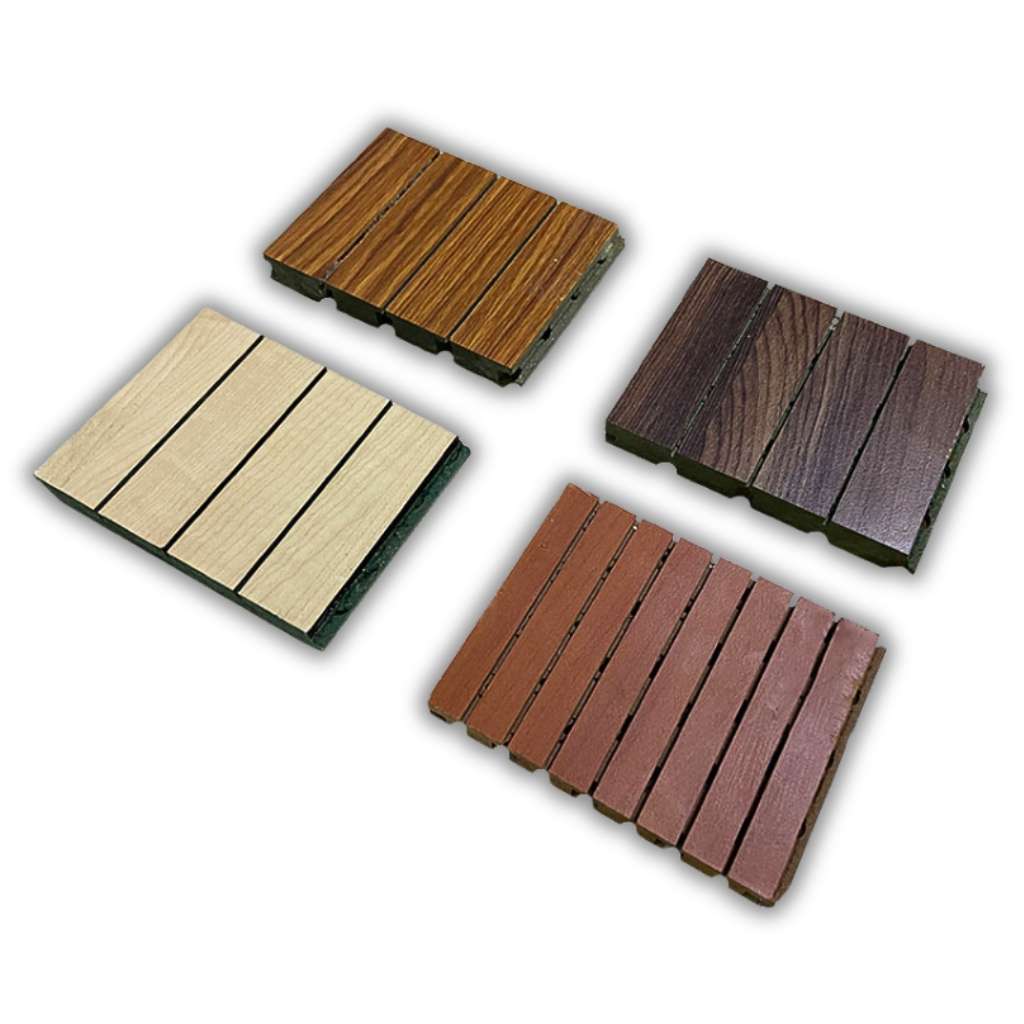
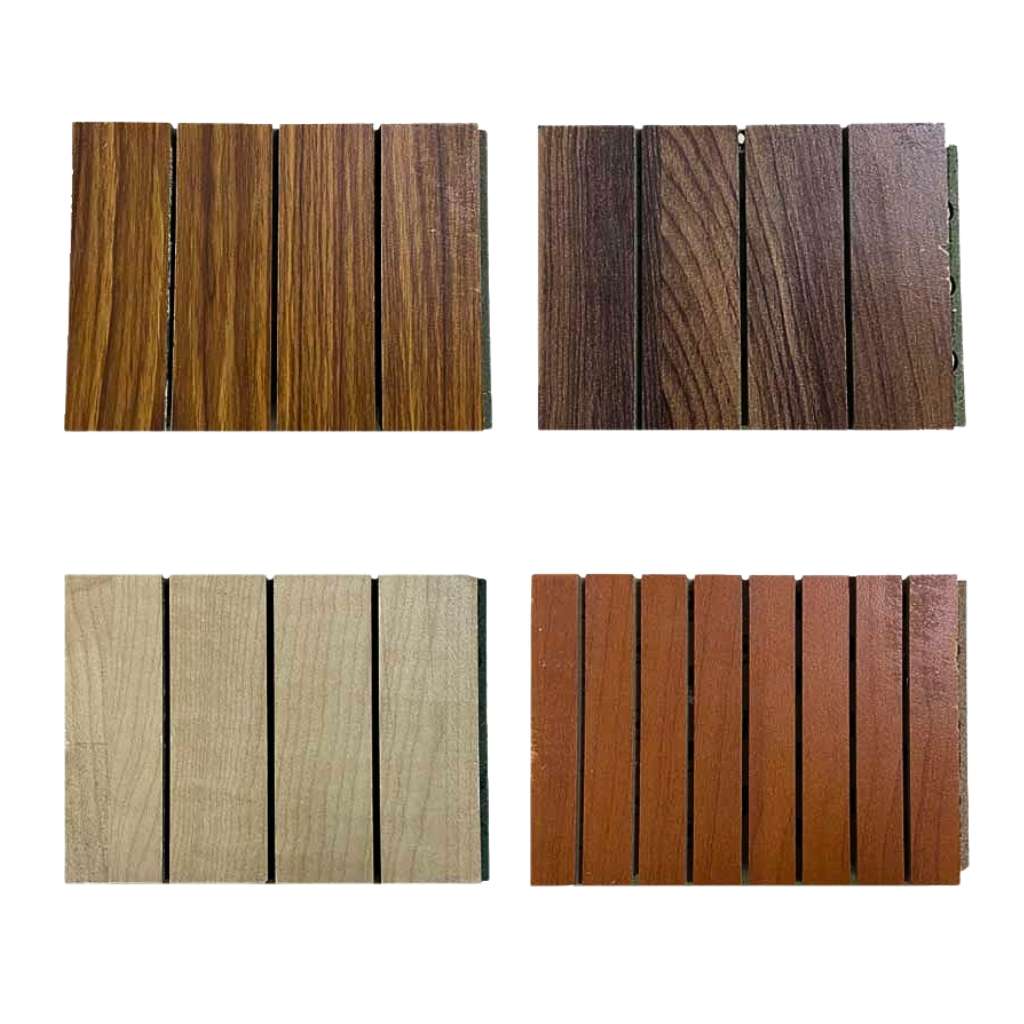
Acoustic Wooden Slats
Acoustic wooden slats combine natural beauty with superior sound absorption to enhance both the aesthetics and acoustics of any space. Crafted from high-quality wood, these slats are designed to reduce noise and control reverberation, creating a more pleasant and balanced environment. Ideal for walls and ceilings, they offer a sleek, modern appearance that complements a wide range of interior styles. Perfect for offices, auditoriums, and residential spaces, acoustic wooden slats provide an elegant and effective solution to acoustic challenges.
KEY FEATURES
- Enhances interior design with the natural beauty of wood
- Effectively reduces noise and controls reverberation.
- Made from high-quality, long-lasting wood materials.
- Suitable for use in offices, conference rooms, auditoriums, and homes
- Sourced from sustainable and environmentally friendly materials
- Designed for straightforward and efficient setup
- Requires minimal upkeep to maintain performance and appearance
- Provides additional thermal benefits for energy efficiency
- Available in various finishes, sizes, and designs to suit different aesthetics
- Improves overall sound quality, creating a more pleasant and balanced environment
Installation Method
Prepare the Wall
- Clean the wall – remove dust, grease, or loose paint.
- Locate studs – nails work best when driven into wall studs for stability, especially for heavier slats.
- Mark placement lines – use a level and pencil to outline where each slat will go. Decide on vertical or horizontal orientation and spacing (1–3 cm for aesthetics and acoustic performance).
Cut and Sand Slats
- Measure slats to fit your wall dimensions.
- Trim with a saw if needed.
- Sand edges for a smooth finish.
Position the Slat
- Hold the slat against the wall, aligned with your markings.
- Use a level to ensure it is perfectly straight.
- Place spacers between slats if you want consistent gaps.
Nail the Slats
- Start at one end of the slat.
- Hammer nails into the slat at a slight downward angle, aiming for studs or wall anchors.
- Space nails evenly along the slat (every 40–50 cm is typical).
- Repeat for all slats, checking alignment and level frequently.
Finishing Touches
- Fill visible nail heads with wood filler for a clean finish.
- Lightly sand any rough areas.
- Apply varnish, stain, or oil if desired.
- Inspect for consistent spacing and level alignment.