TECHNICAL SPECIFICATION
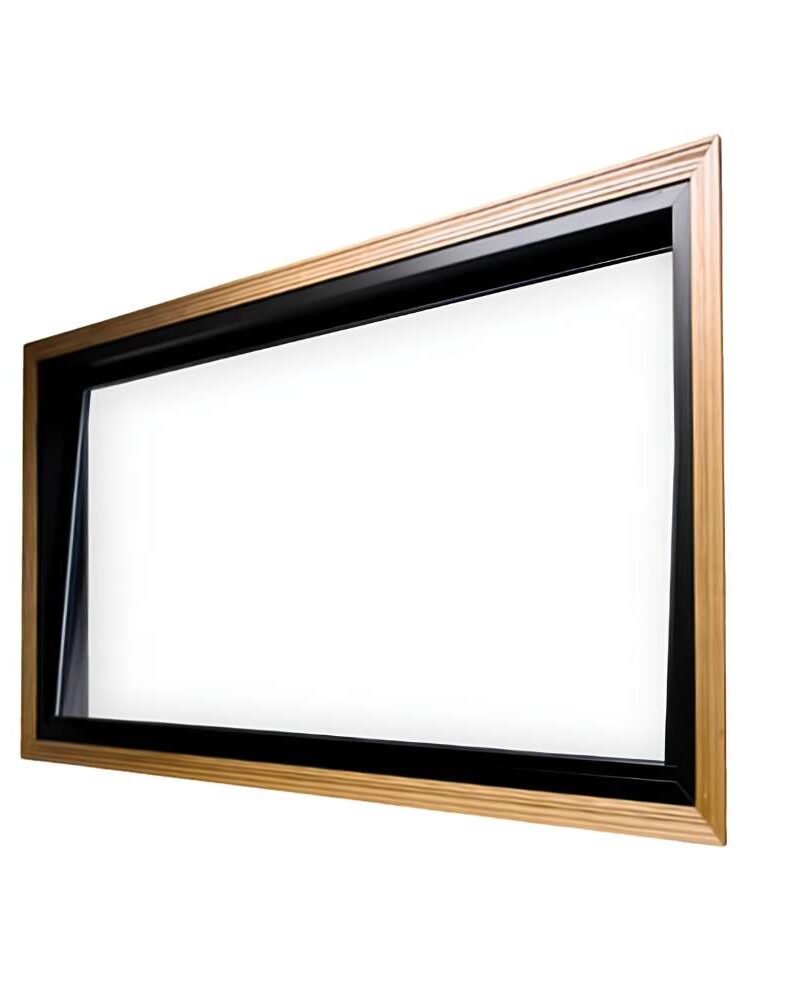
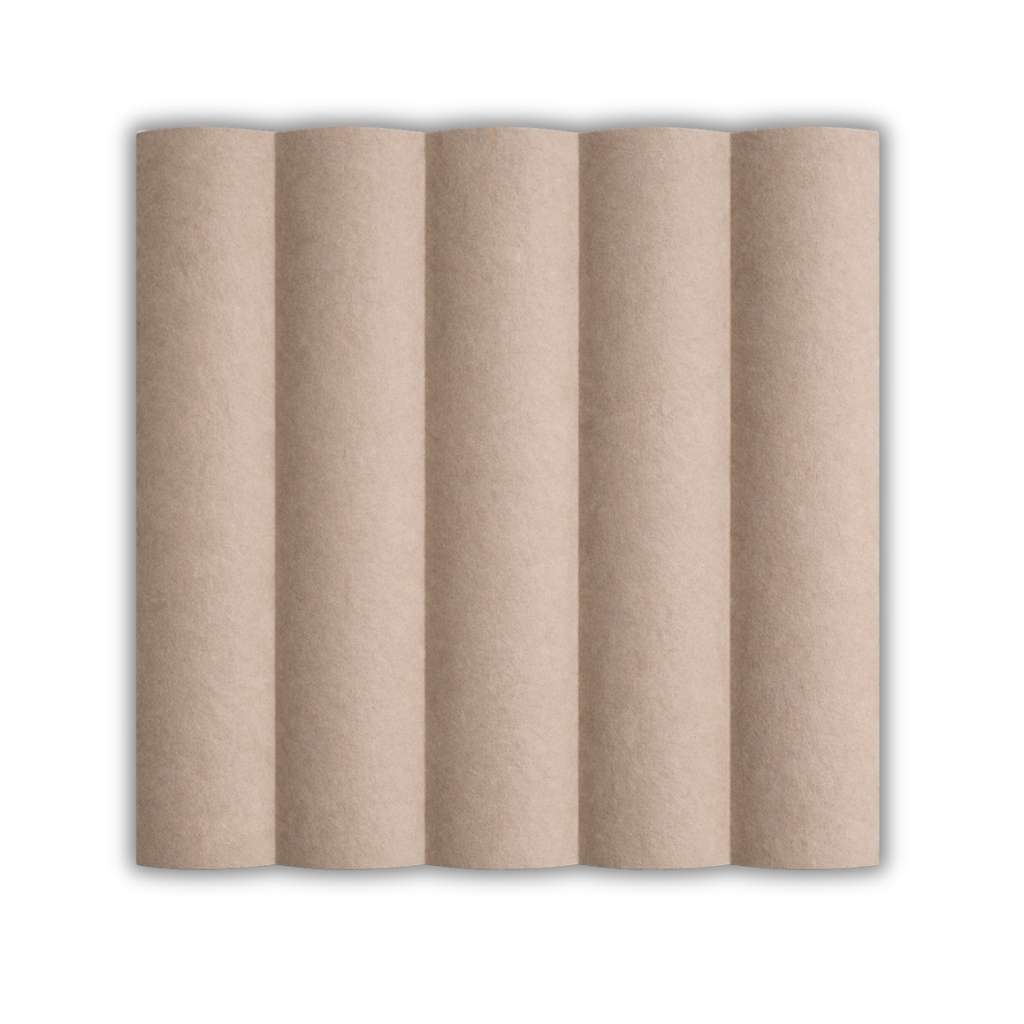
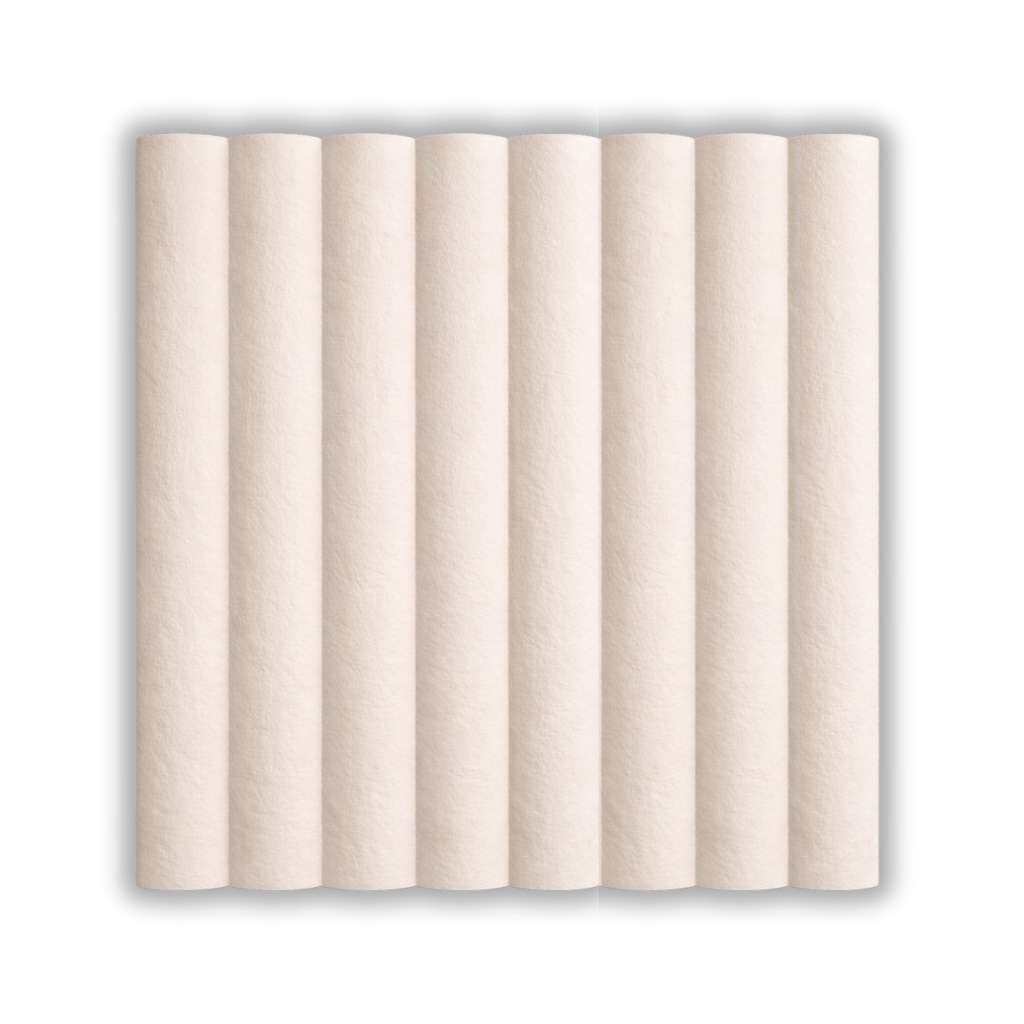
Acoustic 3D Embossed Panel
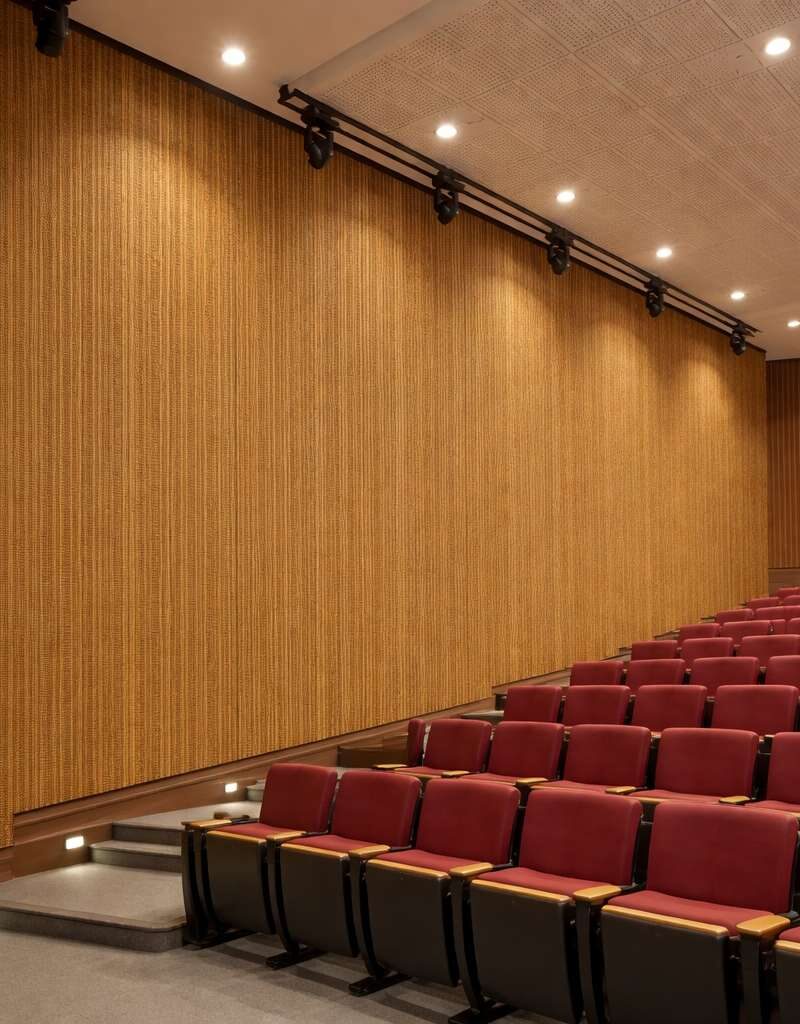
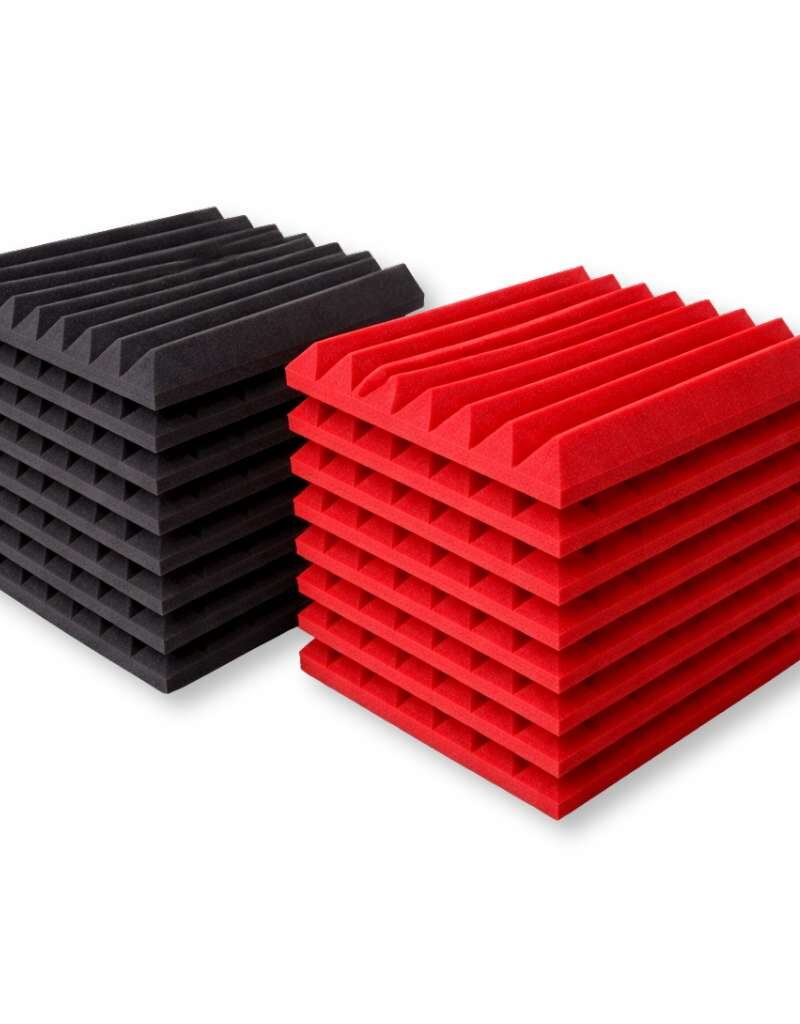
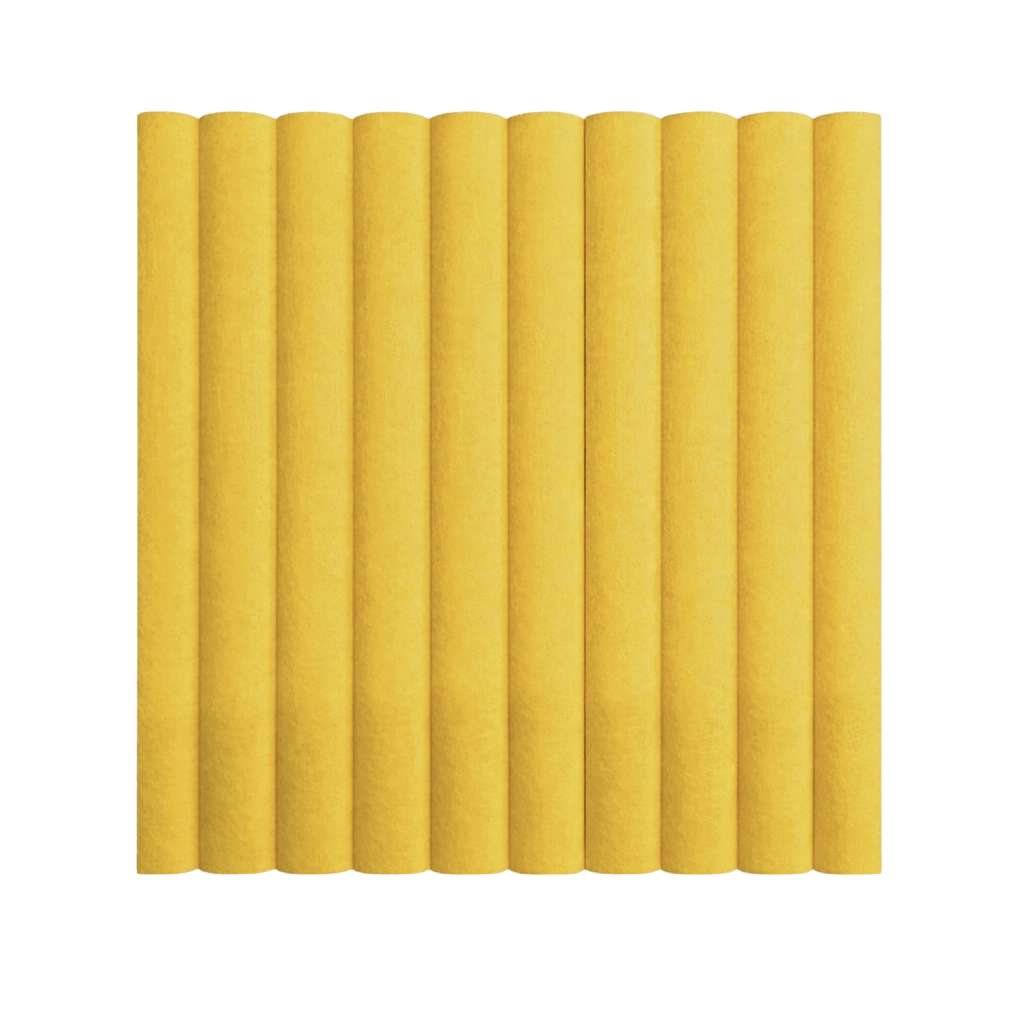
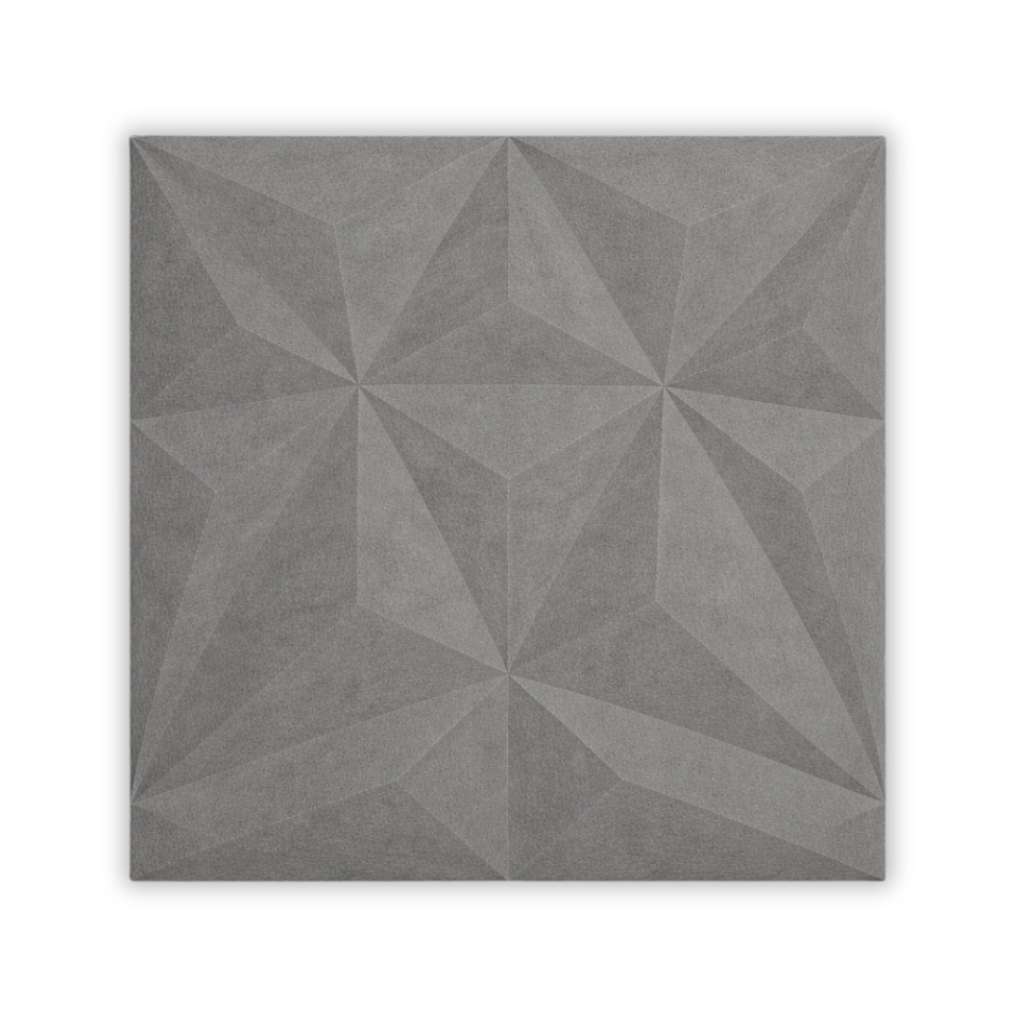
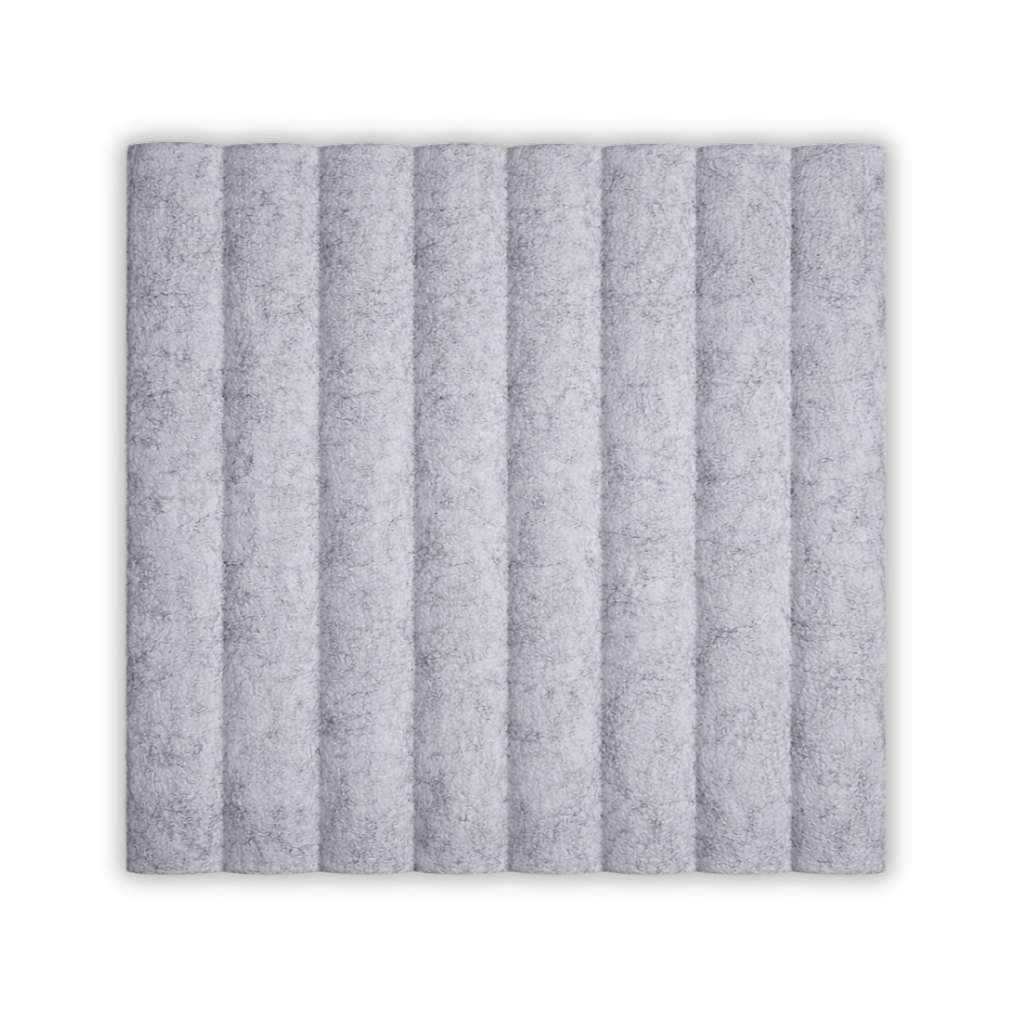
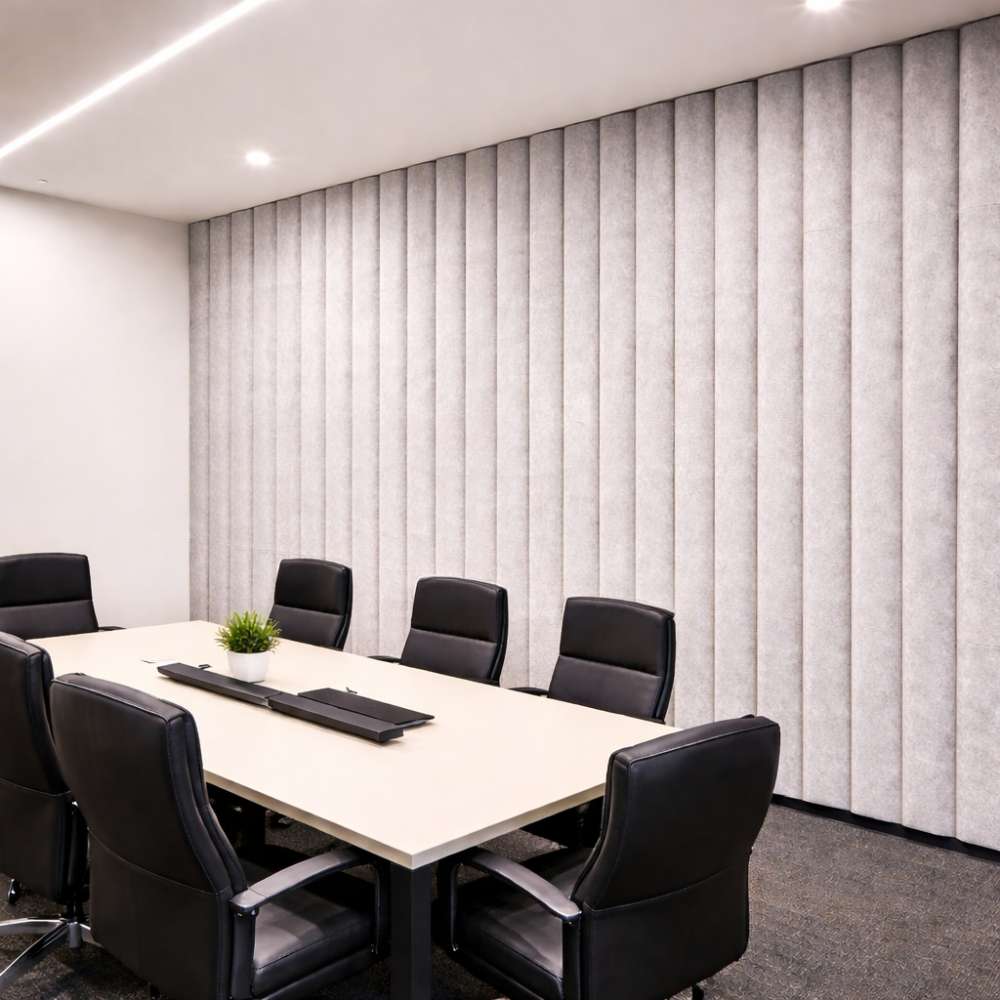
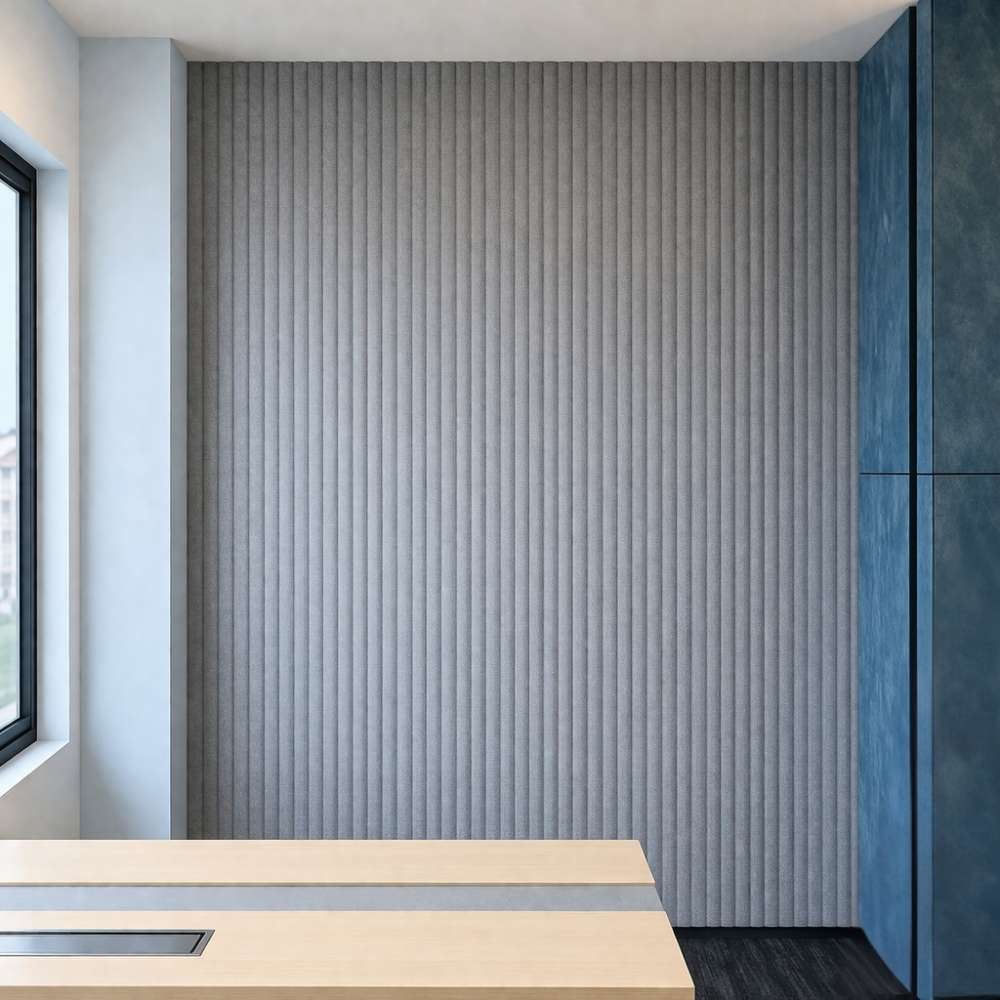
Transform your walls into a work of art with our stunning Silence Acoustic 3D Embossed Panel collection. These innovative 3D Acoustic Wall Panels feature intricate, deeply Embossed Acoustic Panels designs that add captivating depth and texture to any surface. Serving as both a statement piece and a high-performance sound solution, these 3D Decorative Acoustic Panels are engineered to be highly effective 3D Sound Absorbing Panels. The unique Textured Acoustic Panels create a dynamic visual effect, making our Acoustic Wall Panels 3D collection the premier choice for sophisticated interiors. They are perfectly suited for spaces demanding superior audio quality and aesthetics, such as professional 3D Acoustic Panels For Cinema and large-scale 3D Acoustic Panels For Auditorium installations.
KEY FEATURES
Dynamic 3D Embossed Design: Our Acoustic 3D Embossed Panel features a unique textured surface that creates a stunning interplay of light and shadow.
Superior Sound Absorption: Expertly engineered as 3D Sound Absorbing Panels to reduce echo and reverberation, significantly improving room acoustics.
Aesthetically Driven: The ultimate 3D Decorative Acoustic Panels, designed to be a focal point that merges artistic form with acoustic function.
High-End Applications: The preferred choice for acoustically critical environments, making them ideal as 3D Acoustic Panels For Cinema and 3D Acoustic Panels For Auditorium.
Unique Textured Surface: These Textured Acoustic Panels provide a tactile and visual richness that flat panels cannot match.
Modern Wall Solution: A sophisticated alternative to traditional wall coverings, our Acoustic Wall Panels 3D offer both visual impact and practical performance.
Installation Method
Surface Preparation
- Ensure wall/ceiling surface is clean, dry, smooth, and level.
- Remove dust, loose paint, or grease.
- Mark layout lines to maintain proper alignment of 3D patterns.
Adhesive Application
- Apply Synthetic Rubber Adhesive on the back side of the panel in dot or bead pattern (25–30 mm spacing).
- Apply additional adhesive along edges and center for strong bonding.
- Avoid excessive adhesive to prevent uneven surface or bulging.
Fixing the Panel
- Carefully position the panel as per layout markings.
- Press firmly and evenly to ensure full contact.
- Maintain proper alignment of the embossed pattern with adjacent panels.
Temporary Support (If Required)
- For ceiling installation or larger panels, provide temporary mechanical support until adhesive fully cures.
Finishing
- Check joints and pattern continuity.
- Remove excess adhesive immediately.
- Allow proper curing time as per manufacturer recommendations.