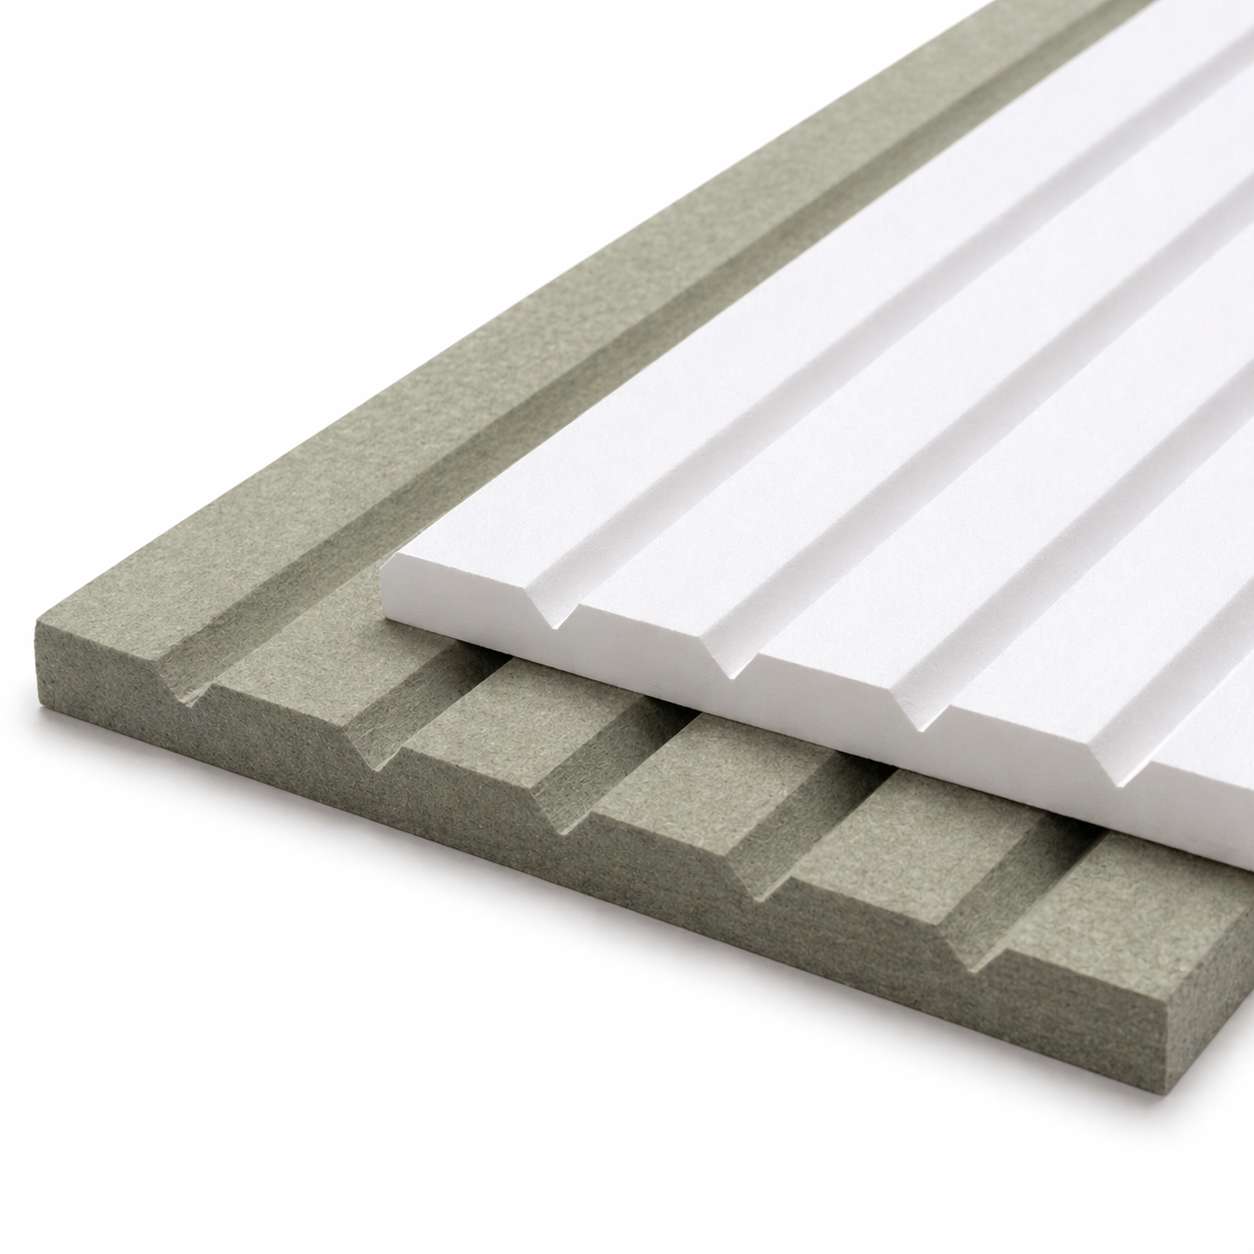
9MM
12MM
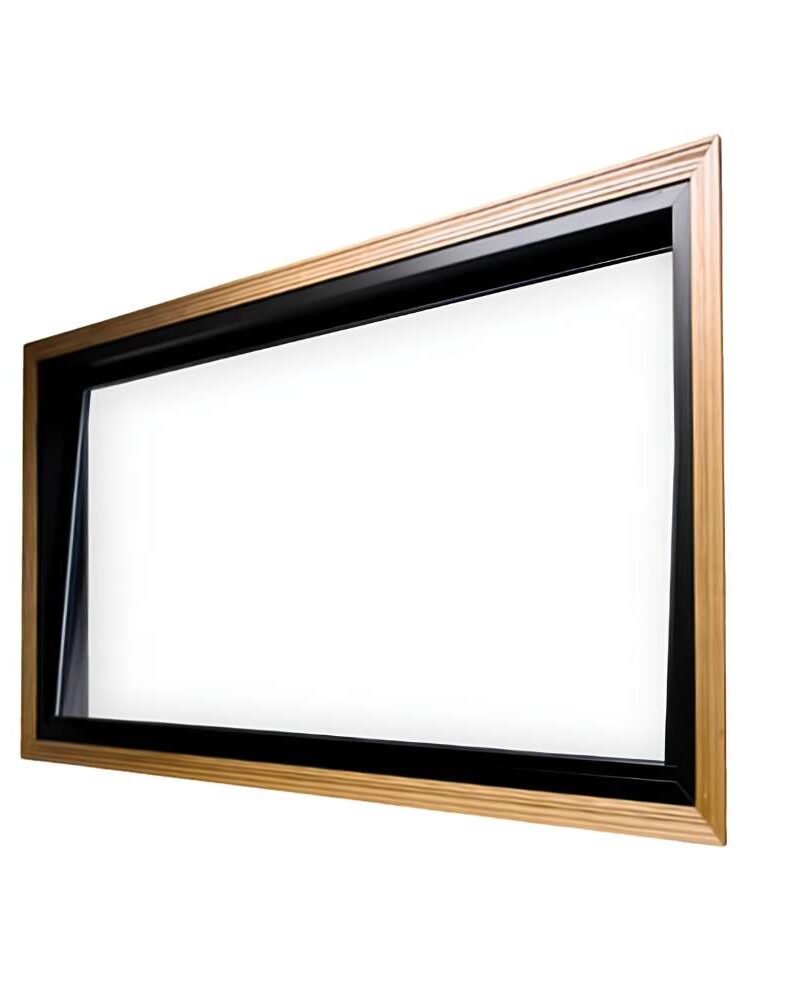
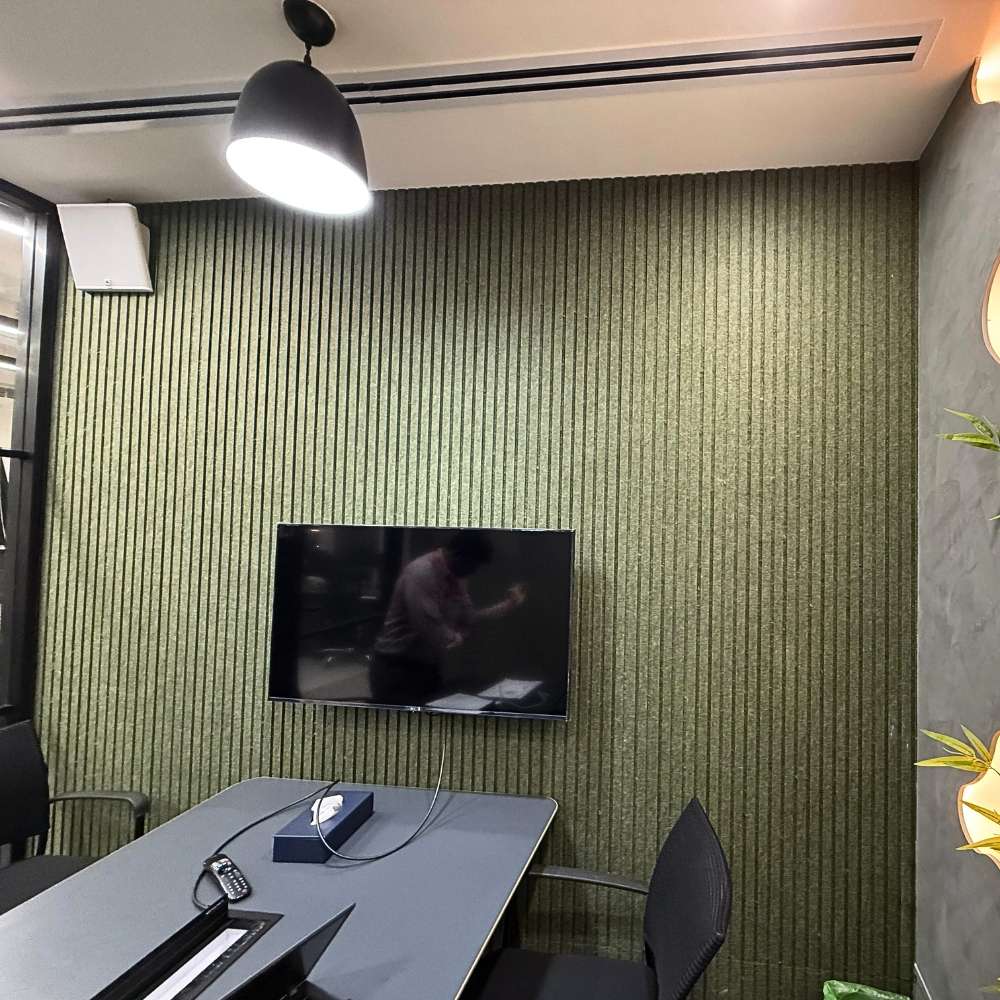
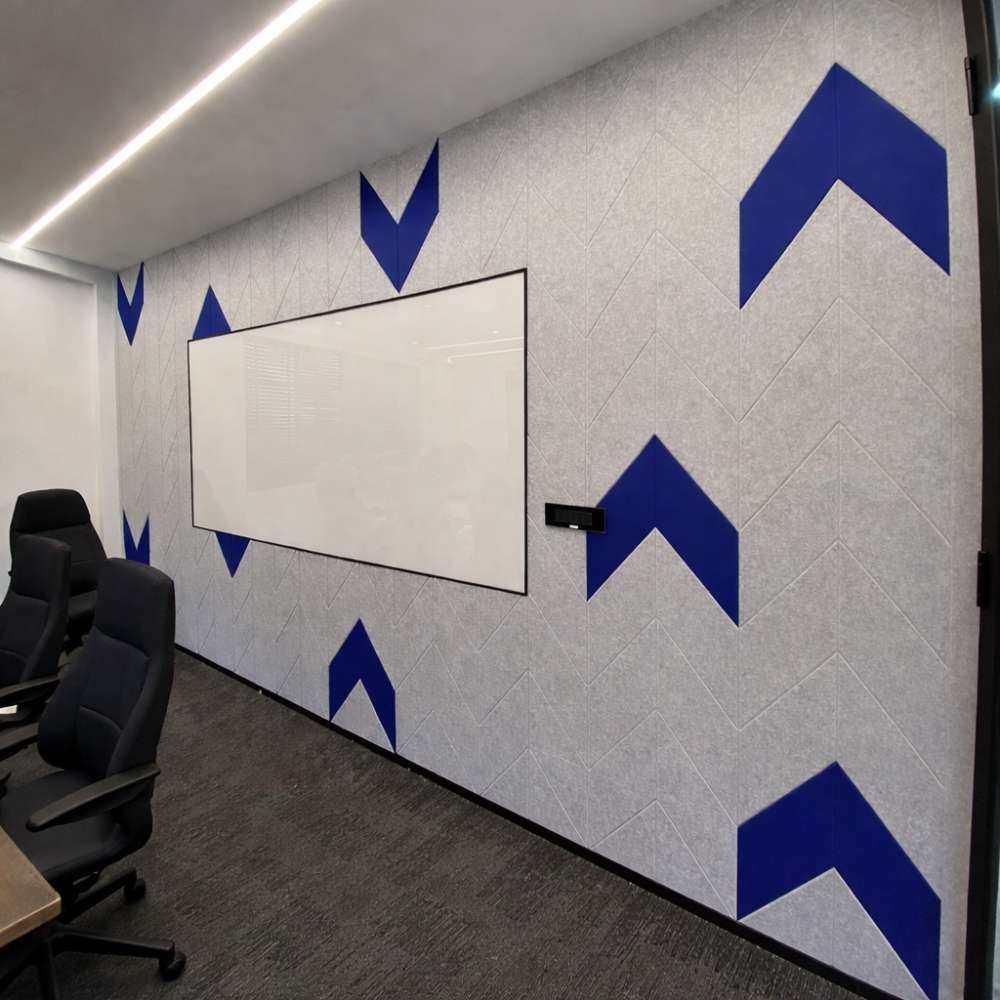
Acoustic Designer Panel
Elevate your interiors with our exquisite Silence Acoustic Designer Panel collection, the pinnacle of sound control and aesthetic sophistication. These Designer Acoustic Panels merge form and function, serving as stunning Decorative Wall Acoustic Panels that command attention. We offer a range of Premium Acoustic Wall Panels and Luxury Acoustic Panels that meet the highest standards, making them the top choice for any Architectural Acoustic Panels project. As versatile Interior Acoustic Panels, they introduce a Modern Acoustic Wall Panels aesthetic to any room, with specialization in Custom Design Acoustic Panels and fully Bespoke Acoustic Panels to bring your unique vision to life. Explore our signature styles, including the textured Acoustic V Grooved Panels and Acoustic U Grooved Panels, to create a truly one-of-a-kind space.
KEY FEATURES
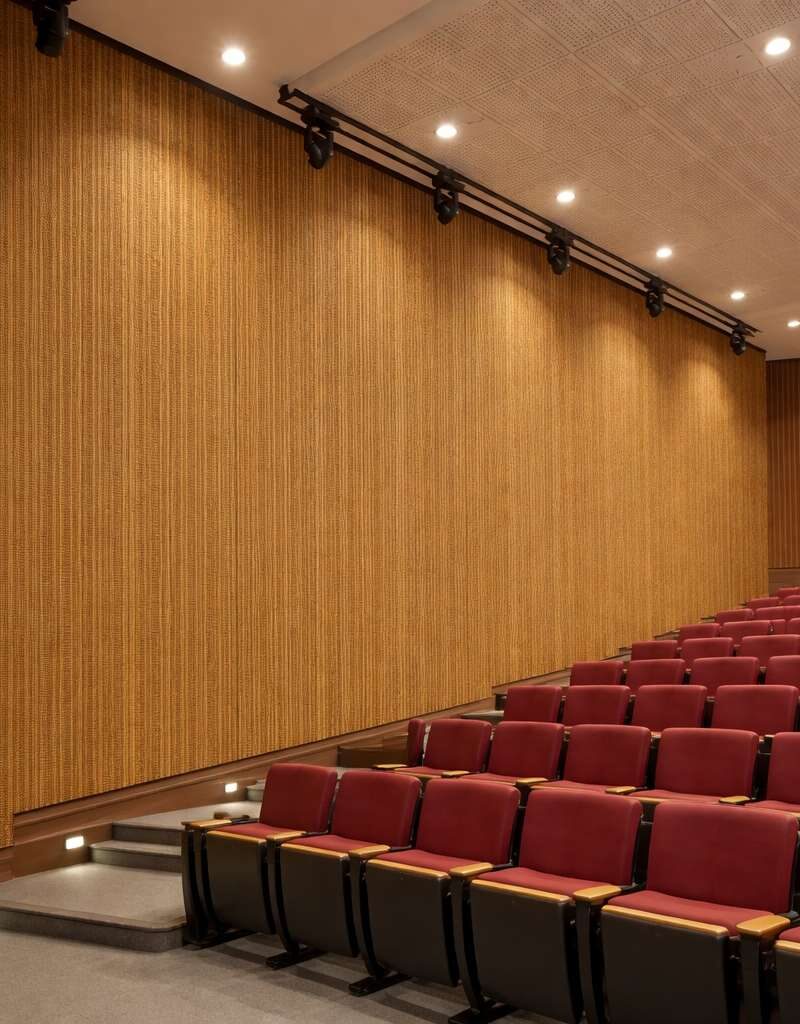
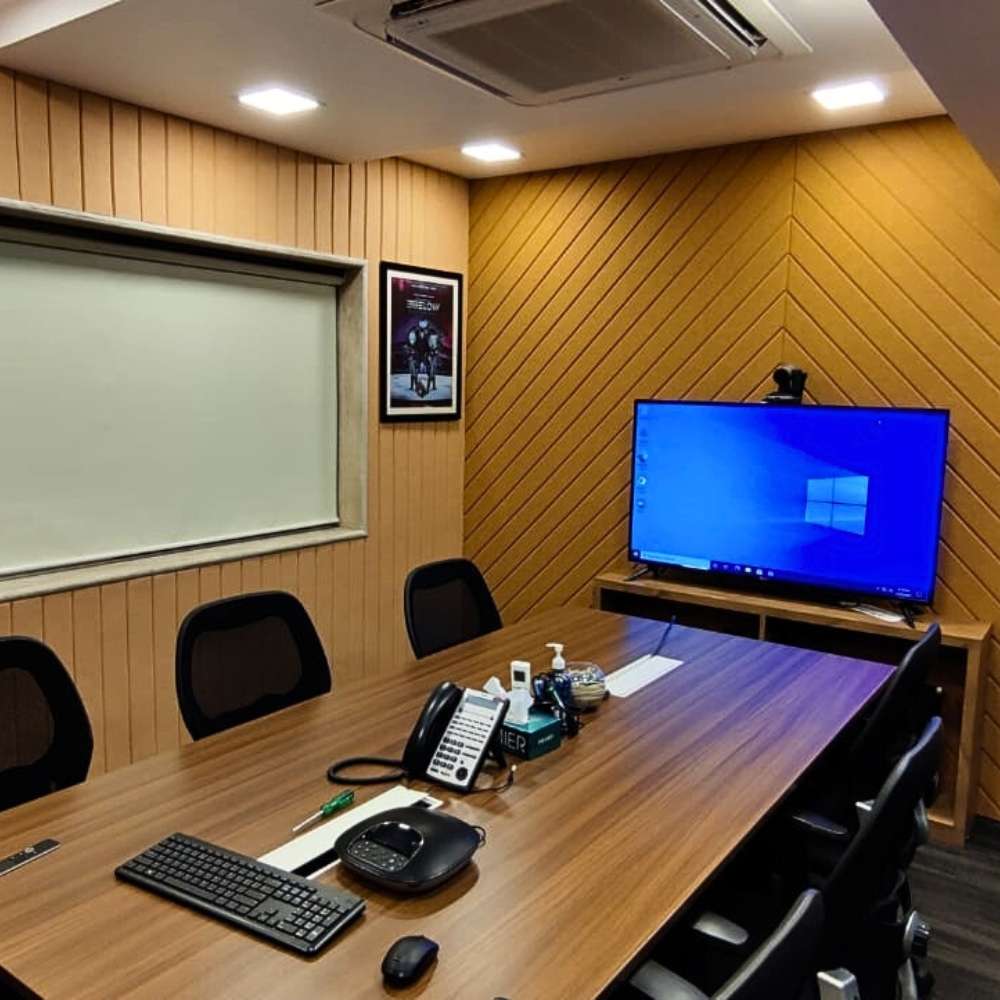
Architectural & Luxury Design: Our Premium Acoustic Wall Panels are crafted to be focal points, serving as high-end Decorative Wall Acoustic Panels for sophisticated interiors.
Fully Customizable: We specialize in Custom Design Acoustic Panels and truly Bespoke Acoustic Panels, allowing you to specify dimensions, finishes, and patterns.
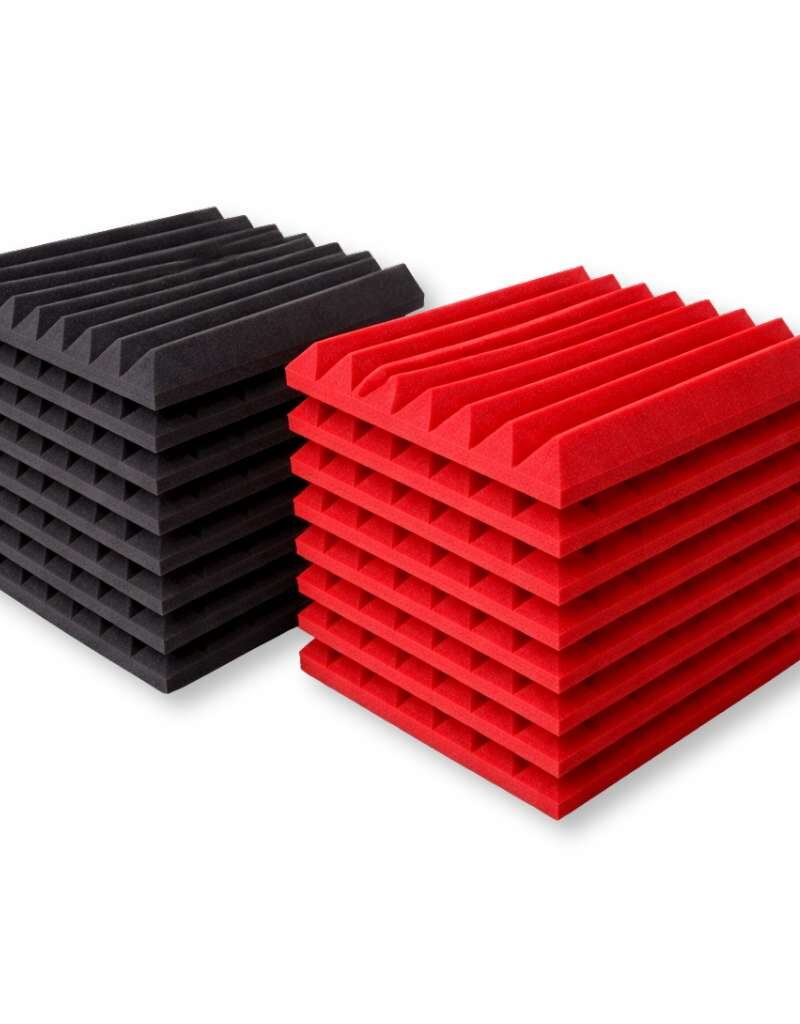
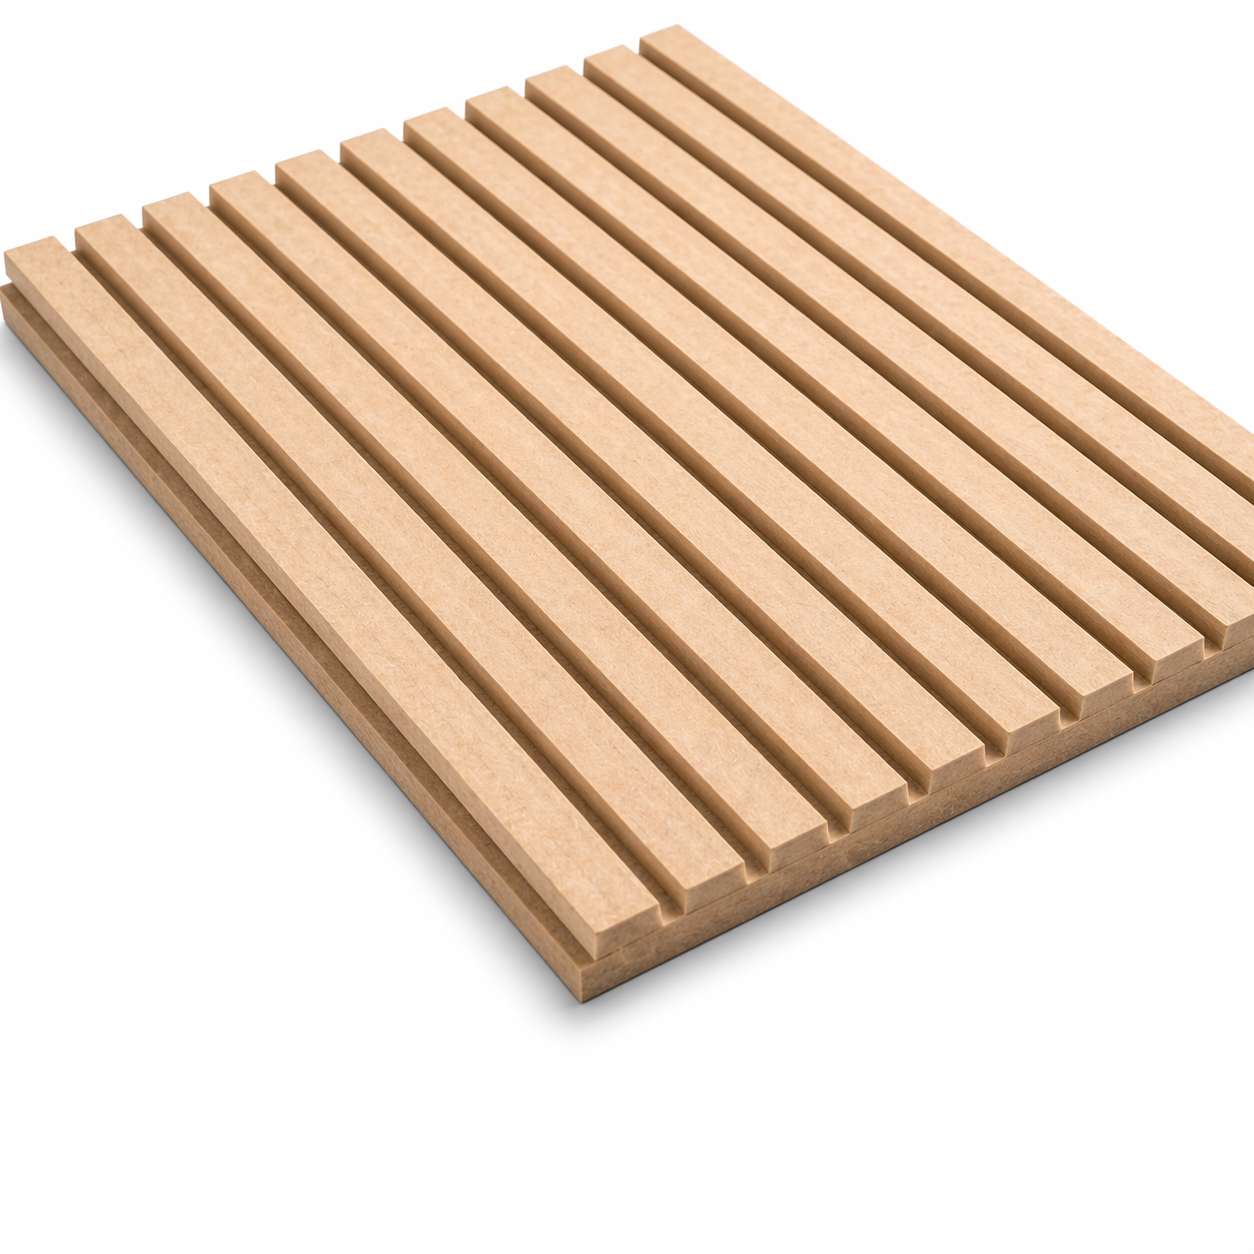
Signature Textures: Choose from unique styles like our popular Acoustic V Grooved Panels and Acoustic U Grooved Panels to add depth and character to your walls.
Modern Aesthetic: Instantly update any space with our Modern Acoustic Wall Panels, designed to complement contemporary architecture and design schemes.
High-Performance Acoustics: Expertly engineered Interior Acoustic Panels that provide superior sound absorption without compromising on elite design.
Versatile Designer Solution: The ultimate Acoustic Designer Panel for architects, interior designers, and discerning homeowners seeking both performance and beauty.
INSTALLATION METHOD
Surface Preparation
- Make sure the surface (wall/ceiling) is clean, dry, smooth, and dust-free.
- Remove any loose paint, dirt, or grease.
- Mark panel layout/levels as per design.
Apply Synthetic Rubber Adhesive
- Apply Synthetic Rubber Adhesive to the back of the panel in small blobs or continuous beads in a grid pattern.
- Add extra adhesive around the panel edges for stronger bonding.
Fix the Panel
- Carefully place the panel on the marked surface.
- Press firmly and evenly to ensure good contact with the surface.
- Hold for a few seconds until initial grip is achieved.
Level & Align
- Check that the panel is aligned correctly with adjacent panels.
- If required, use temporary supports (tape/props) while adhesive sets.
Finish & Clean Up
- Remove excess adhesive immediately.
- Allow adhesive to fully cure as per manufacturer’s instructions.
- Ensure joints are neat and panels are flush.