

TECHNICAL SPECIFICATION
Acoustic Wooden Slats
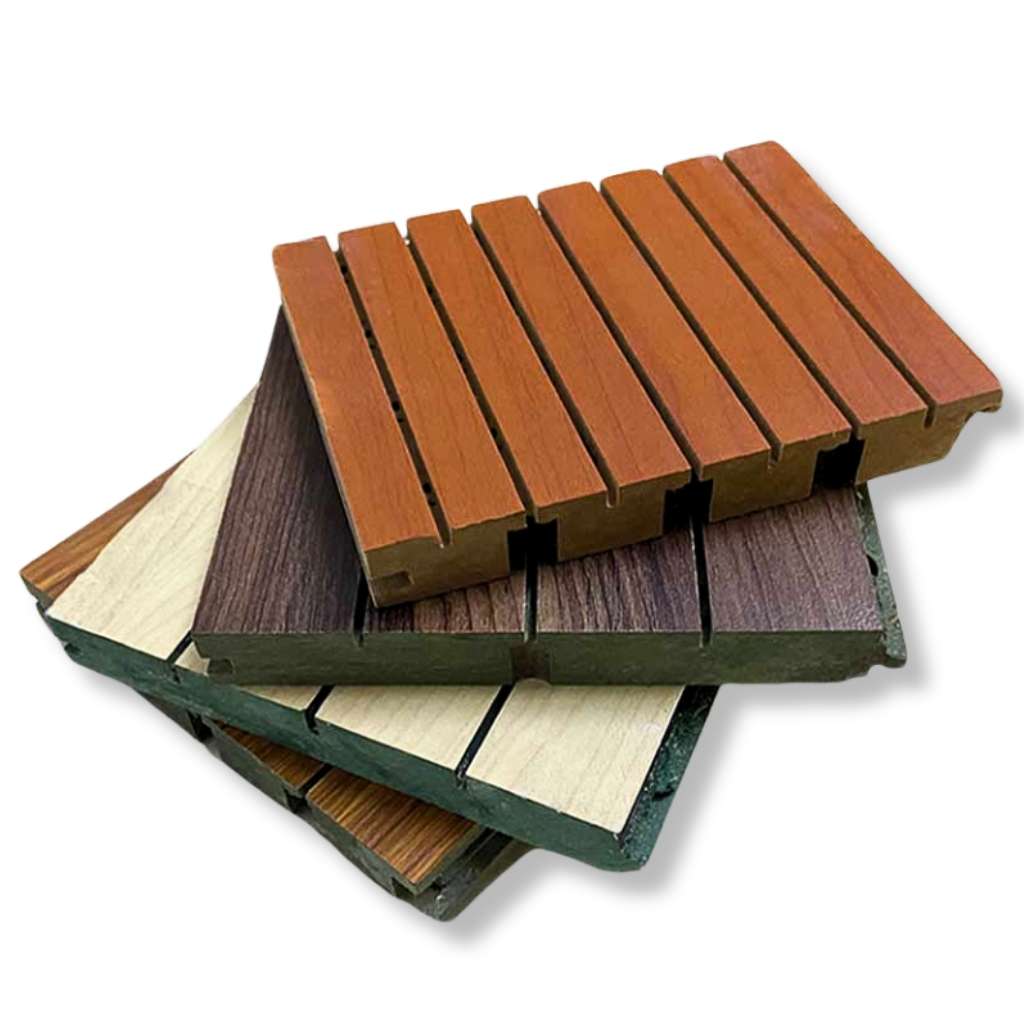
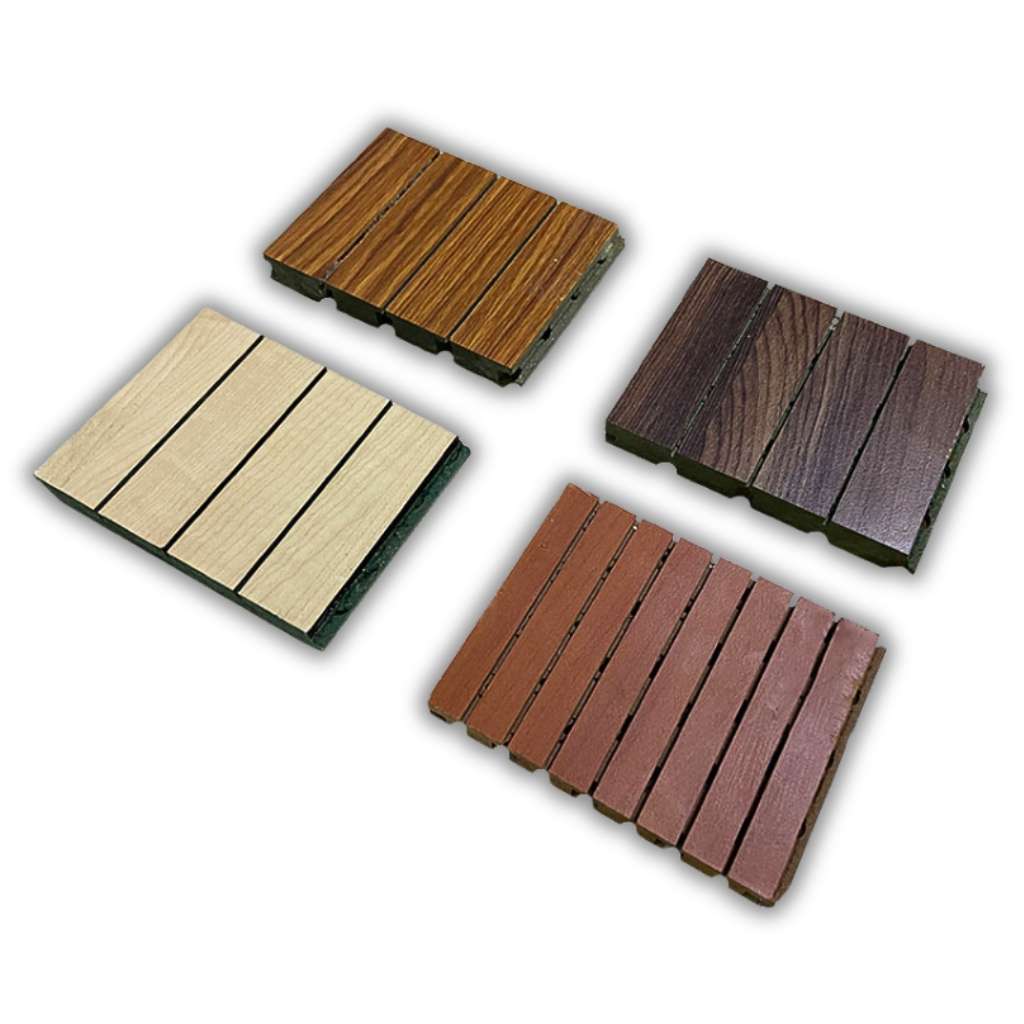
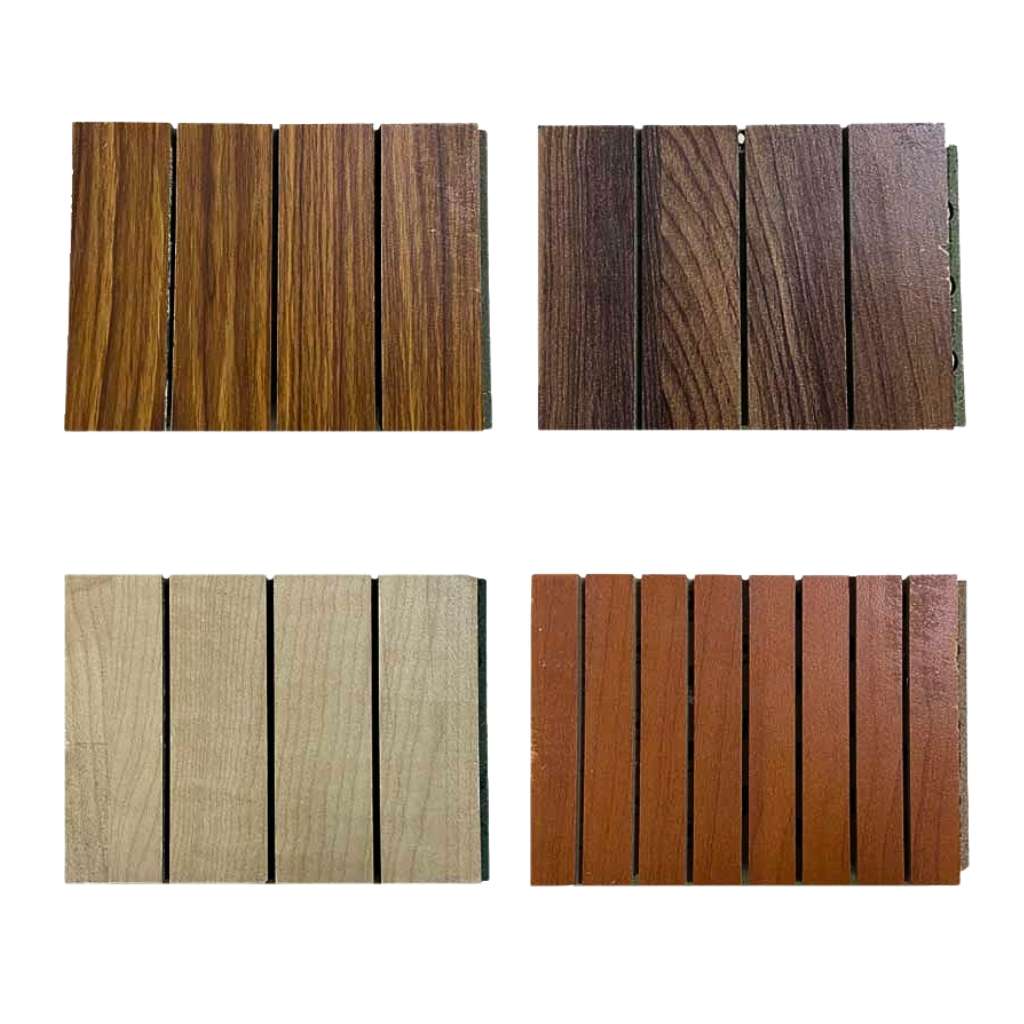
Enhance your interior with the sophisticated design and powerful performance of our Silence Acoustic Wooden Slats. These premium Wooden Slat Acoustic Panels are meticulously crafted to serve as beautiful Slatted Acoustic Wall Panels, combining real wood veneer with a high-density acoustic felt backing. Engineered as highly effective Slatted Wall Panels Sound Absorbing, they masterfully reduce echo and reverberation, providing the perfect Wood Slat Wall Acoustic solution. Ideal for both commercial and residential spaces, they are the ultimate choice for sophisticated projects, from high-spec Acoustic Slat Panels For Auditorium use to creating immersive Slat Panels For Home Theatre environments.
KEY FEATURES
Elegant Scandinavian Design: The timeless look of Acoustic Wooden Slats adds warmth and modern sophistication to any interior wall or ceiling.
High-Performance Sound Absorption: Expertly designed as Slatted Wall Panels Sound Absorbing, featuring a high-density felt backing that effectively reduces echo and reverberation.
Versatile Application: The perfect choice for creating immersive Slat Panels For Home Theatre setups or ensuring speech clarity in large spaces as Acoustical Slat Panels For Auditorium.
Premium Materials: Our Wooden Slat Acoustic Panels are made with real wood veneer slats on a recycled felt foundation for a sustainable and high-end finish.
Easy Installation: These Acoustic Slat Wall Panels are designed for quick and simple installation, making them suitable for both DIY enthusiasts and professional contractors.
Creates the Ideal Acoustic Environment: Achieve a premium Wood Slat Wall Acoustic treatment that balances sound without sacrificing style, transforming how your space looks and feels.
Installation Method
Prepare the Wall
- Clean the wall – remove dust, grease, or loose paint.
- Locate studs – nails work best when driven into wall studs for stability, especially for heavier slats.
- Mark placement lines – use a level and pencil to outline where each slat will go. Decide on vertical or horizontal orientation and spacing (1–3 cm for aesthetics and acoustic performance).
Cut and Sand Slats
- Measure slats to fit your wall dimensions.
- Trim with a saw if needed.
- Sand edges for a smooth finish.
Position the Slat
- Hold the slat against the wall, aligned with your markings.
- Use a level to ensure it is perfectly straight.
- Place spacers between slats if you want consistent gaps.
Nail the Slats
- Start at one end of the slat.
- Hammer nails into the slat at a slight downward angle, aiming for studs or wall anchors.
- Space nails evenly along the slat (every 40–50 cm is typical).
- Repeat for all slats, checking alignment and level frequently.
Finishing Touches
- Fill visible nail heads with wood filler for a clean finish.
- Lightly sand any rough areas.
- Apply varnish, stain, or oil if desired.
- Inspect for consistent spacing and level alignment.