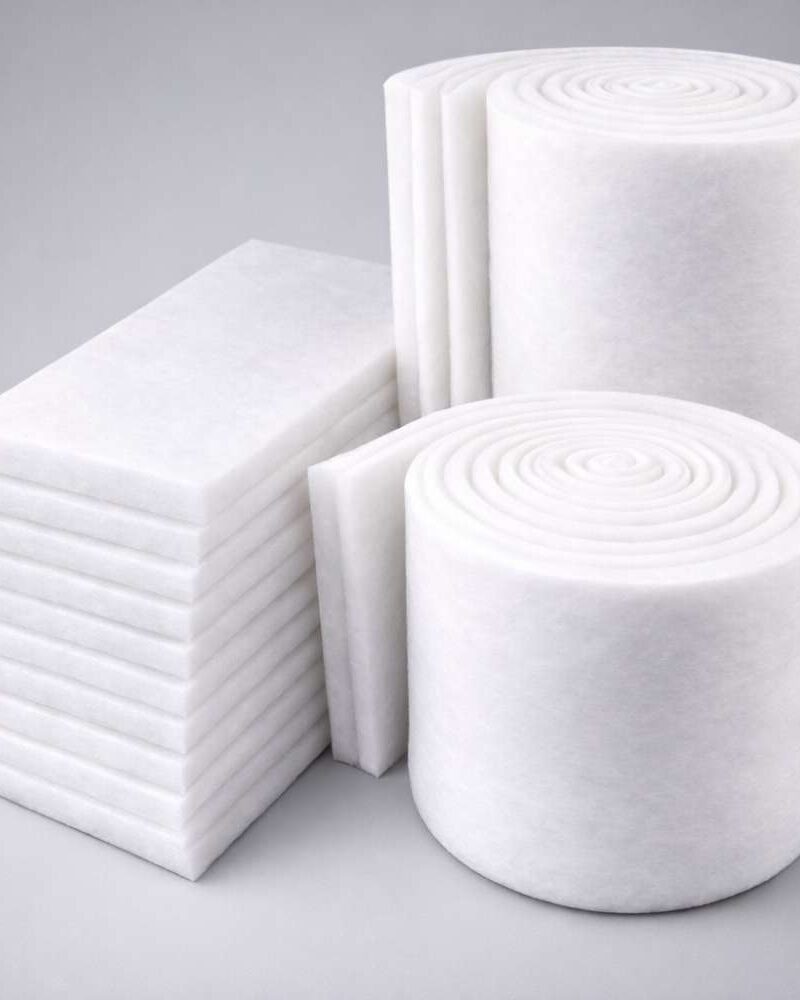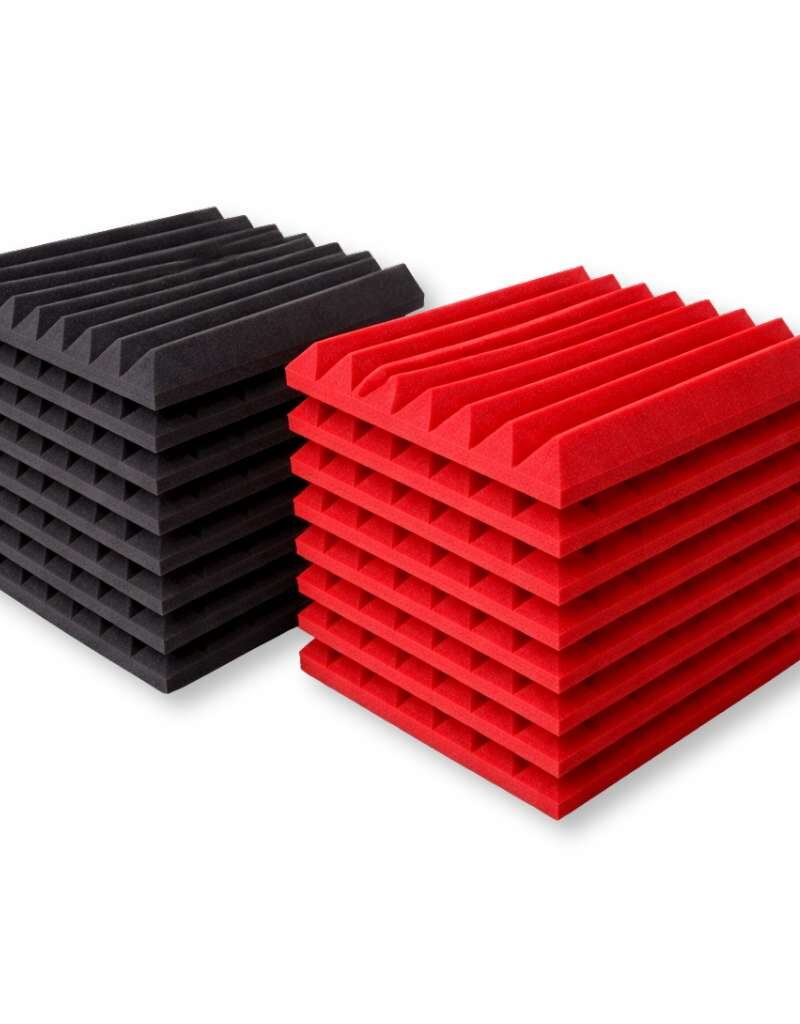
9MM
12MM
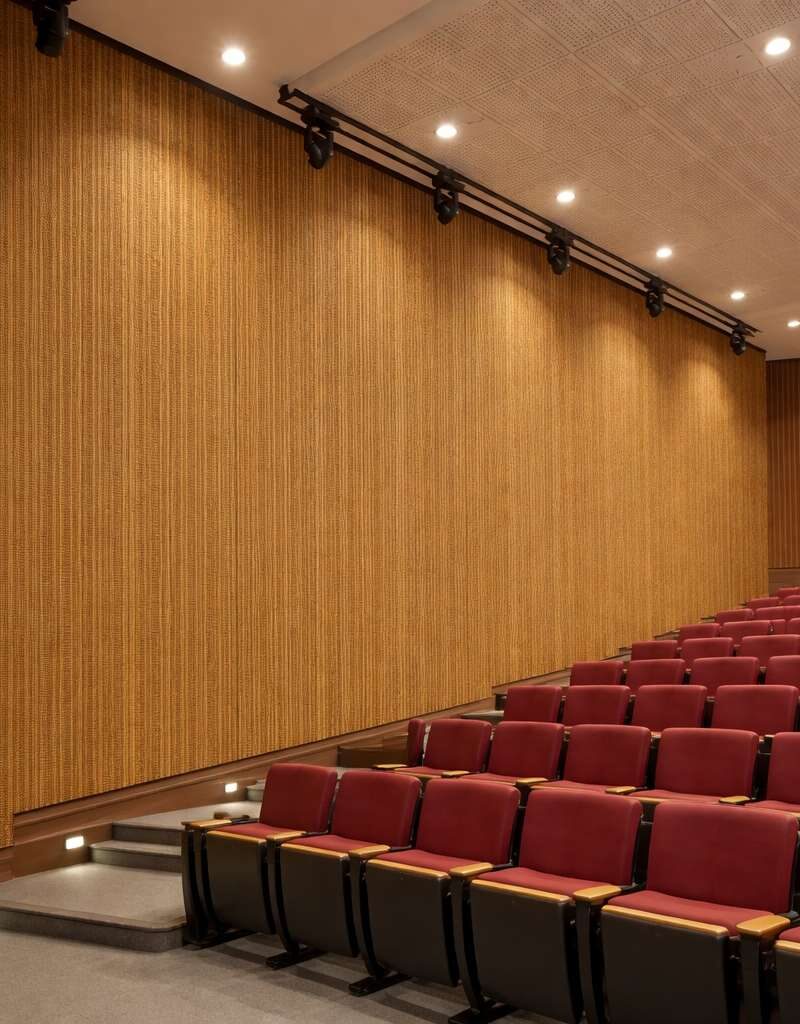
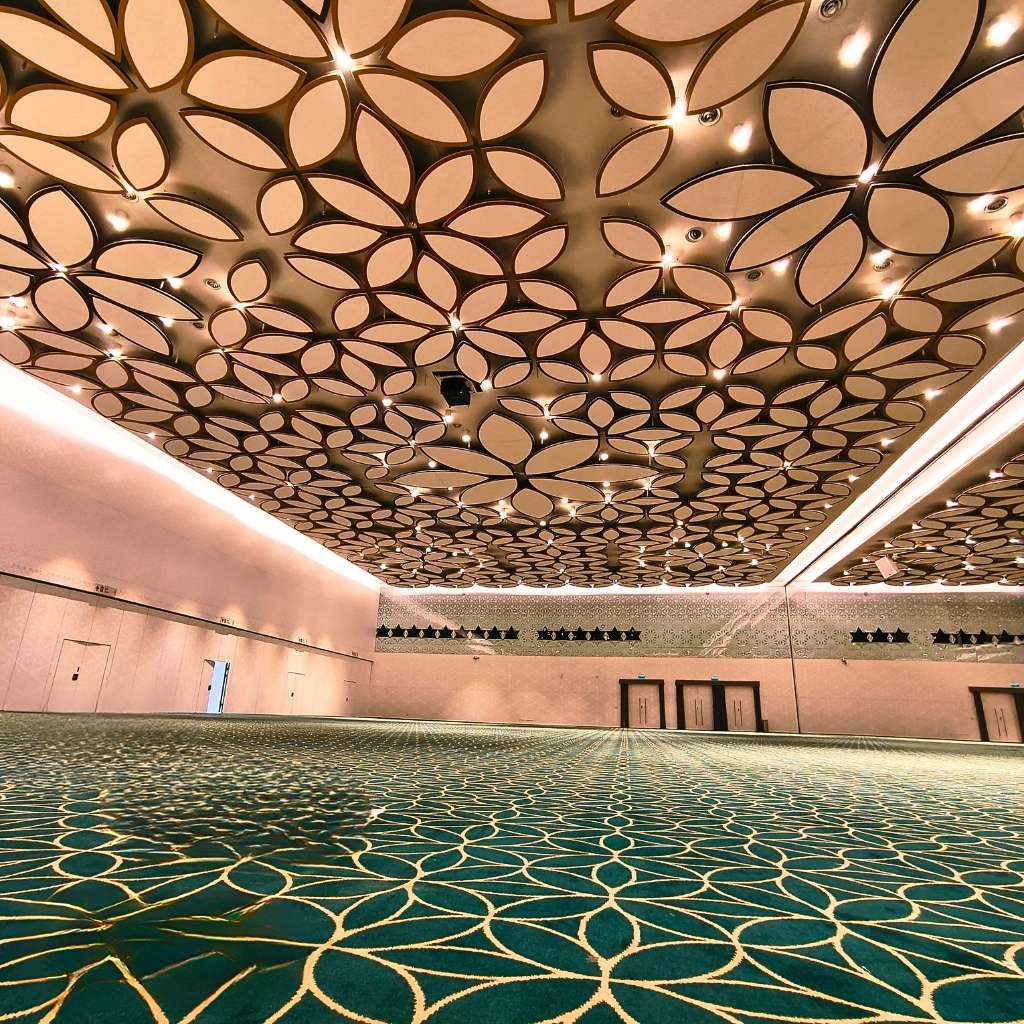
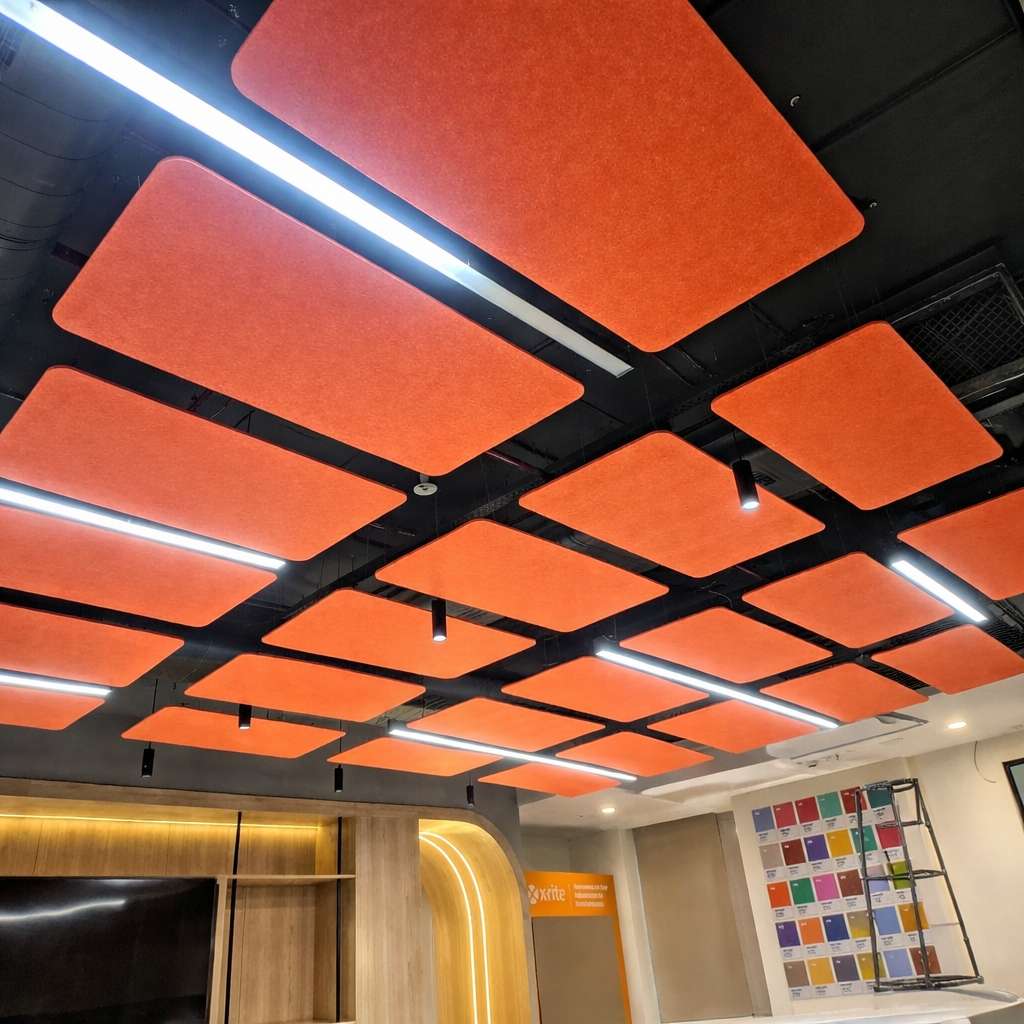
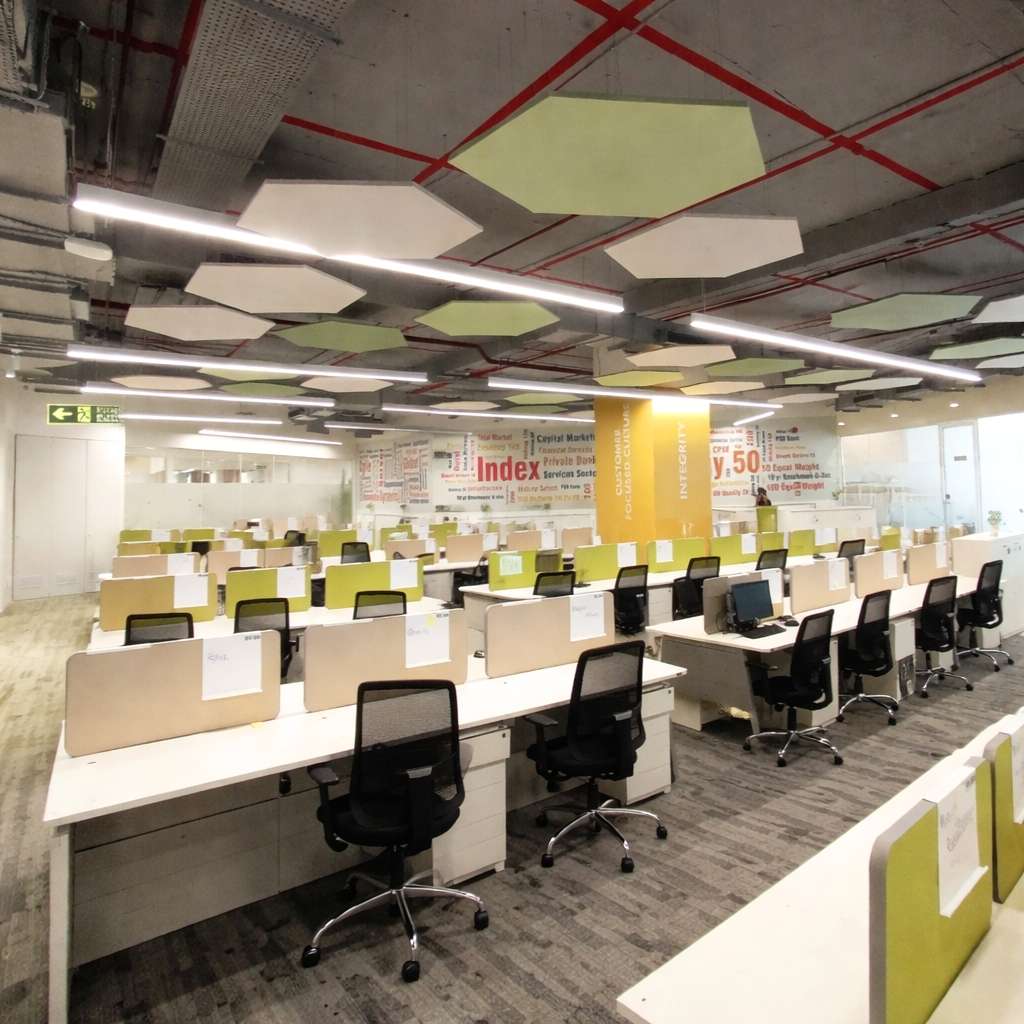
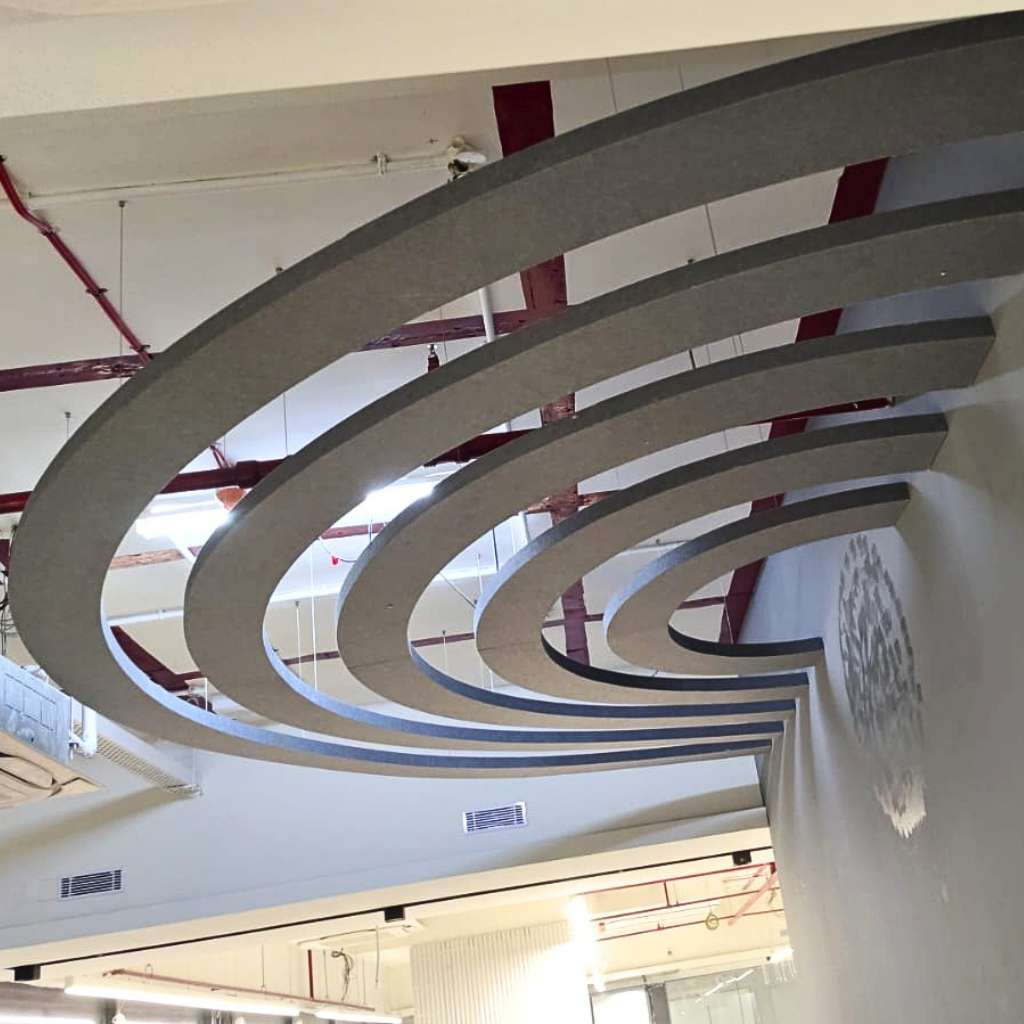
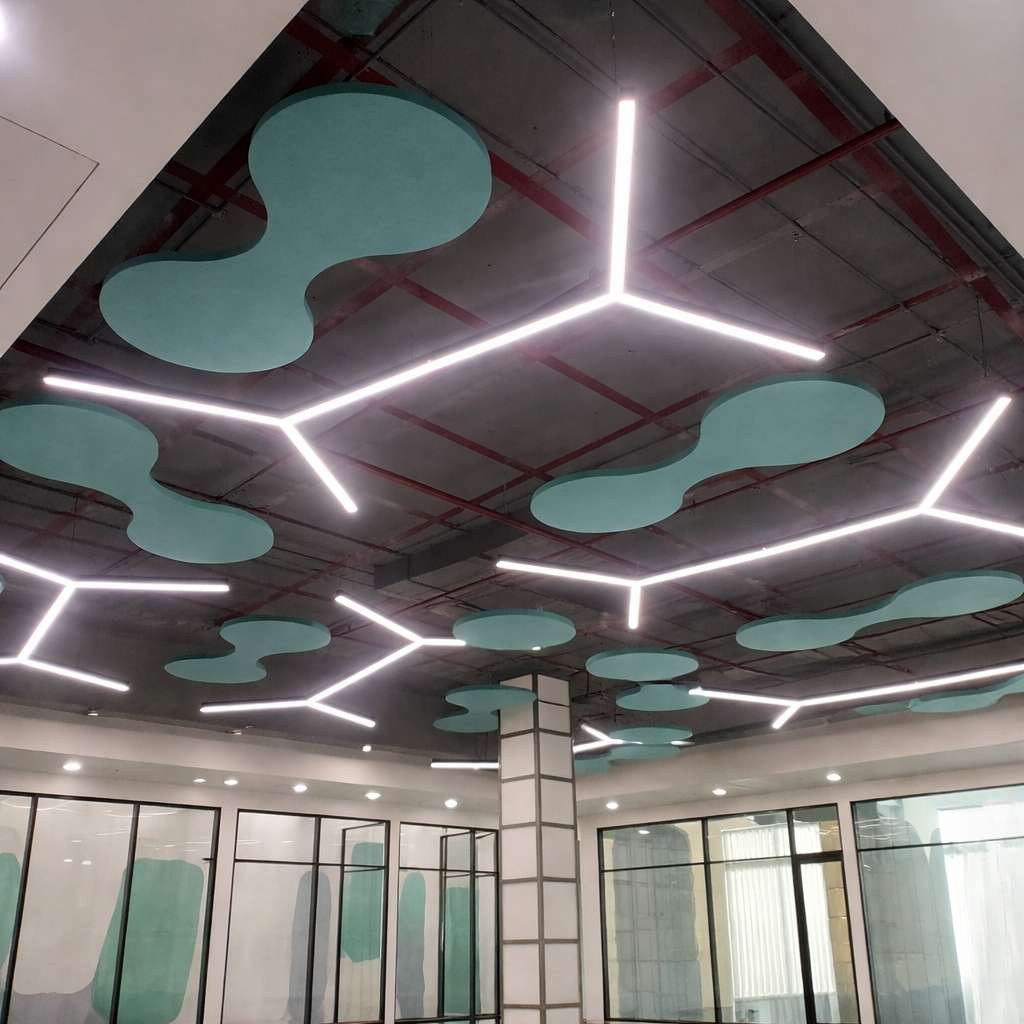
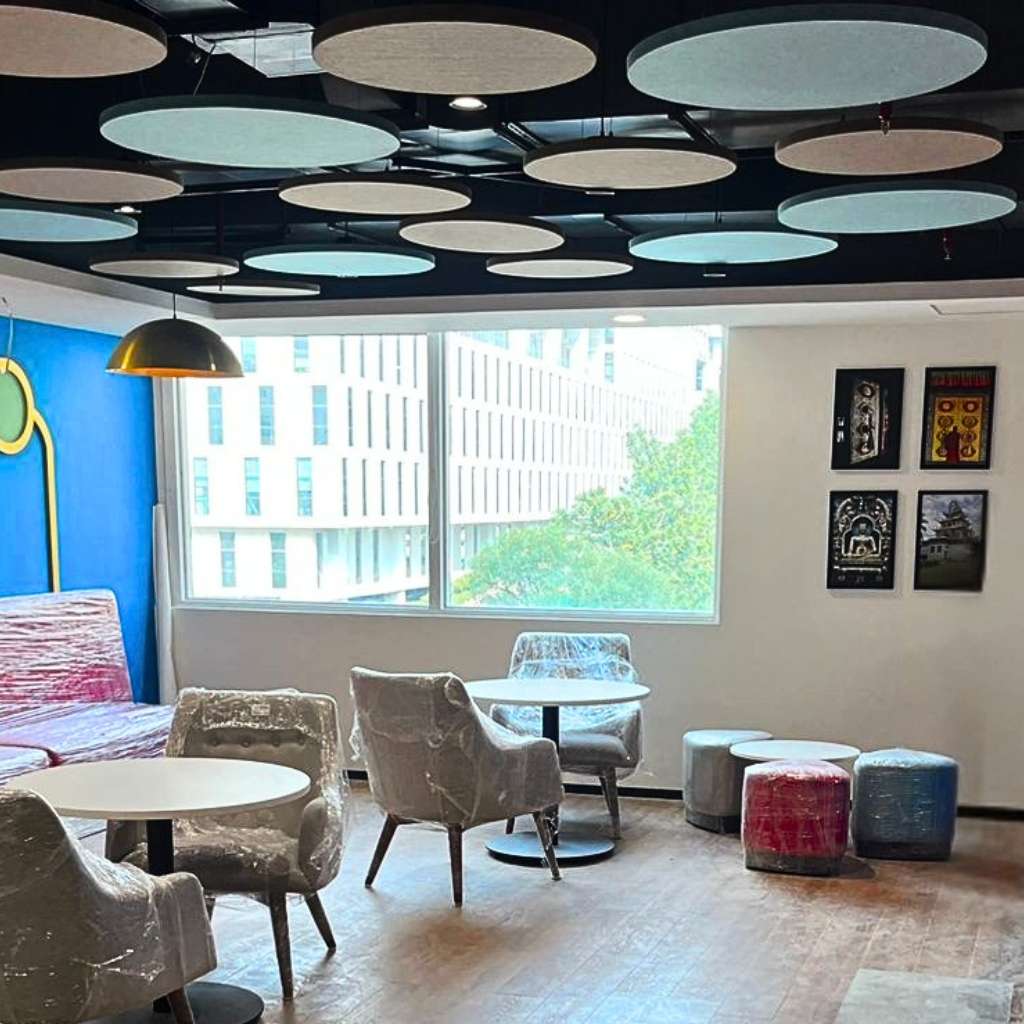
Acoustic Ceiling Cloud
Elevate your space with our Silence Acoustic Ceiling Cloud solutions. These stylish Acoustic Clouds, designed as Suspended Acoustic Ceiling Clouds, offer a modern and effective way to tackle noise from above. As high-performance Sound Absorbing Ceiling Clouds, they dramatically reduce reverberation and improve speech clarity, making them the perfect choice for busy environments. Whether you need Acoustic Clouds For Office productivity, quieter Acoustic Clouds For Restaurants, or focused Acoustic Clouds For Classrooms, our versatile Acoustic Cloud Panels combine superior performance with architectural elegance, transforming your ceiling into a key design and acoustic feature.
KEY FEATURES
Superior Sound Absorption: Engineered as high-performance Sound Absorbing Ceiling Clouds to significantly reduce echo and ambient noise in any room.
Flexible Suspension System: Easily installed as Suspended Acoustic Ceiling Clouds at various heights and angles to target specific noise issues and create visual interest.
Ideal for Commercial Spaces: The perfect acoustic treatment for open environments, serving as effective Acoustic Clouds For Office spaces, Restaurants, and Classrooms.
Architectural Design Element: More than just functional, our Acoustic Clouds act as a stunning visual feature to enhance any ceiling plane and complement your interior design.
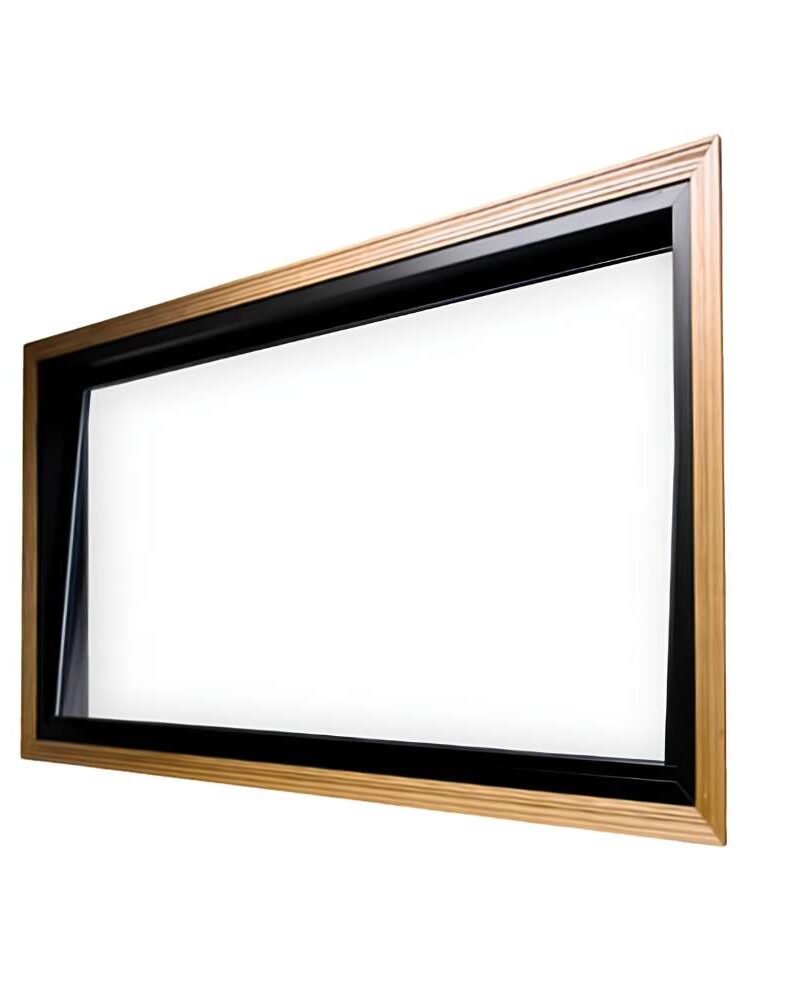
Customizable Layouts: The individual Acoustic Cloud Panels can be arranged in creative patterns and arrays in a variety of shapes and sizes to fit your design vision.
Open Ceiling Solution: An excellent choice for spaces with exposed ceilings, providing targeted acoustic control without lowering the entire ceiling height.
Installation Method
Layout & Marking
- Mark the exact position of the ceiling cloud as per approved drawing.
- Identify suspension points (usually 4 points per panel or as per size).
Fix Anchor Fasteners
- Drill holes in RCC slab at marked suspension points.
- Insert and tighten anchor fasteners securely.
Install Hanging Wire
- Fix GI / SS hanging wire (2.5–3 mm dia) to anchor fasteners.
- Cut wire to required drop height.
- Ensure all wires are equal length for proper leveling.
Attach Suspension Hooks / Eye Bolts
- Fix eye bolts or suspension clips to the acoustic cloud panel frame.
- Connect hanging wires to the panel hooks securely.
Leveling & Alignment
- Adjust wire lengths to achieve proper level.
- Ensure panel is straight and stable from all sides.
Final Check
- Tighten all connections.
- Verify load stability and alignment.
- Clean panel surface after installation.