

9MM
12MM
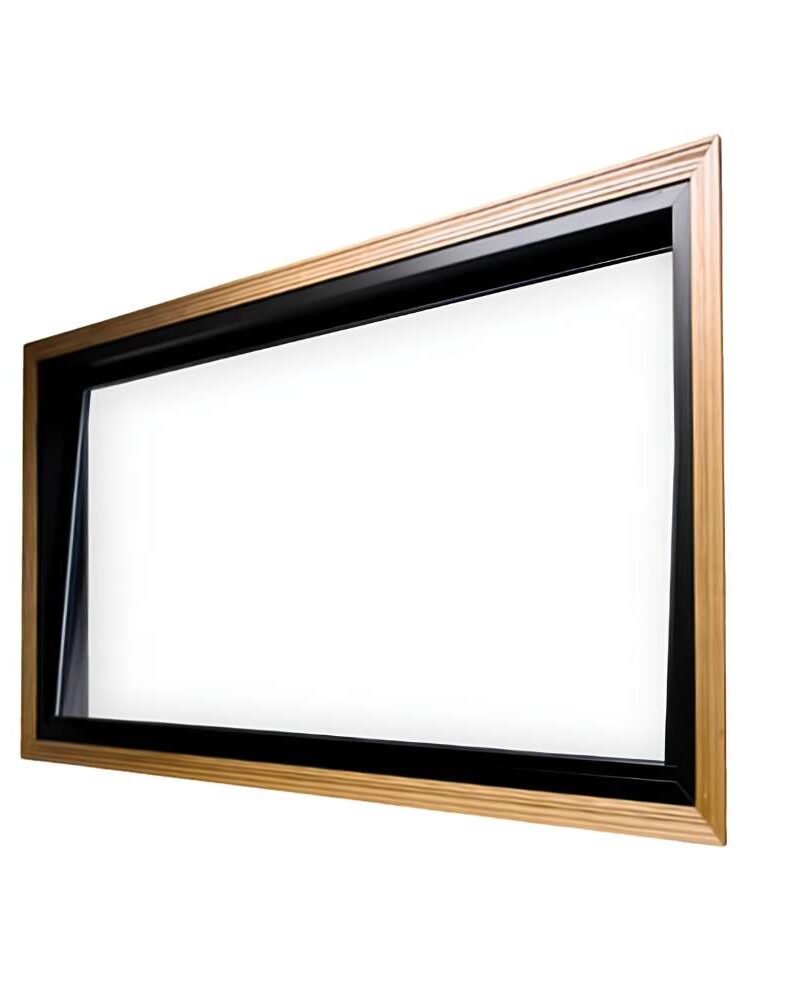
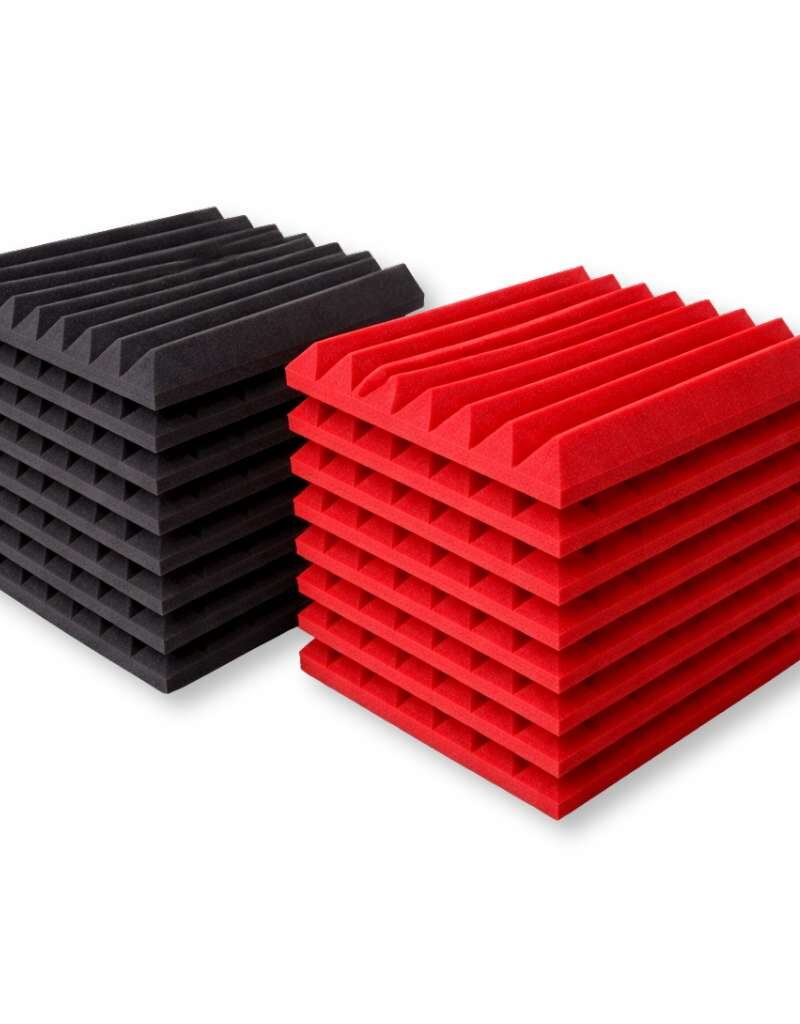
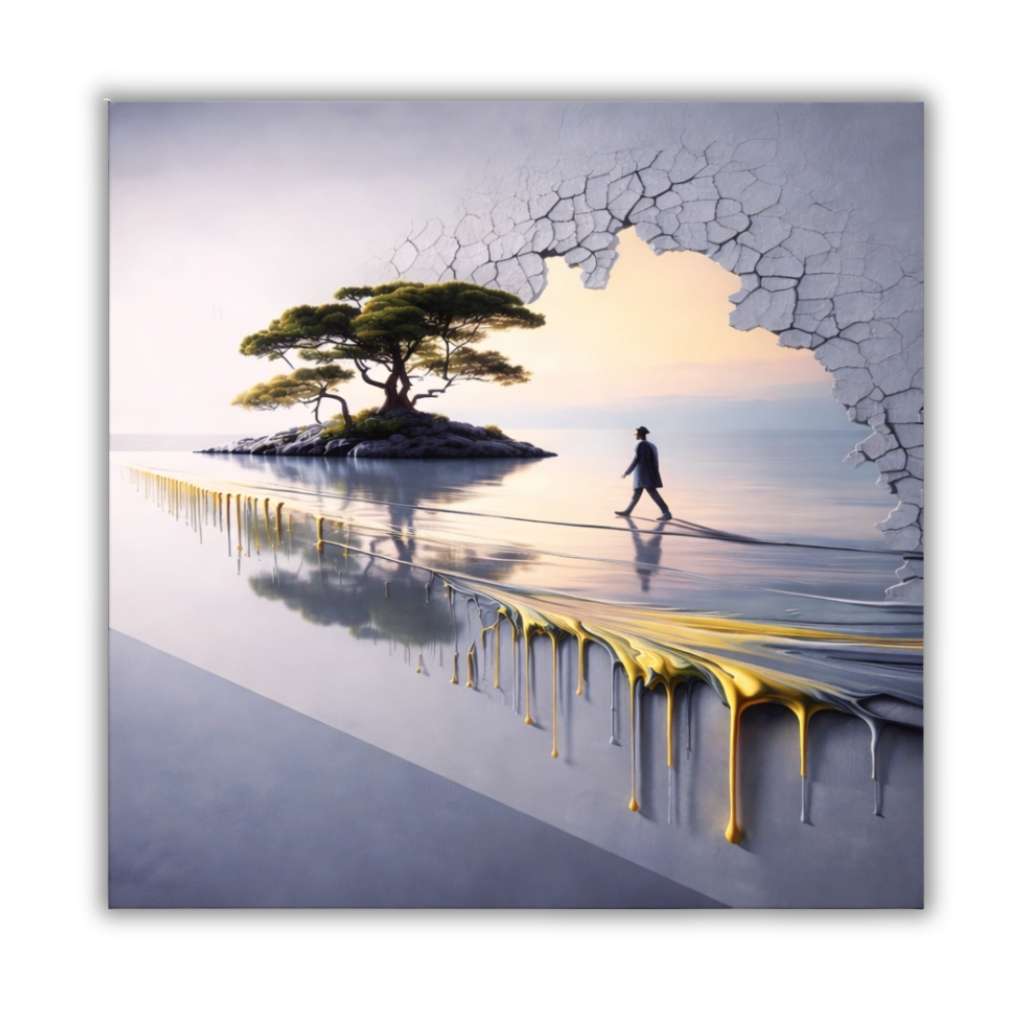
Acoustic Printed Panel
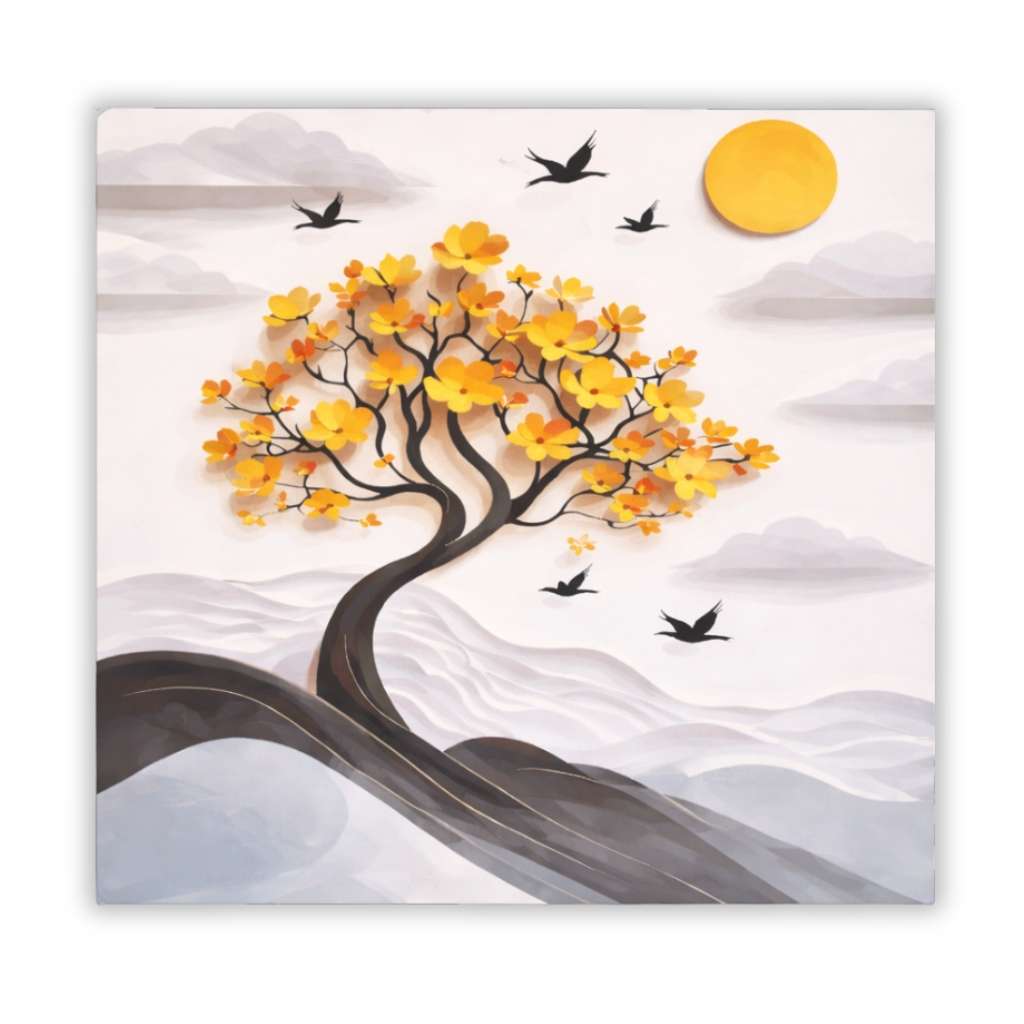
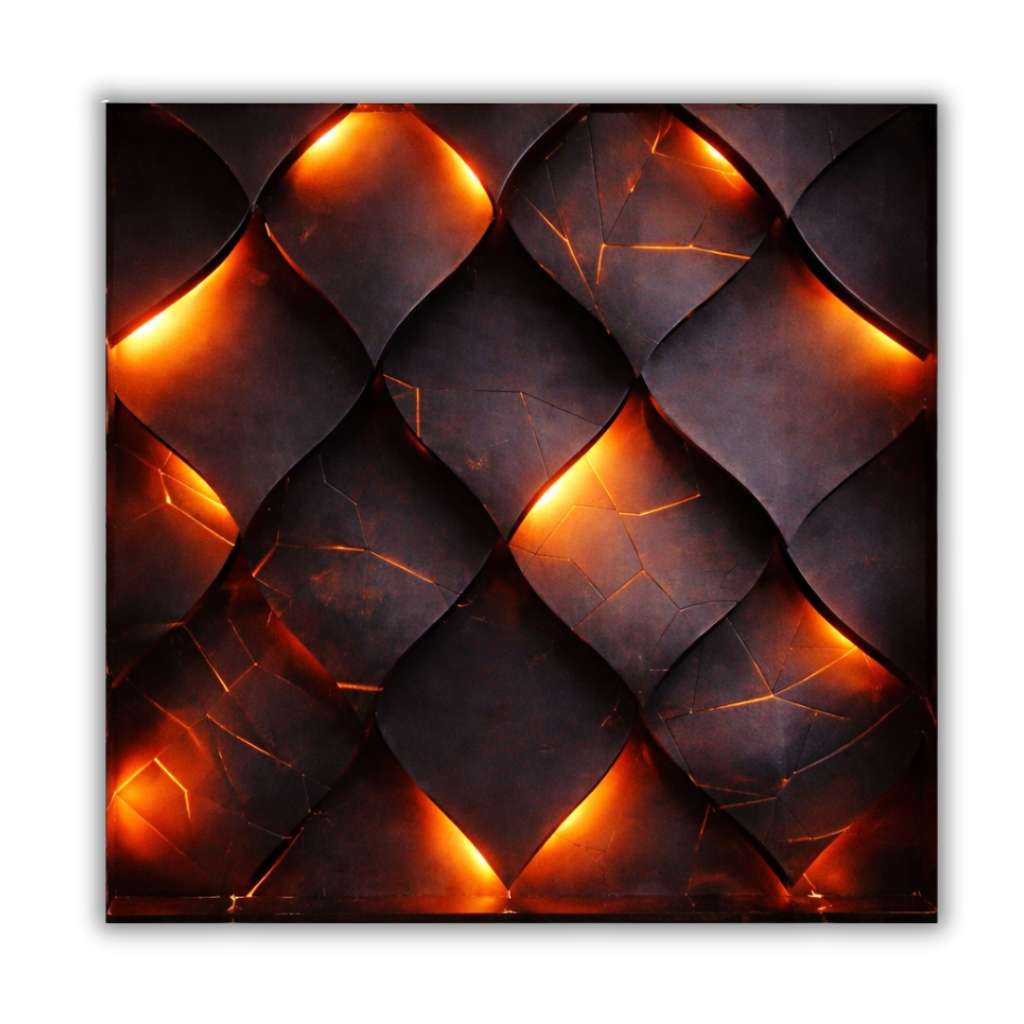
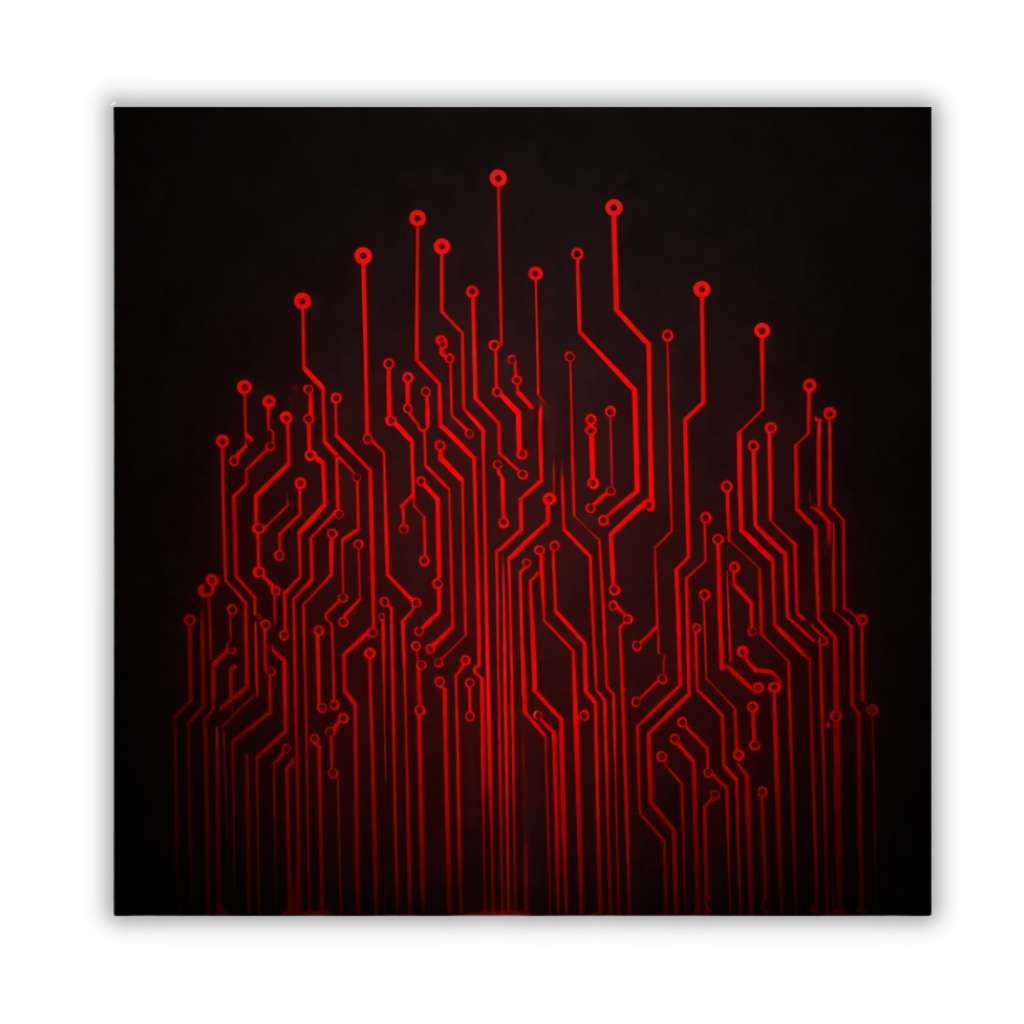
Unleash your creativity while controlling sound with our innovative Silence Acoustic Printed Panel solutions. These high-performance Printed Acoustic Panels are fully customizable, allowing you to transform any wall into a functional masterpiece. Showcase your company identity with Logo Printed Acoustic Panels and Branded Acoustic Panels, or display breathtaking images with Photo Printed Acoustic Panels. Our state-of-the-art UV Printed Acoustic Panels technology ensures vibrant, lasting prints, making them the perfect choice for Acoustic Panels With Artwork and corporate Acoustic Panels Branding. Available as large-format panels or versatile Printed Acoustic Tiles, our Custom Printed Acoustic Panels offer limitless possibilities to merge aesthetics with acoustics.
KEY FEATURES
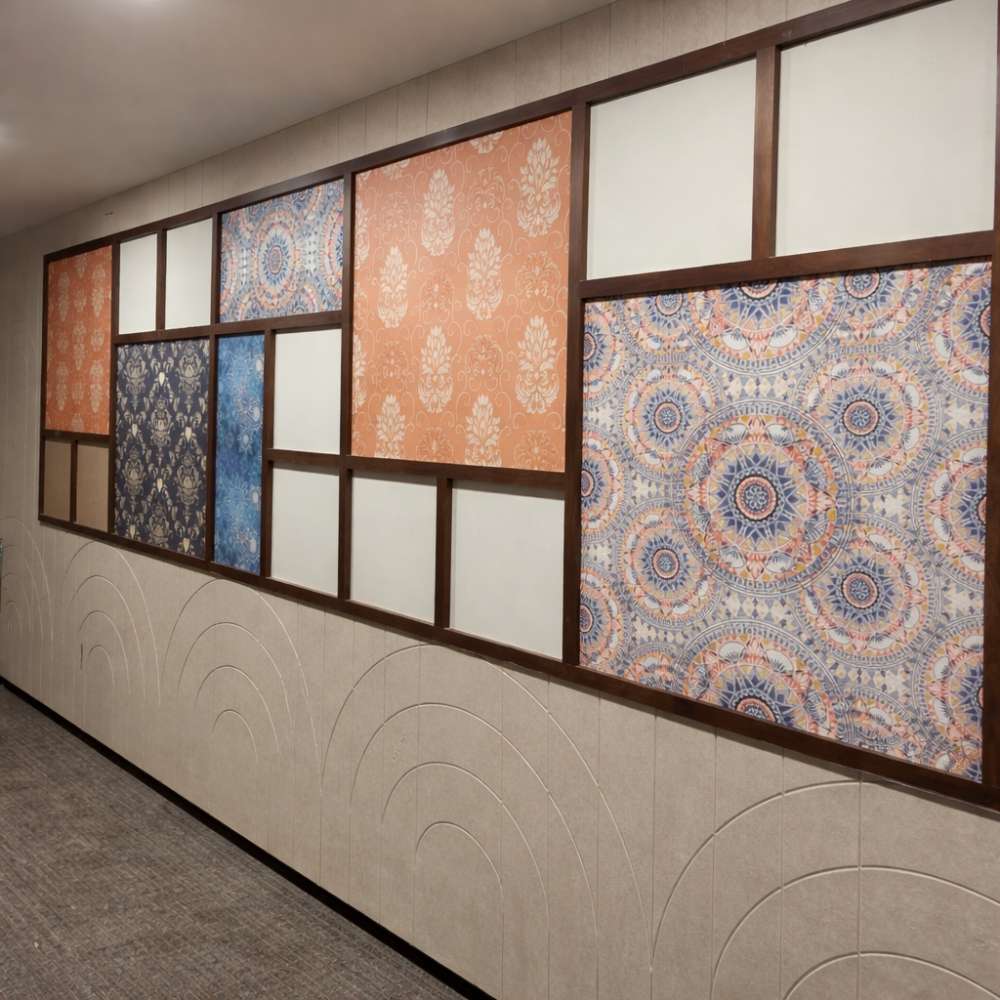
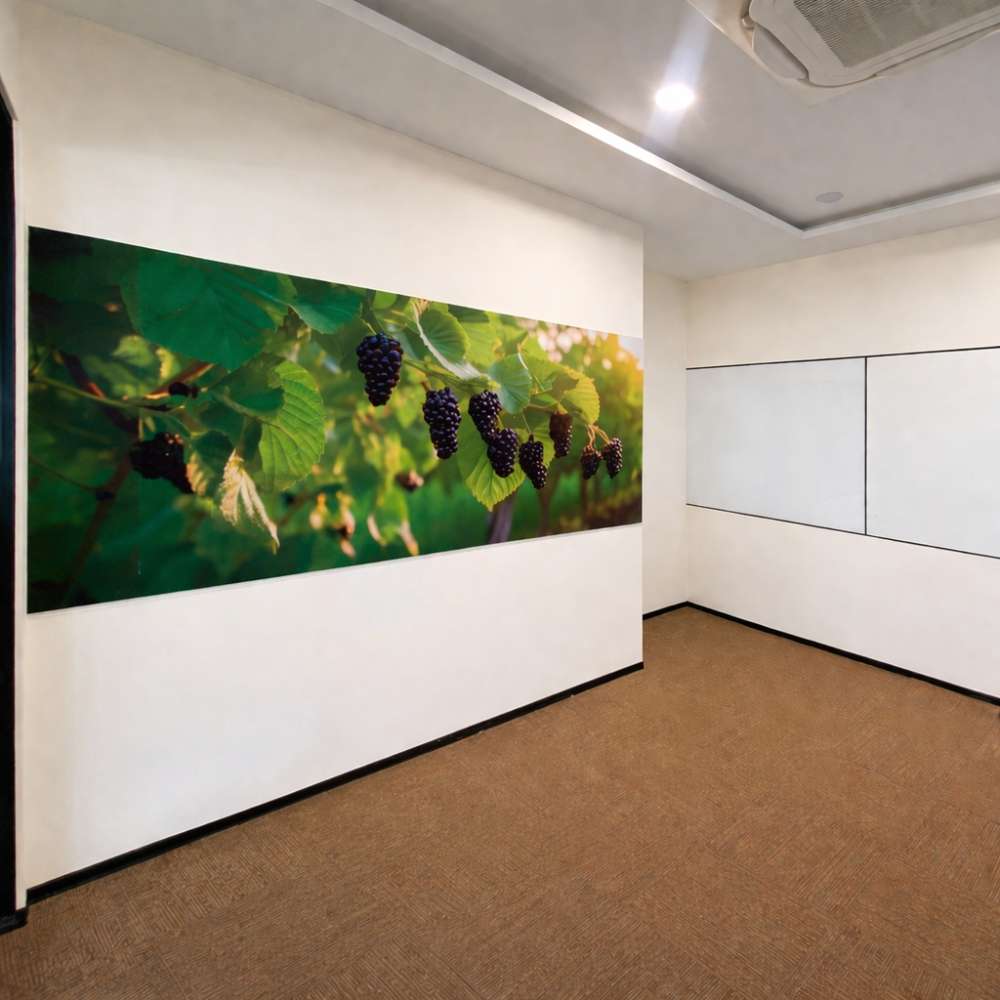
Fully Customizable Artwork: Print any high-resolution image, design, or photo directly onto the panel with our Custom Printed Acoustic Panels.
Powerful Corporate Branding: The perfect solution for Acoustic Panels Branding, allowing you to feature your company identity with Logo Printed Acoustic Panels and other Branded Acoustic Panels.
Vibrant UV Printing: We use advanced UV Printed Acoustic Panels technology for sharp, fade-resistant, and photorealistic results.
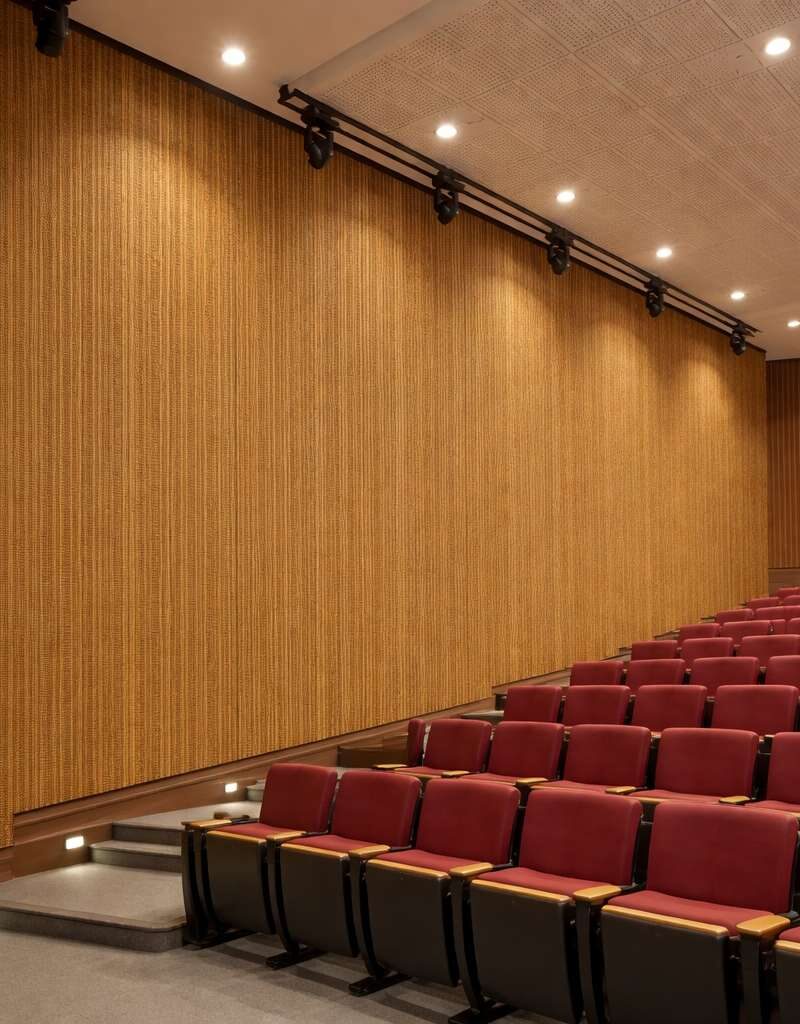
Effective Sound Control: Combines stunning visuals with excellent acoustic performance, effectively reducing echo and reverberation.
Artistic Integration: Transform functional acoustic treatments into beautiful Acoustic Panels With Artwork that enhance your interior design.
Flexible Formats: Available in large panel sizes or as smaller, modular Printed Acoustic Tiles to fit any space or creative concept.
INSTALLATION METHOD
Surface Preparation
- Ensure the wall/ceiling surface is clean, dry, smooth, and dust-free.
- Remove loose paint or uneven particles.
- Mark layout lines as per approved design.
Adhesive Application
- Apply Synthetic Rubber Adhesive on the back side of the printed panel in bead or dot pattern (approx. 25–30 mm spacing).
- Apply additional adhesive along edges for better bonding.
- Avoid excess adhesive to prevent surface bulging.
Panel Fixing
- Carefully position the panel as per marking.
- Press evenly and firmly to ensure full surface contact.
- Hold for a few seconds for initial grip.
Alignment & Finishing
- Check alignment and joint spacing between panels.
- Clean any excess adhesive immediately.
- Allow proper curing time as per manufacturer guidelines.