9MM
12MM
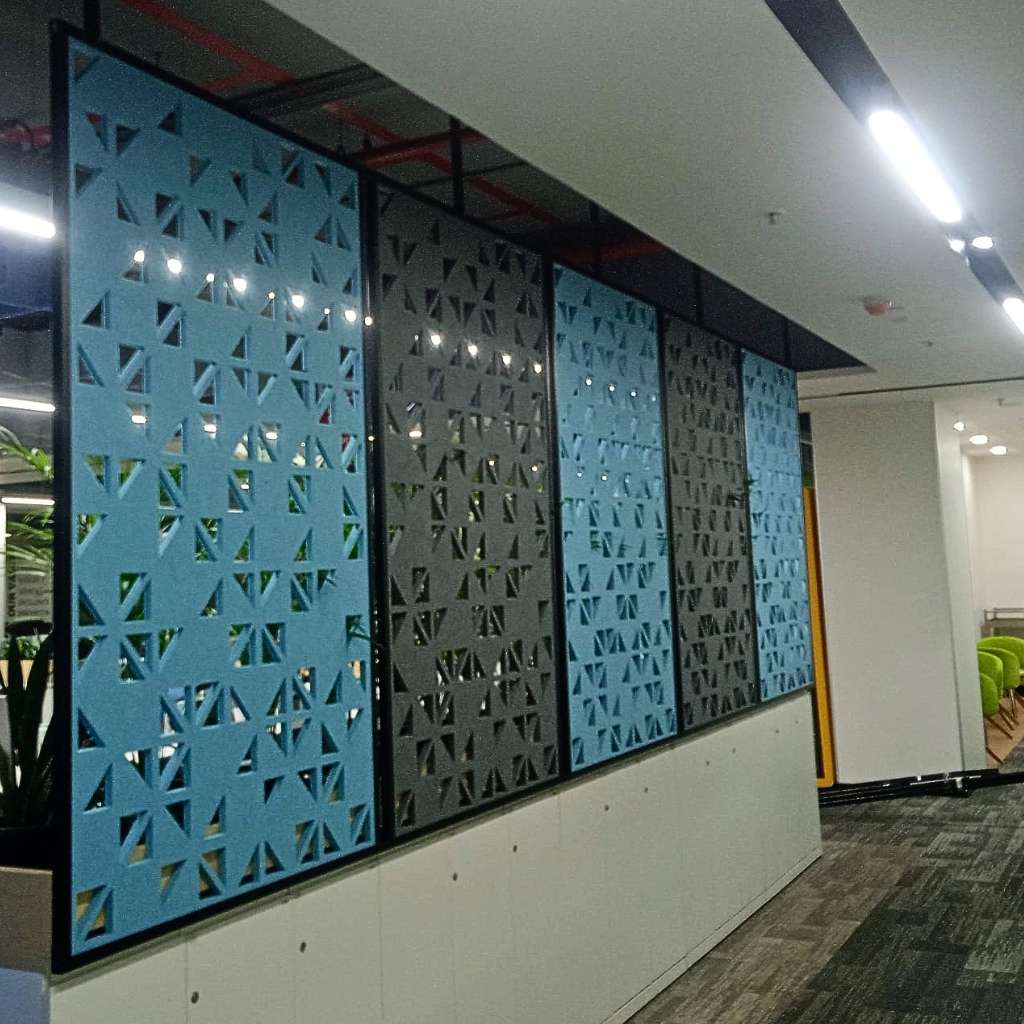
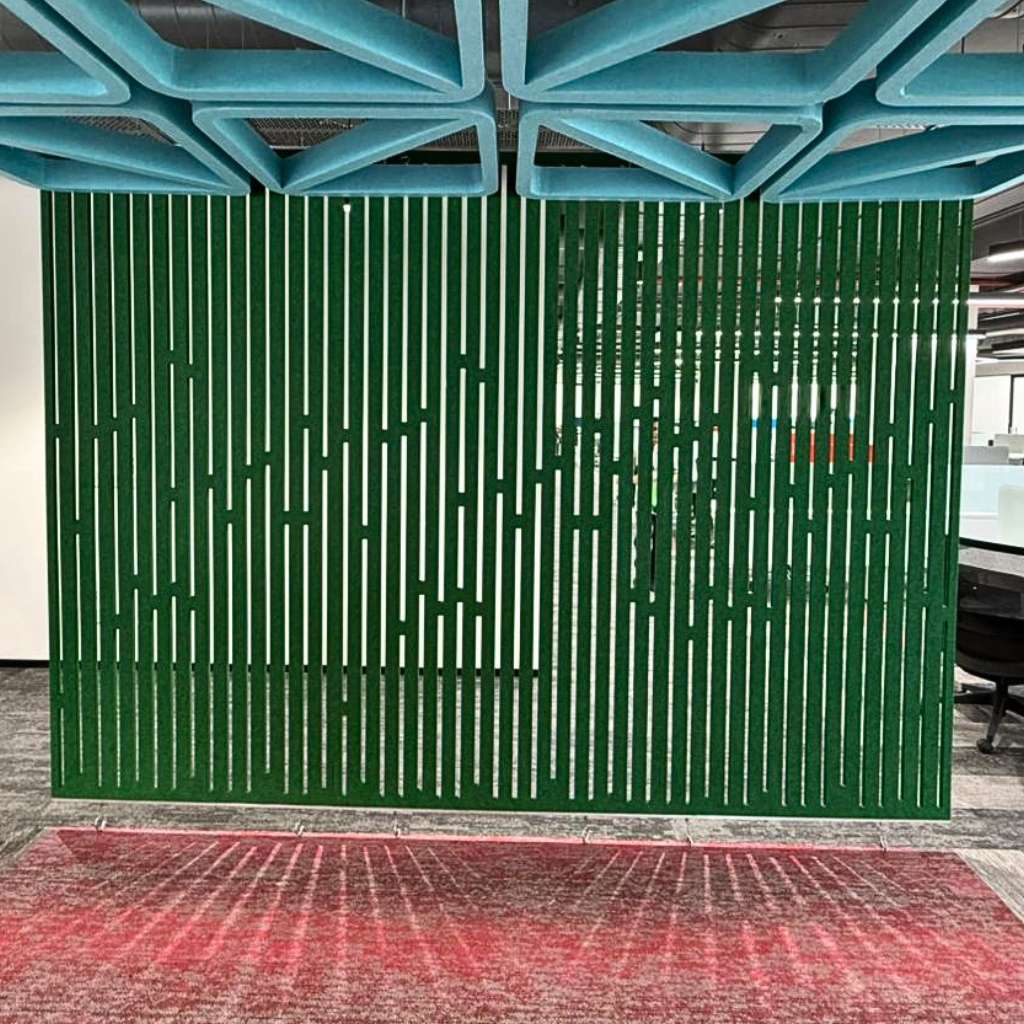
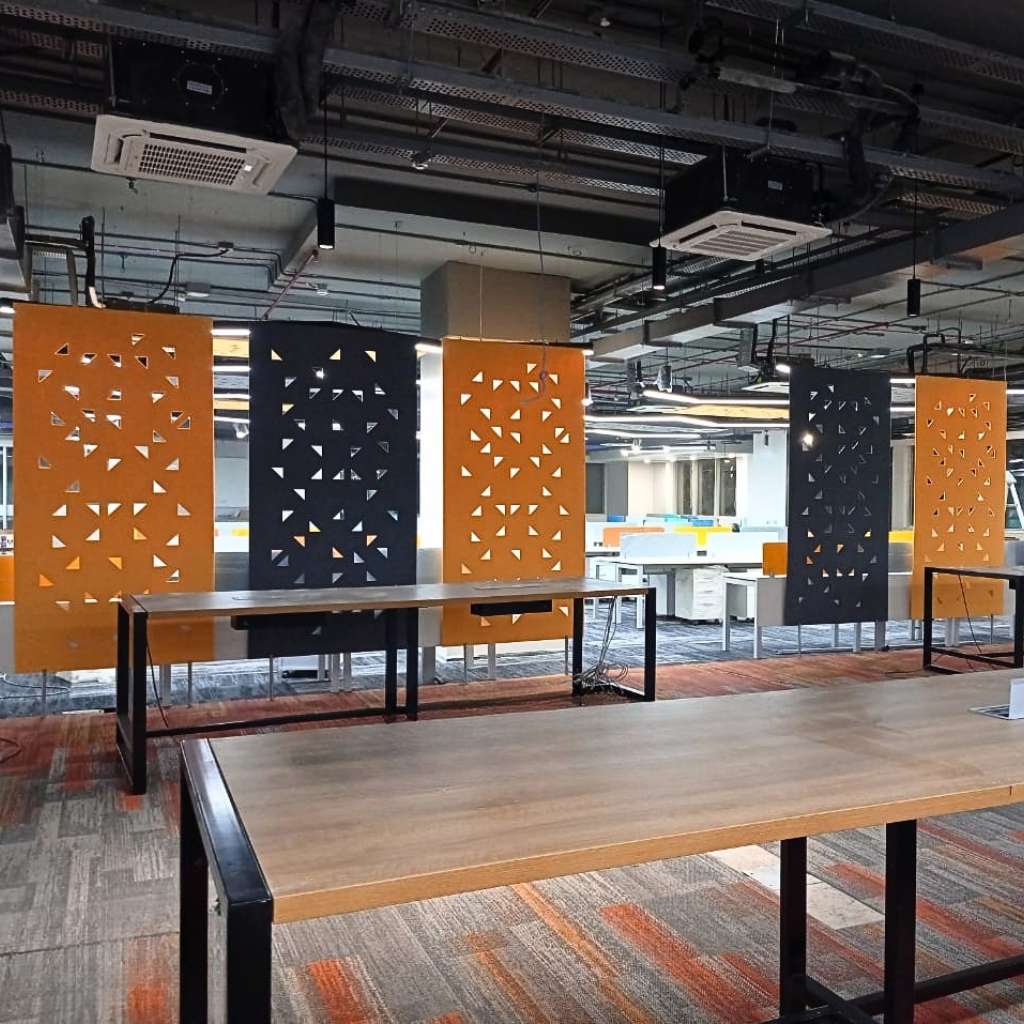
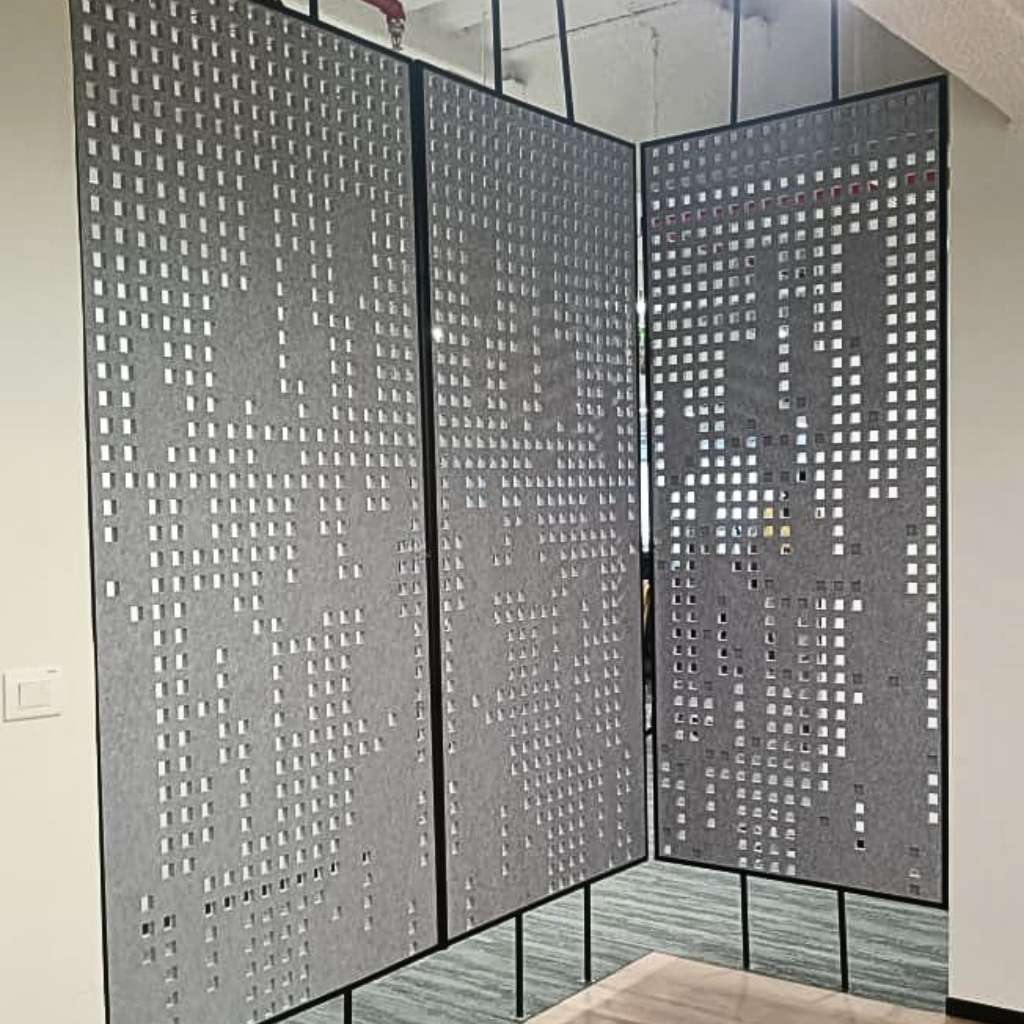
Acoustic Screen Partitions
Define your space and control noise effectively with our versatile Silence Acoustic Screen Partition systems. These high-performance Acoustic Partitions are the ultimate solution for modern open-plan environments, especially as Office Acoustic Partitions. Functioning as a flexible Acoustic Room Divider, our Acoustic Divider Panels help create distinct zones and improve speech clarity. Perfect for enhancing focus, they serve as effective Acoustic Privacy Screens and can be configured as Acoustic Workstation Screens for individual desks or combined to form a quiet Acoustic Booth Partition. With easy-to-move Freestanding Acoustic Partitions, you can adapt your layout on demand, ensuring both auditory comfort and visual privacy.
KEY FEATURES
Freestanding & Modular: Our Freestanding Acoustic Partitions are lightweight and easy to move, allowing you to reconfigure your space instantly.
Enhanced Office Acoustics: Specifically designed as Office Acoustic Partitions to absorb sound, reduce distractions, and improve productivity in busy workplaces.
Effective Room Division: Use as a stylish Acoustic Room Divider to create separate zones for meetings, collaboration, or quiet work without building permanent walls.
Privacy on Demand: Ideal as Acoustic Workstation Screens or standalone Acoustic Privacy Screens to give employees the focus and confidentiality they need.
Versatile Configurations: The modular Acoustic Divider Panels can be combined to create a dedicated Acoustic Booth Partition for private calls or concentrated tasks.
Durable & Stylish: Built with high-quality, sound-absorbing materials in a range of modern fabrics and finishes to complement any office decor.
Installation Method
Freestanding Type (Most Common)
Step 1: Layout Marking
- Mark partition positions as per approved layout.
- Ensure floor surface is level.
Step 2: Base Assembly
- Fix metal/base feet to the screen panel using supplied bolts.
- Tighten all screws securely.
Step 3: Positioning
- Place partition in marked position.
- Adjust leveling glides (if provided) for stability.
Step 4: Panel Connection (If Multiple Panels)
- Join panels using connector brackets or linking clips.
- Ensure alignment and stability.
Floor-Mounted / Semi-Permanent Type
Step 1: Mark & Drill
- Mark fixing points on floor.
- Drill holes and insert anchor fasteners.
Step 2: Fix Base Channel / Frame
- Secure base frame to floor using anchor bolts.
- Ensure proper alignment.
Step 3: Install Acoustic Panels
- Insert or screw panels into frame system.
- Tighten all connections.
Ceiling-Supported Type (If Applicable)
- Fix top channel to ceiling using anchor fasteners.
- Secure partition panel between floor and ceiling channels.
- Check vertical alignment and stability.